Follow up from the first testing on Media Wall, we had another testing as well as photoshoot for our poster.
After reviewing, another round of editing had to be done to make the piece look better, and not too clashing.
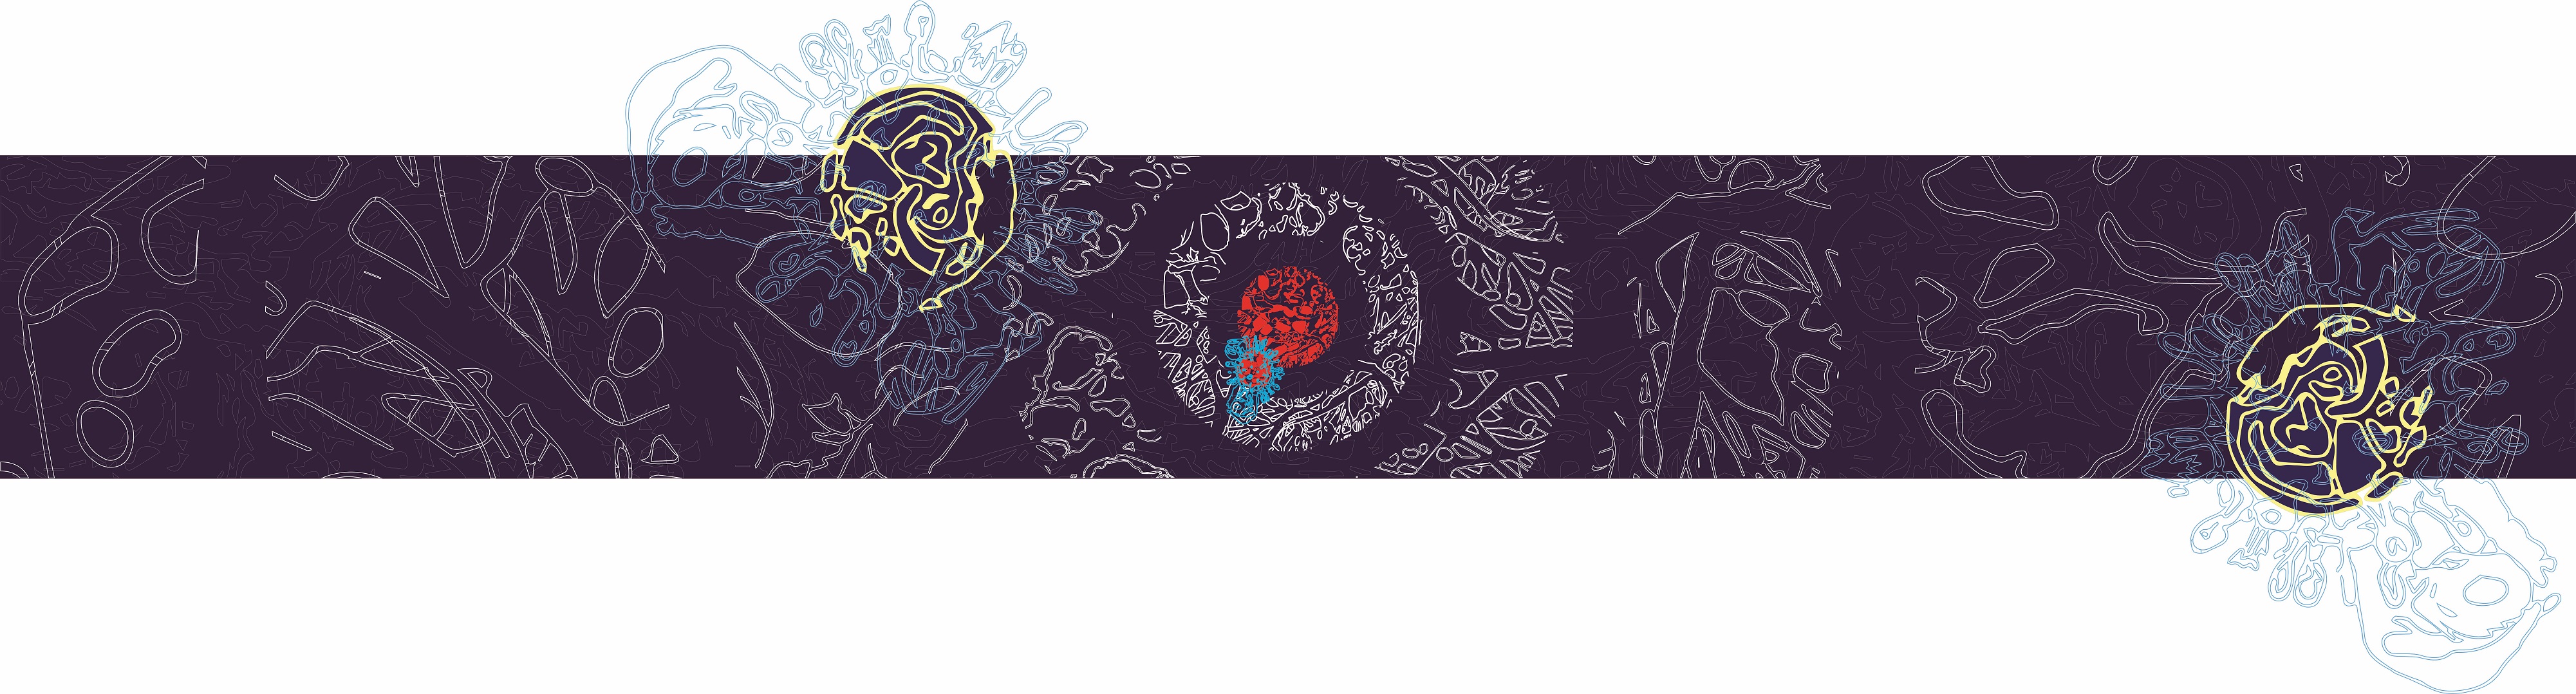
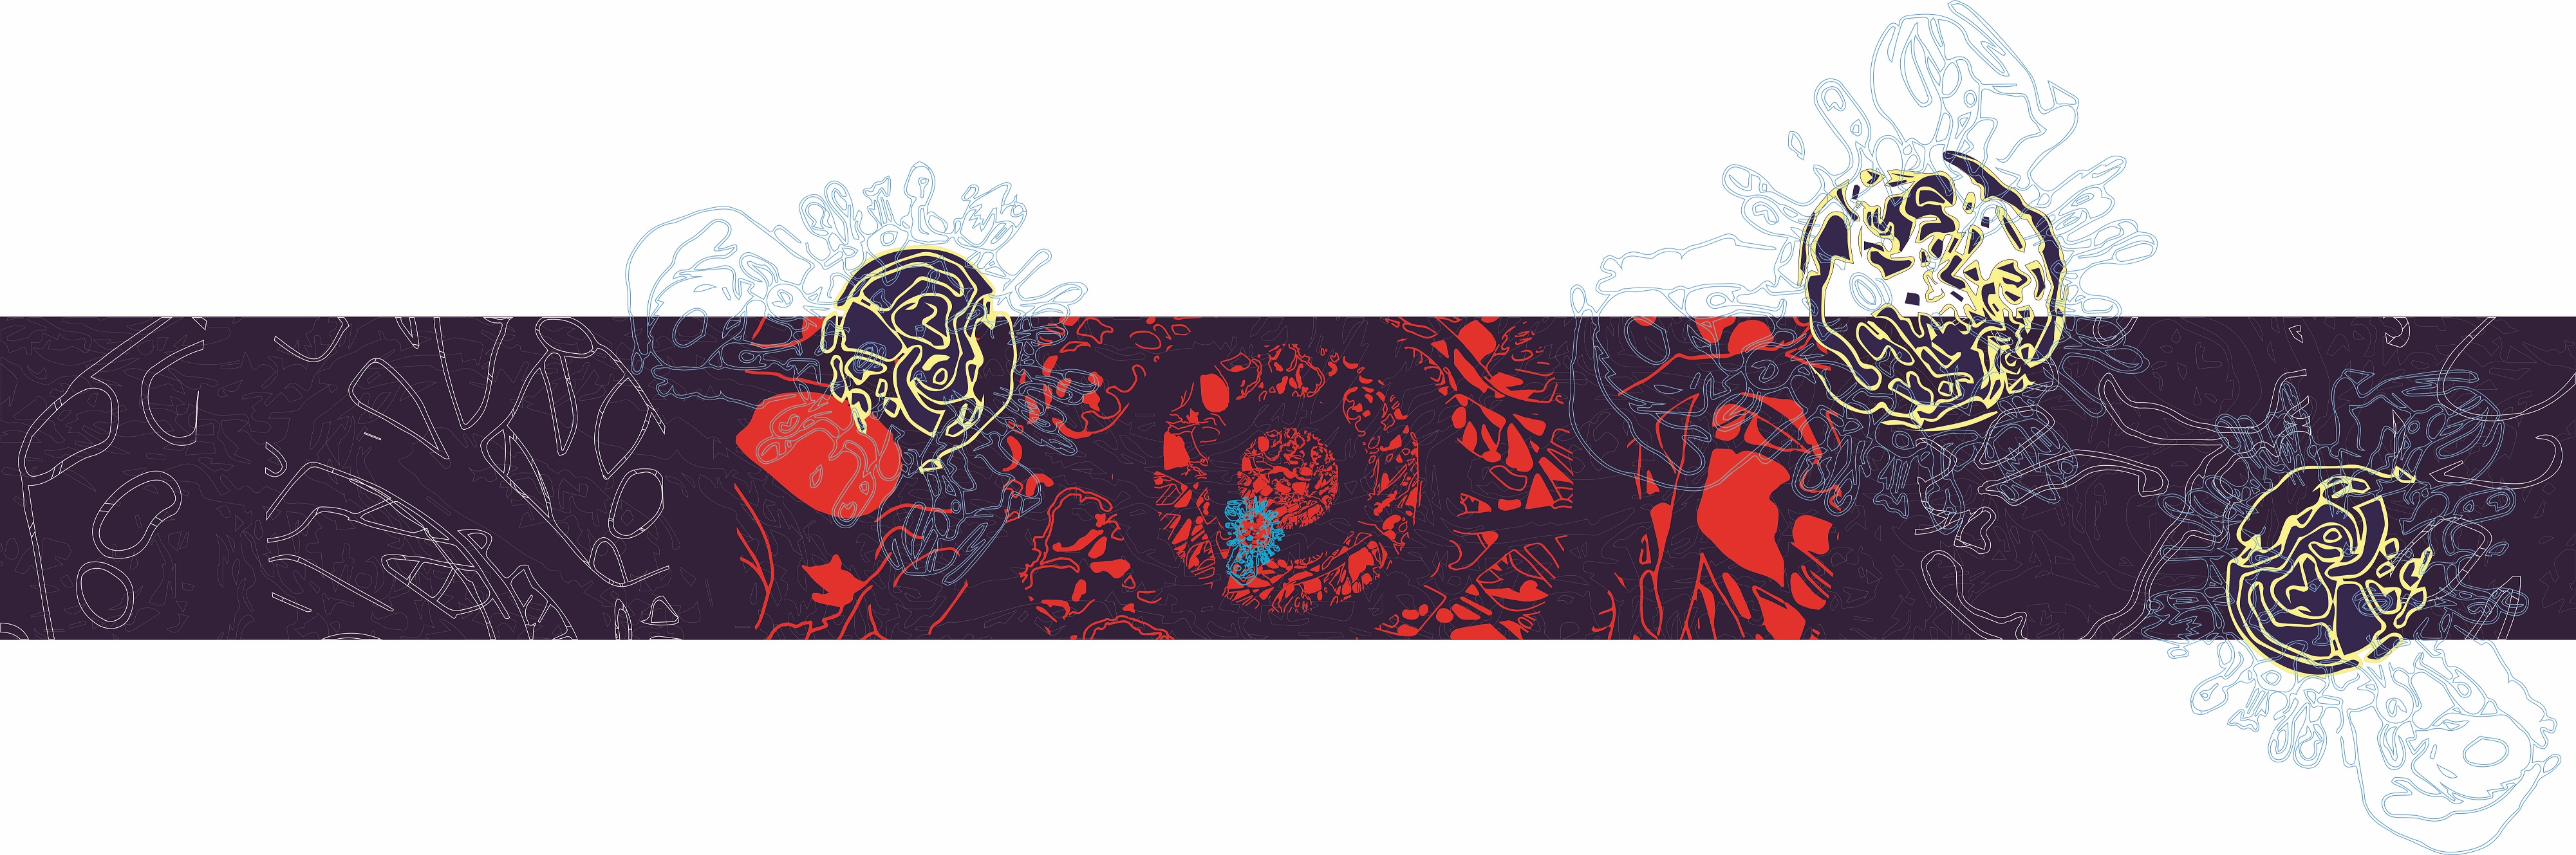
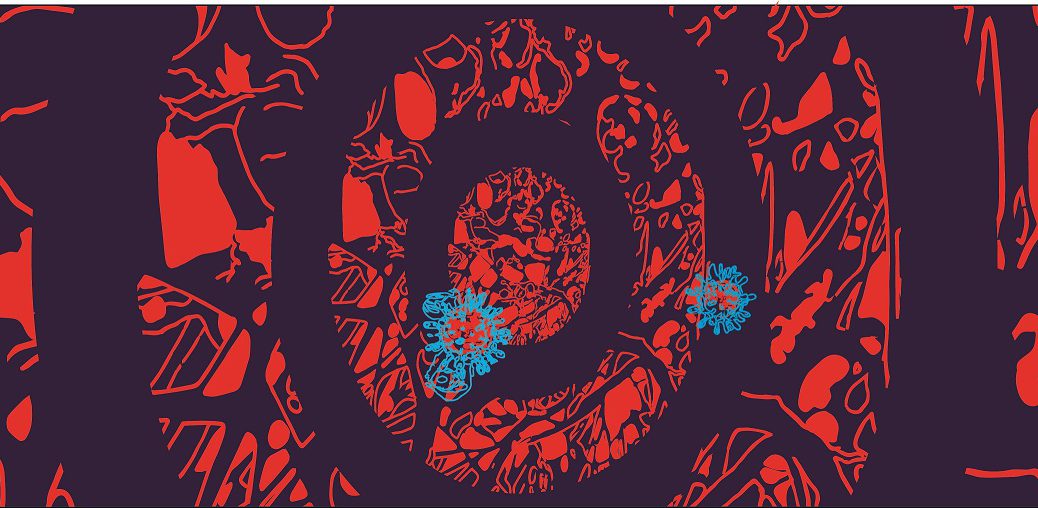
Below are the updated and final version of the still images of Mutation, follow up from the previous posts.
A subtle background included to create texture, using one of the cells obtained during my visit to EMB for research.
2. The patterns are edited to be more spherical or rounder compared to the previous ones which are more elliptical.
3. The size of the virus(es) are bigger to break the red.
4. The colour scheme for the virus(es) were chosen for contrast. The tone for the yellow used for the bigger virus is reduced so that it doesn’t clash with the red as red is supposed to be the center of attraction.
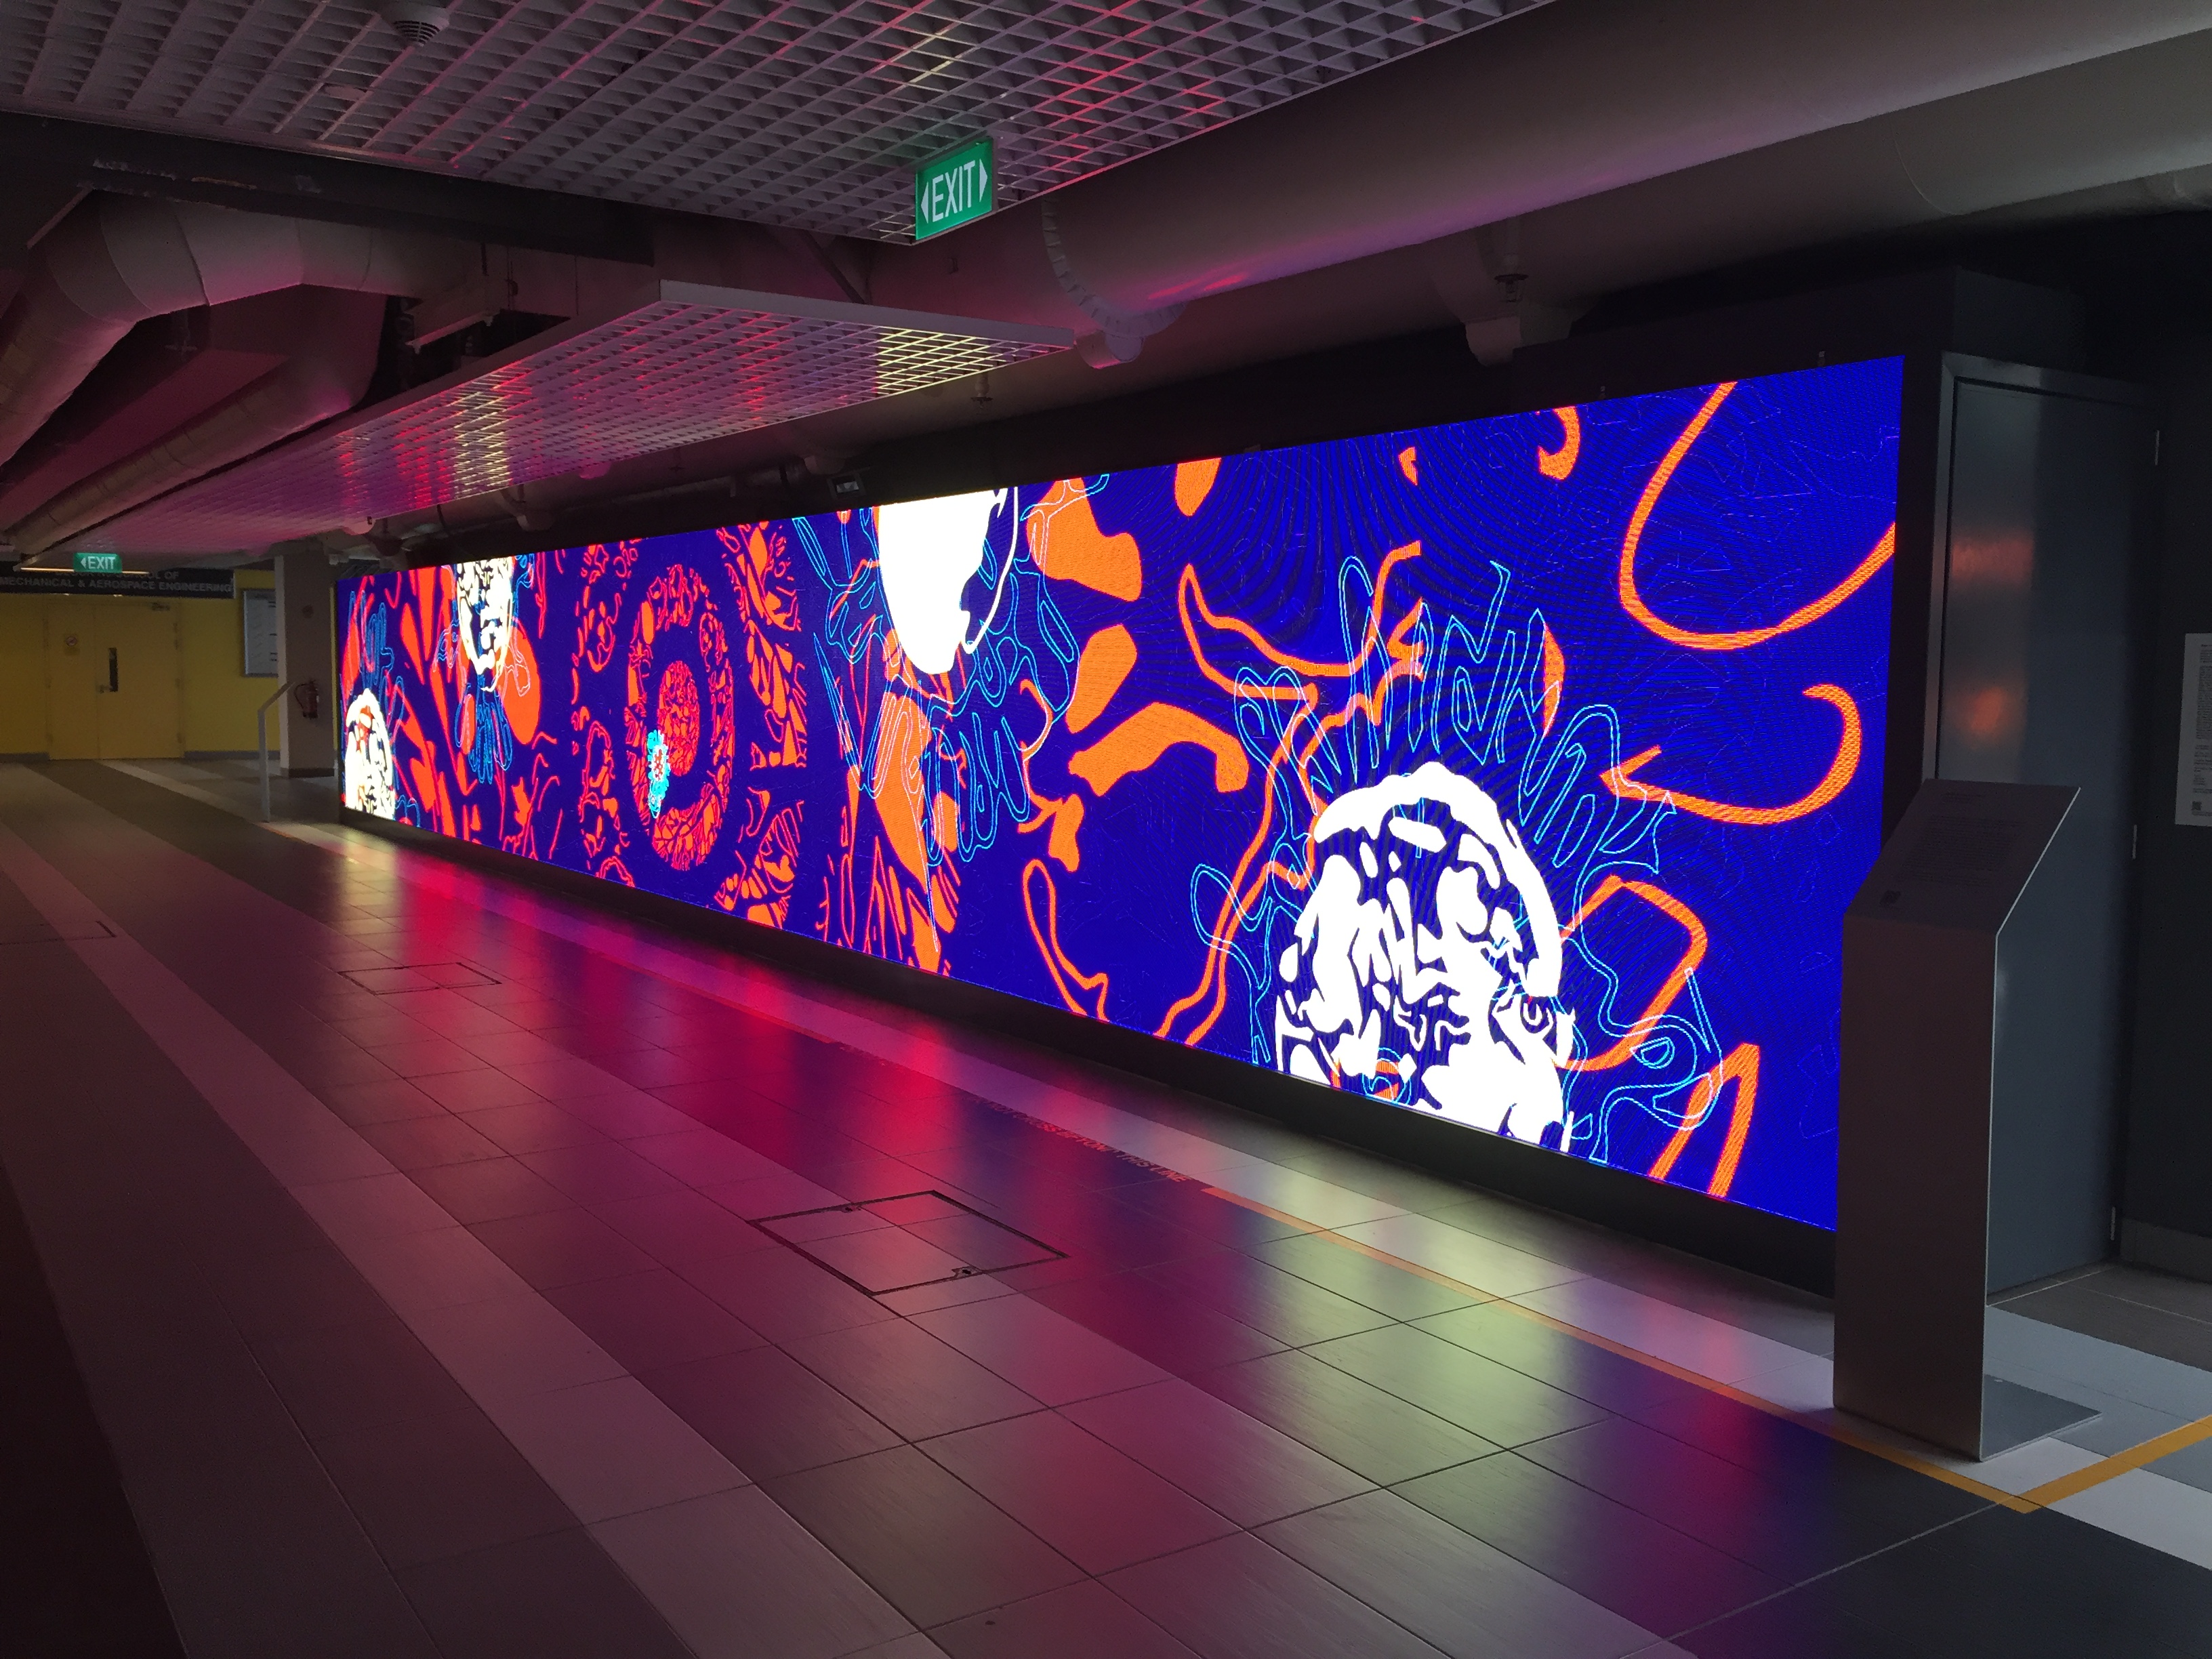
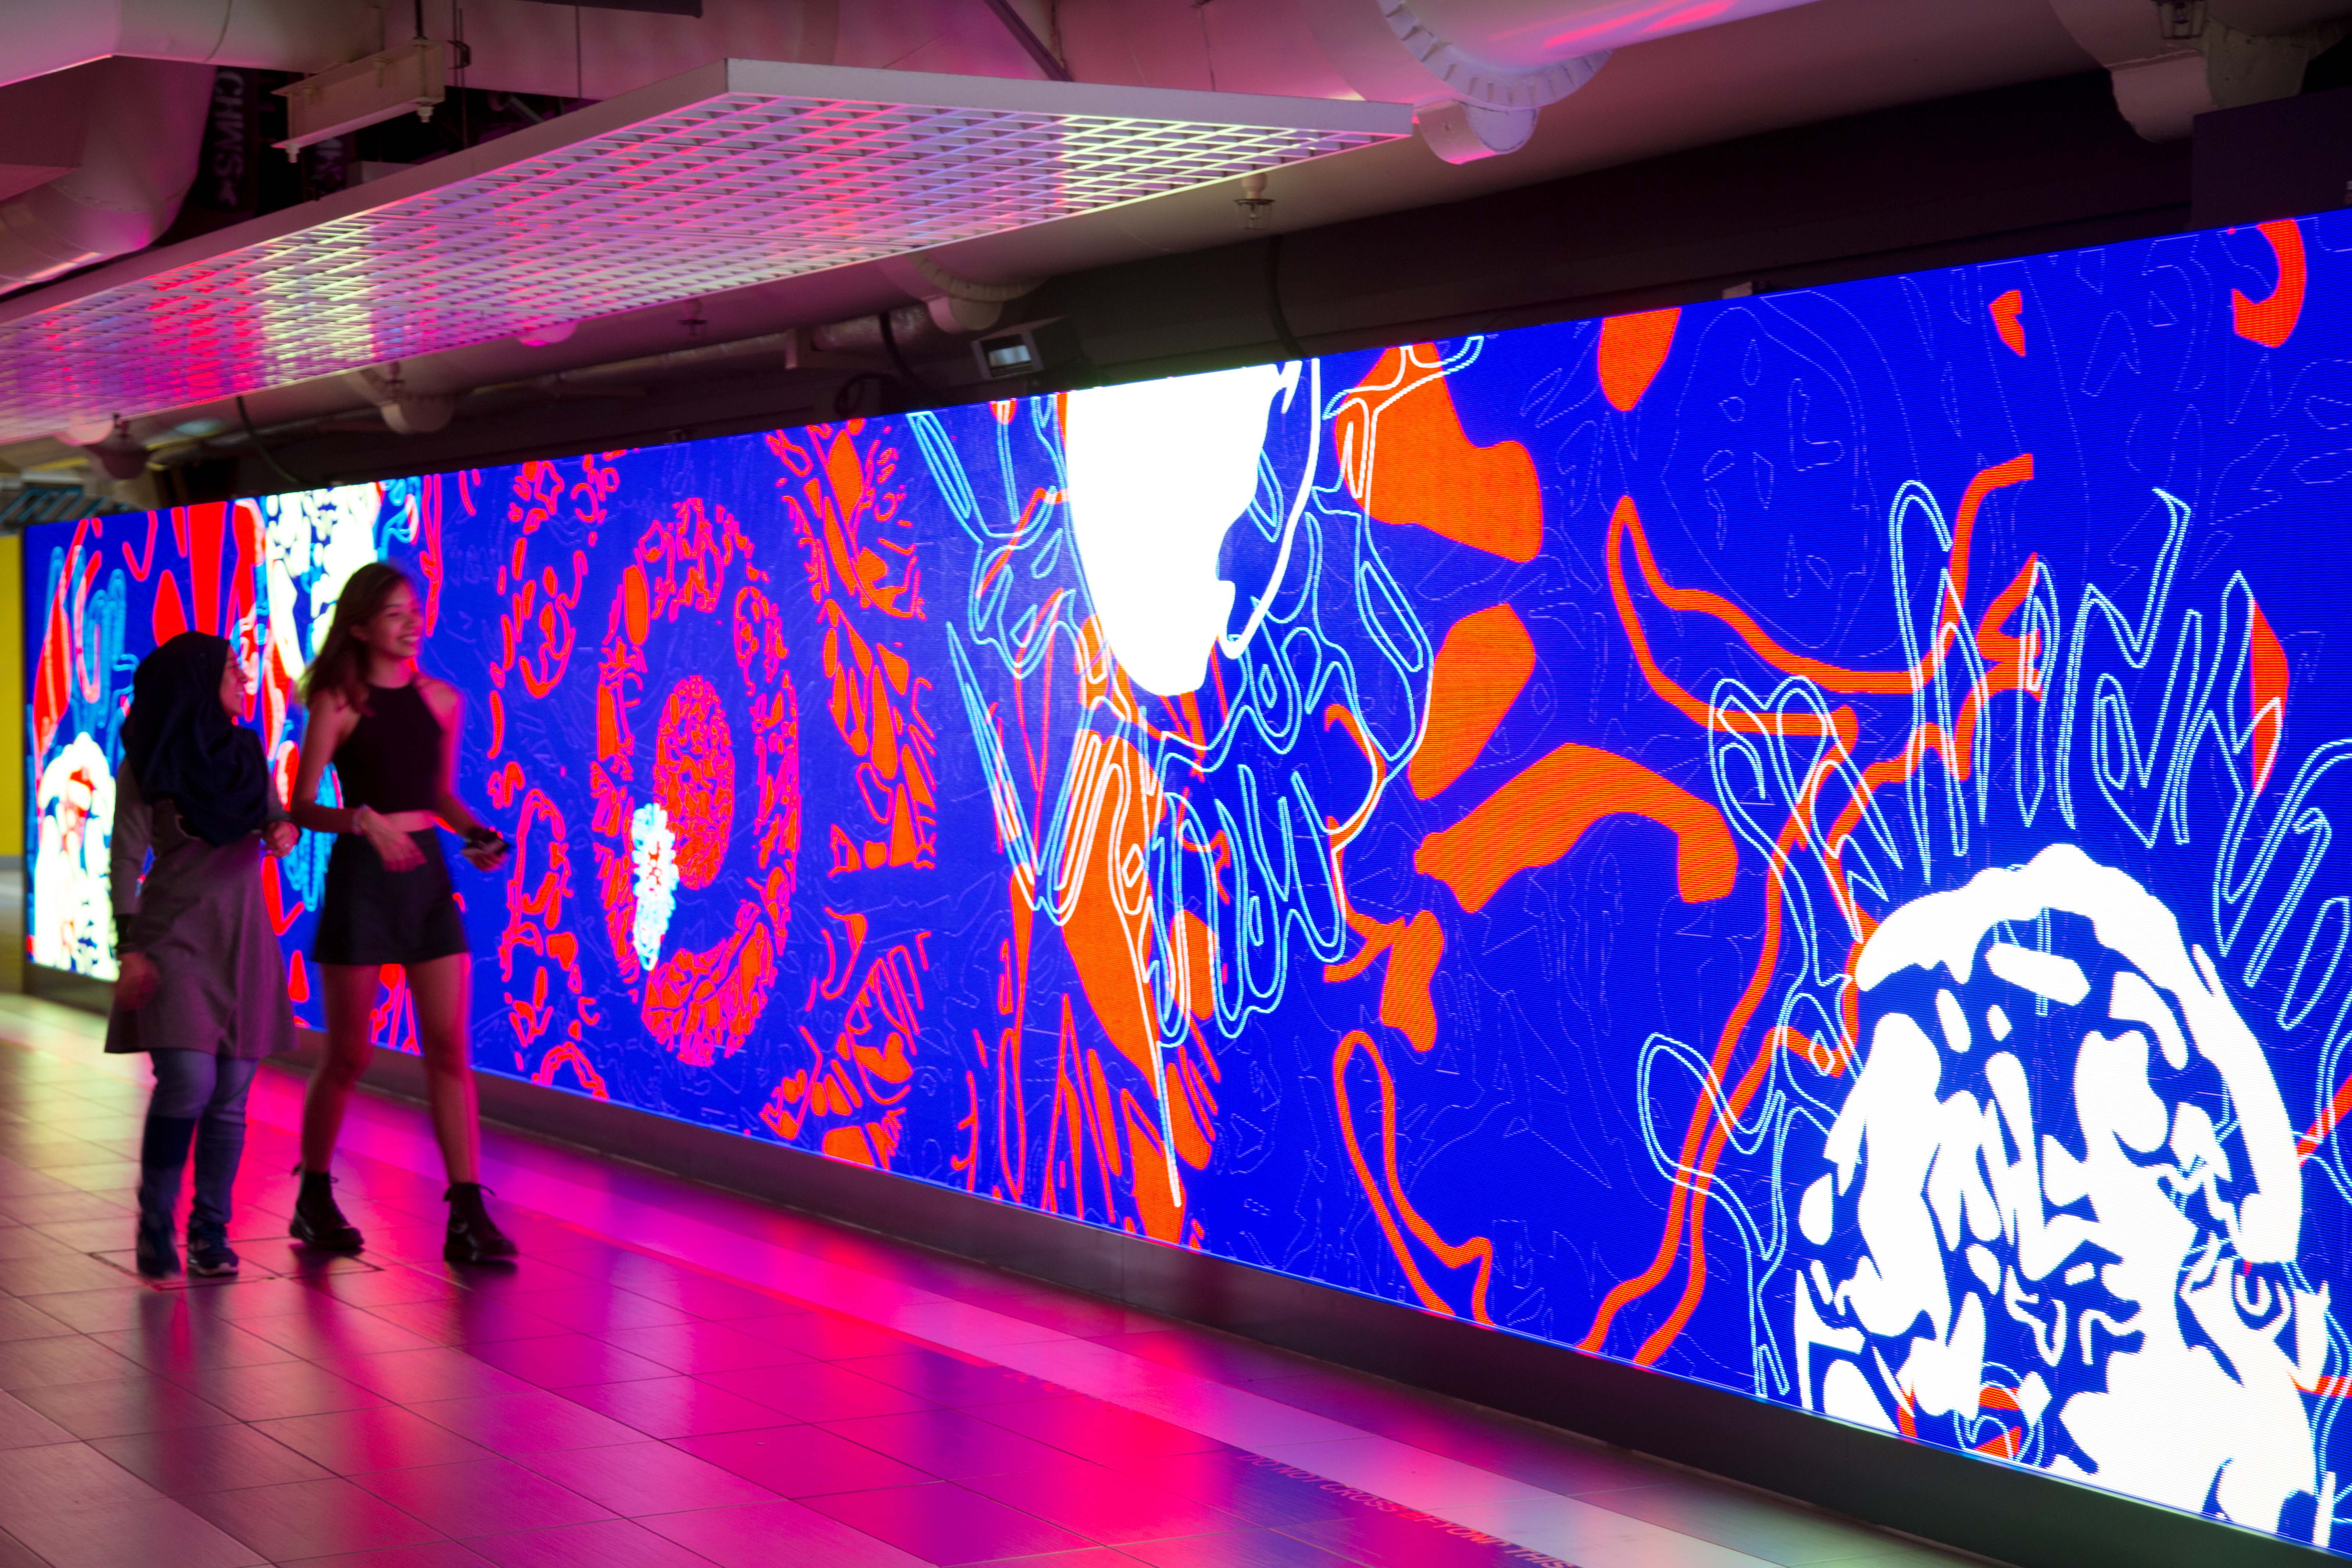
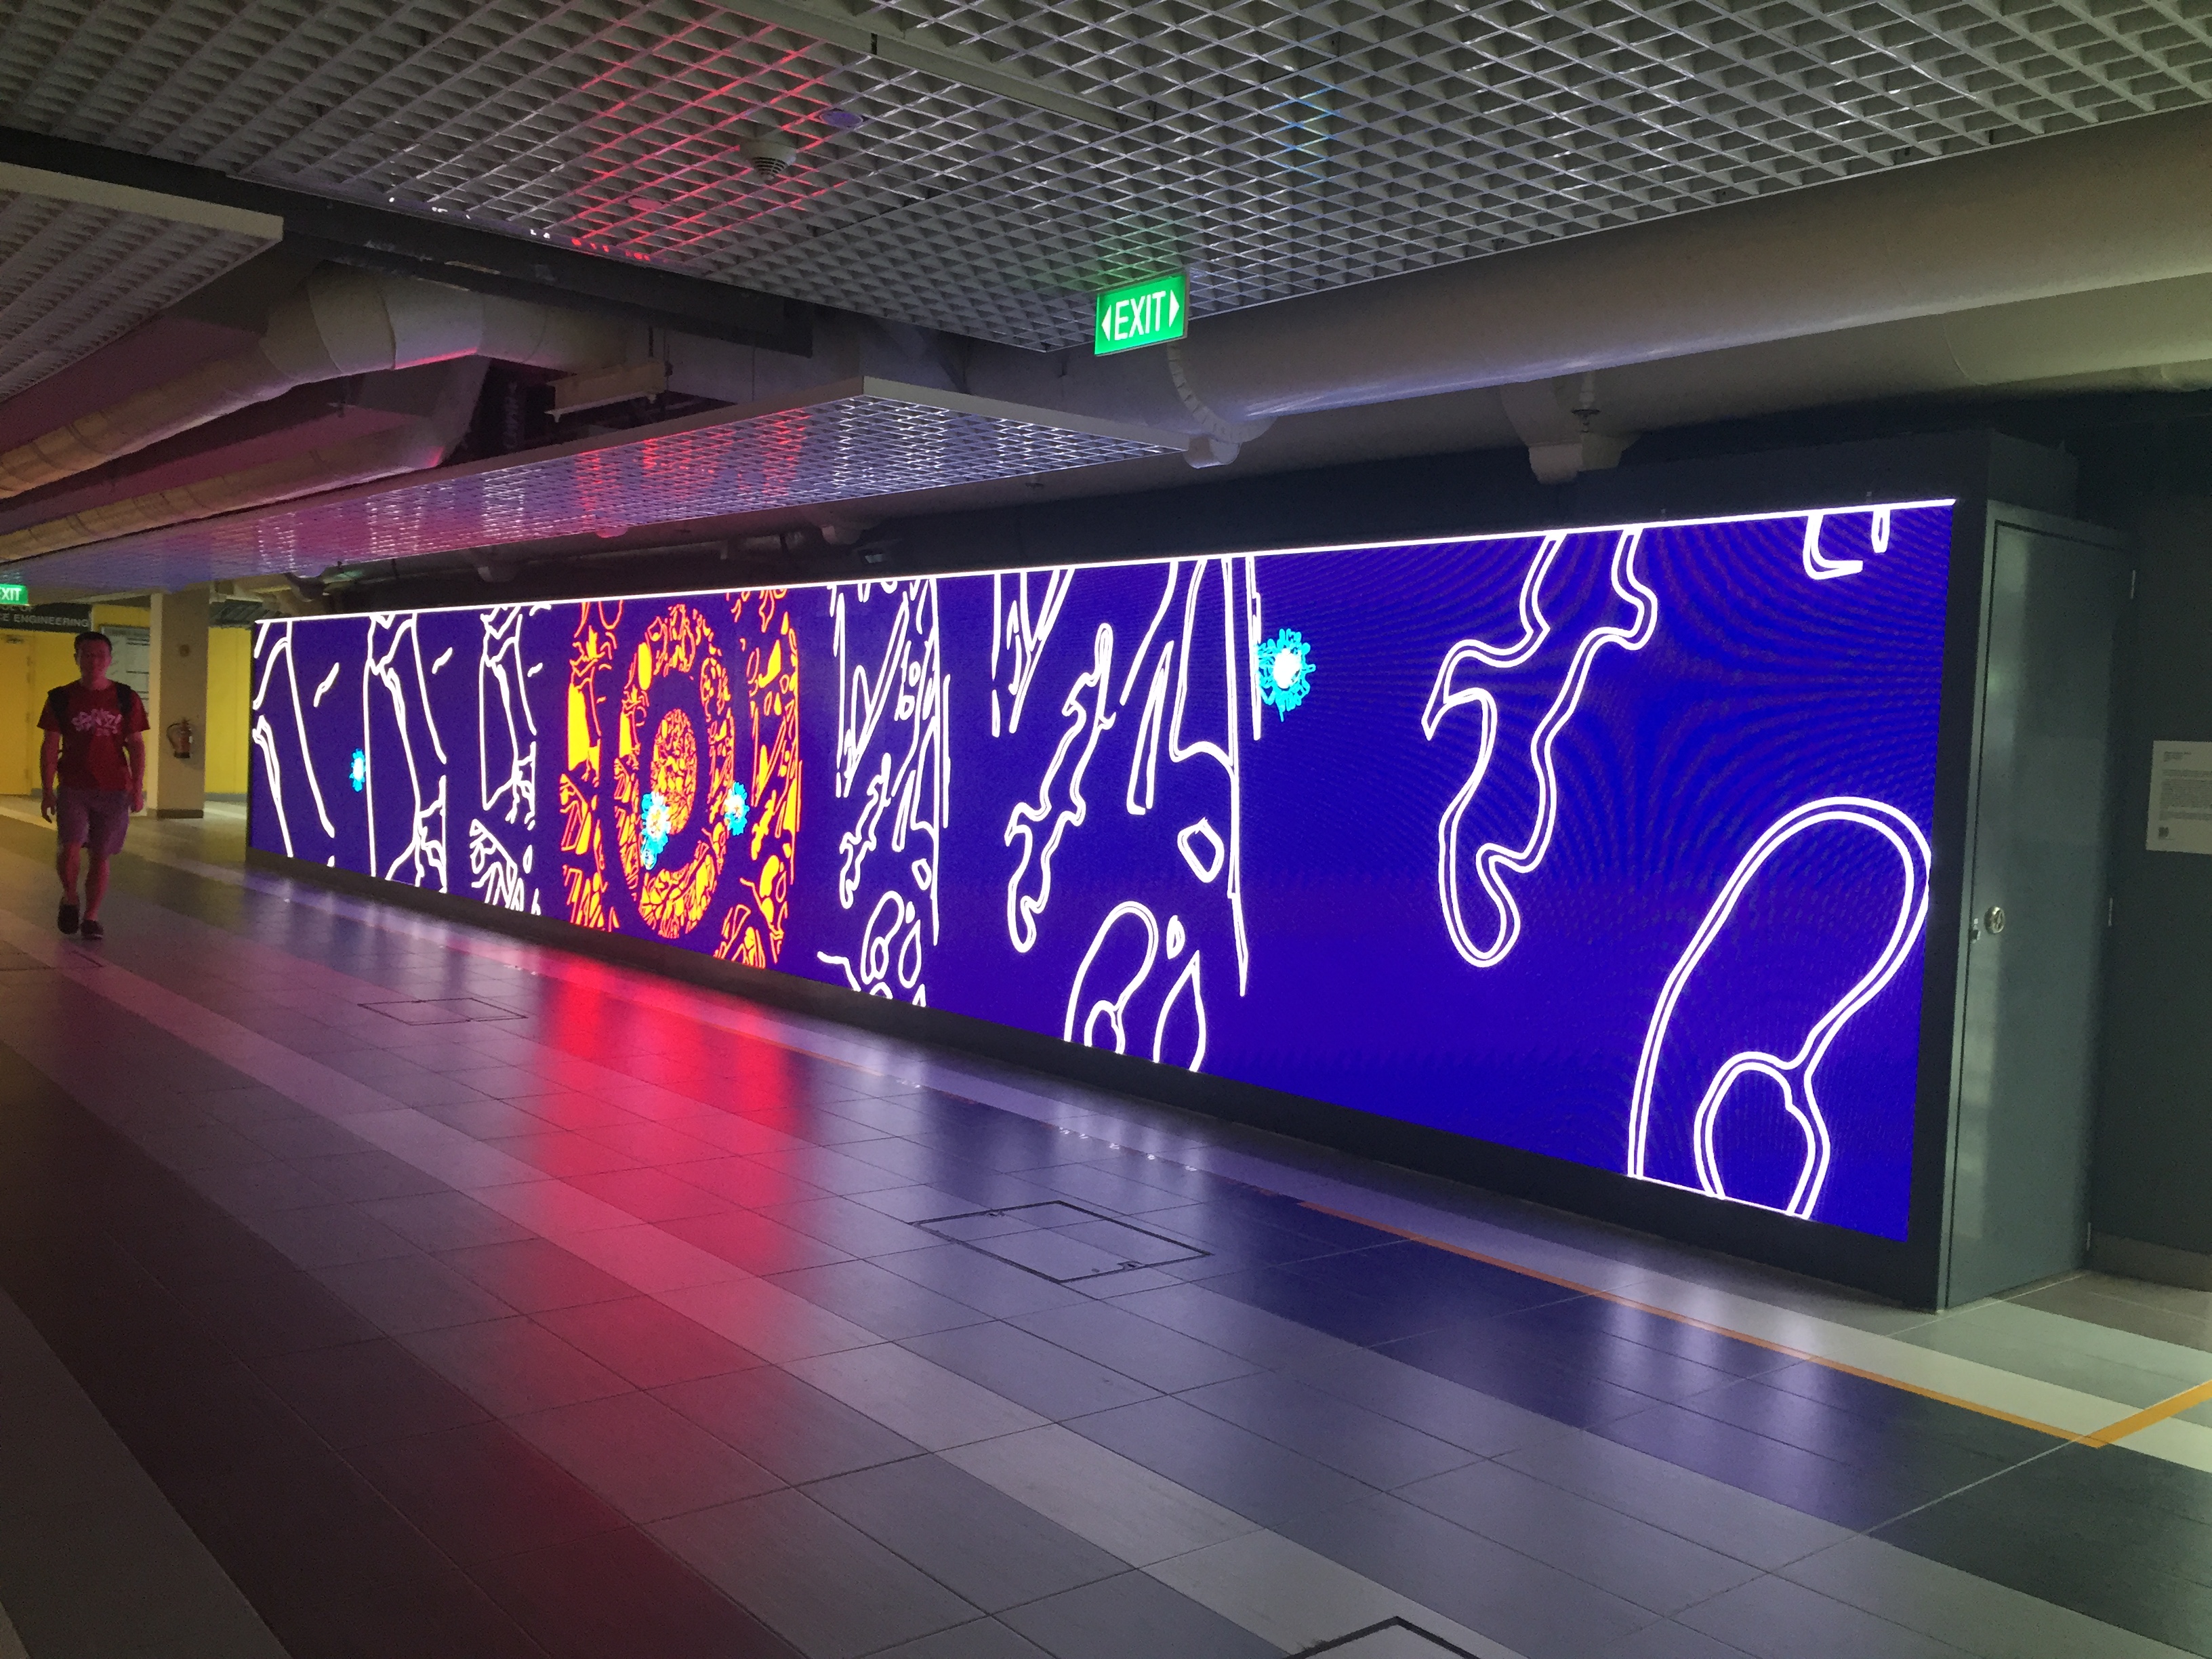
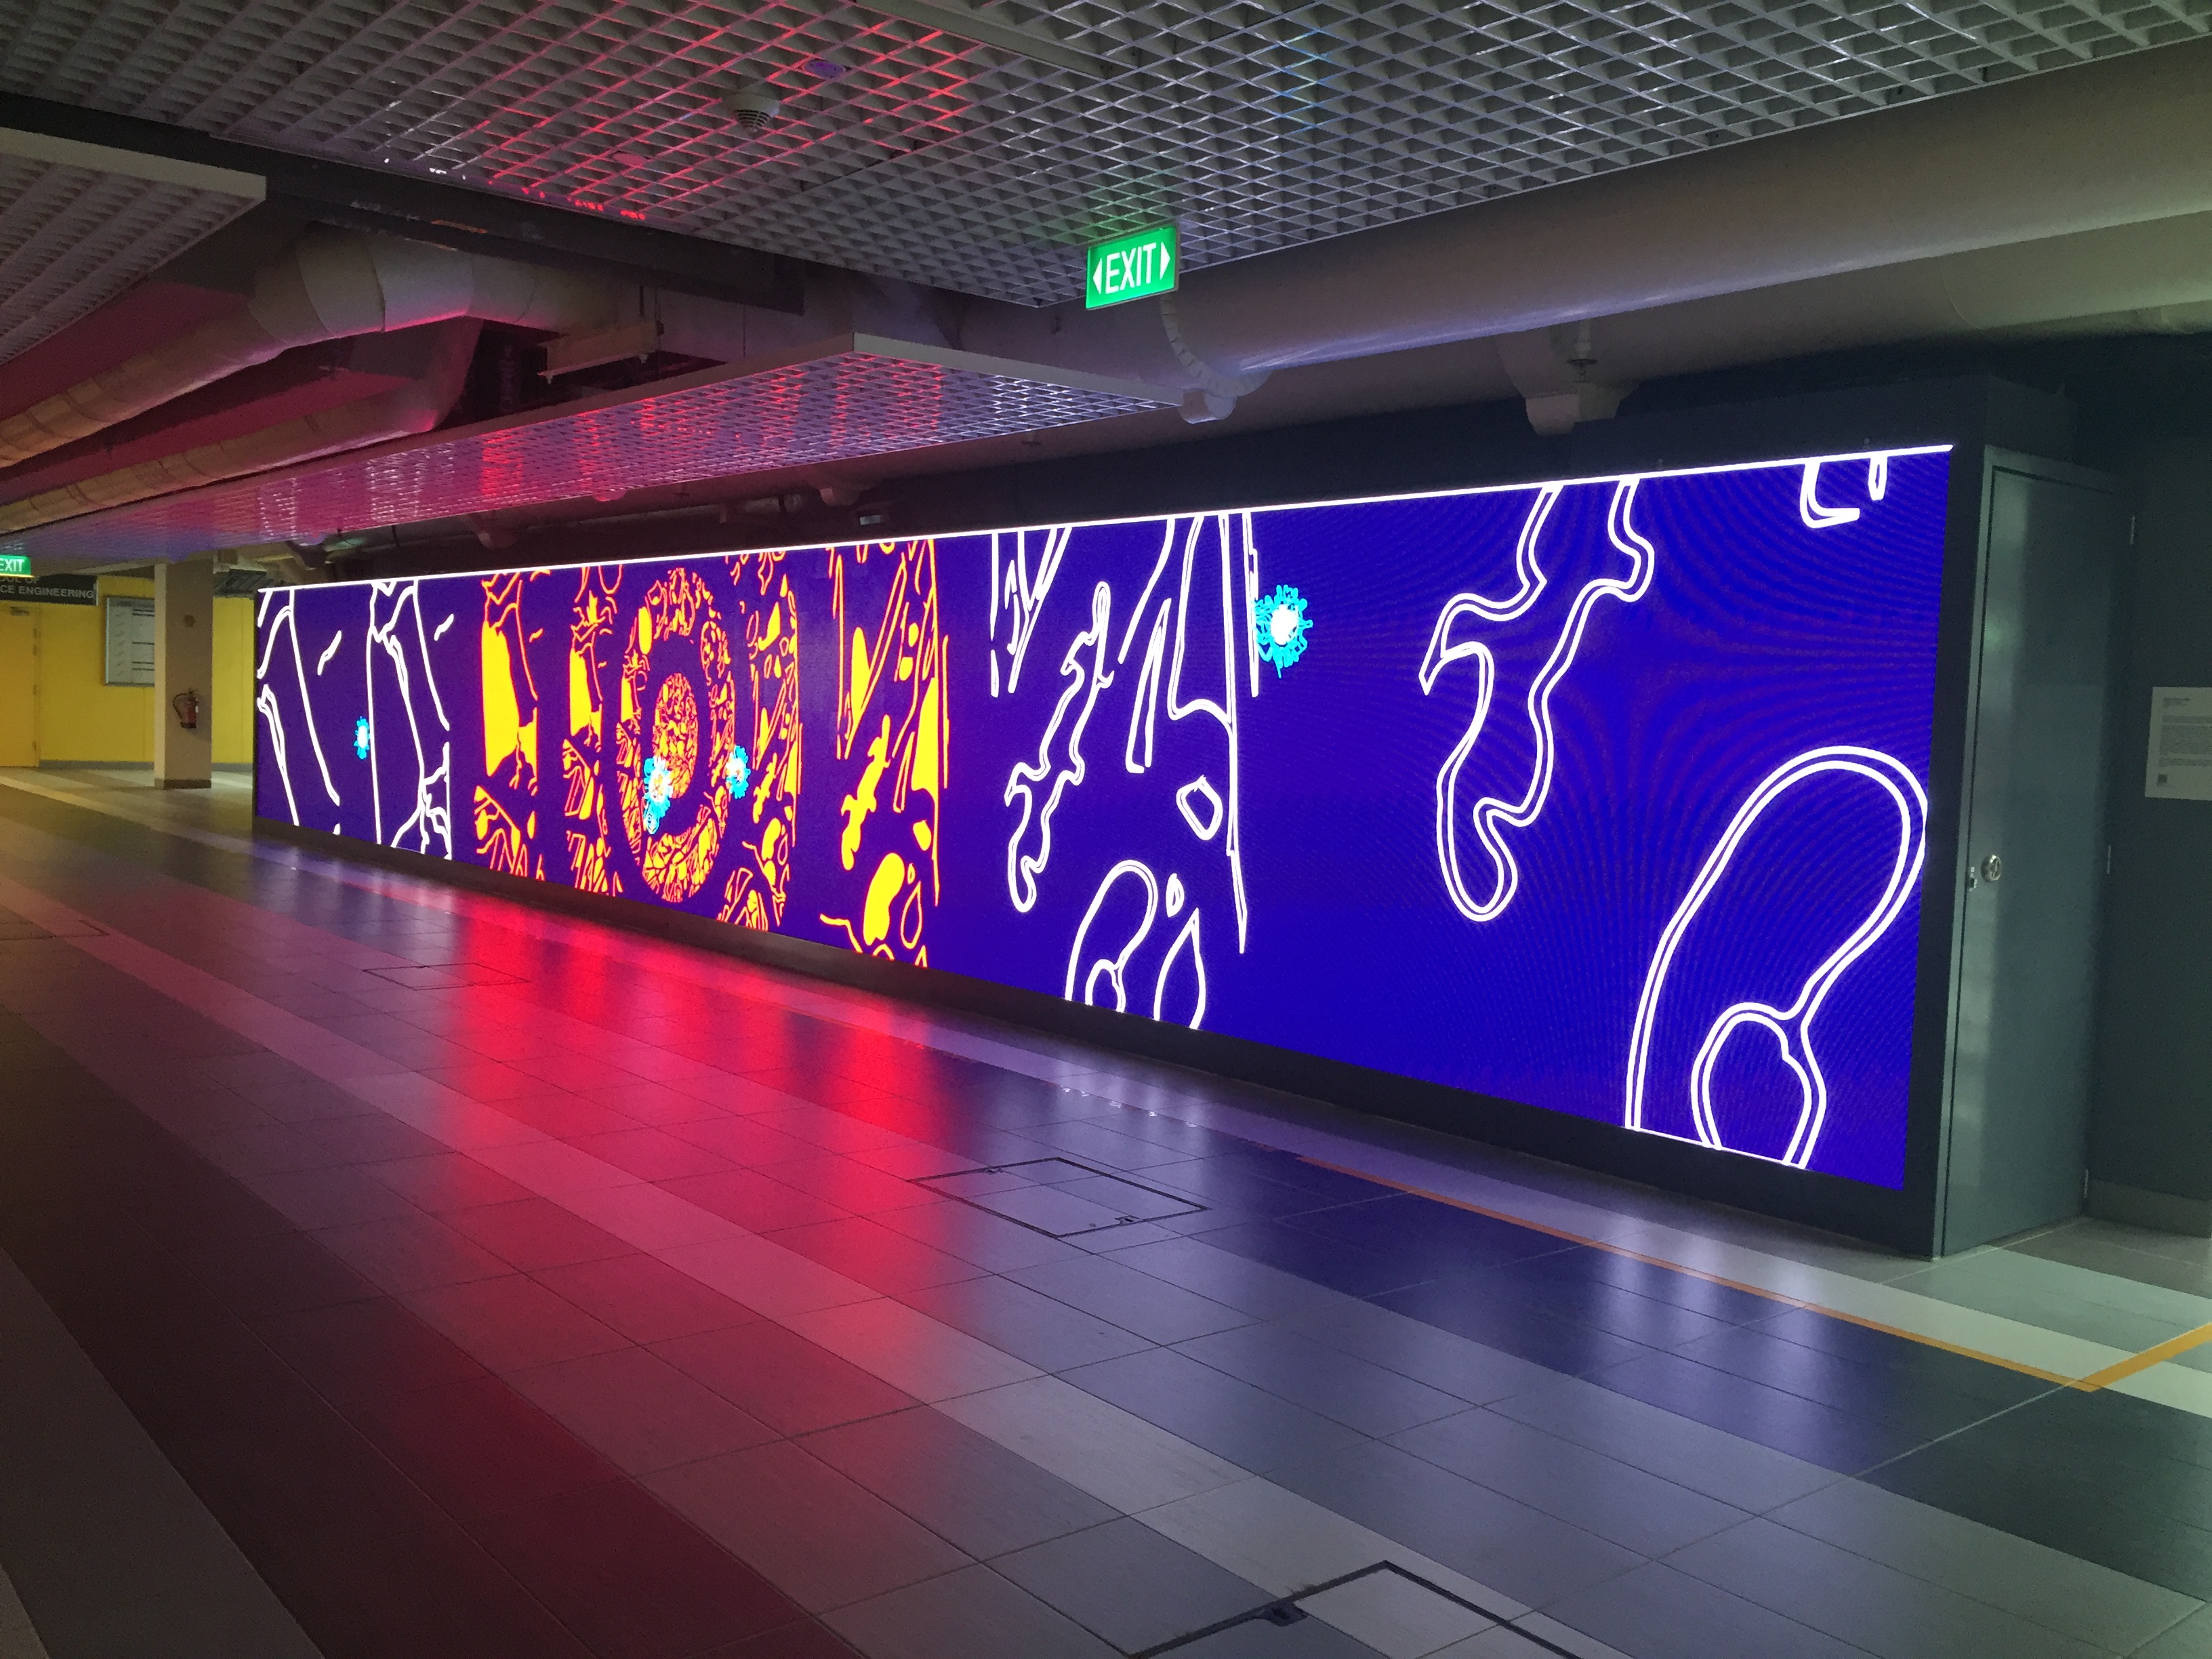
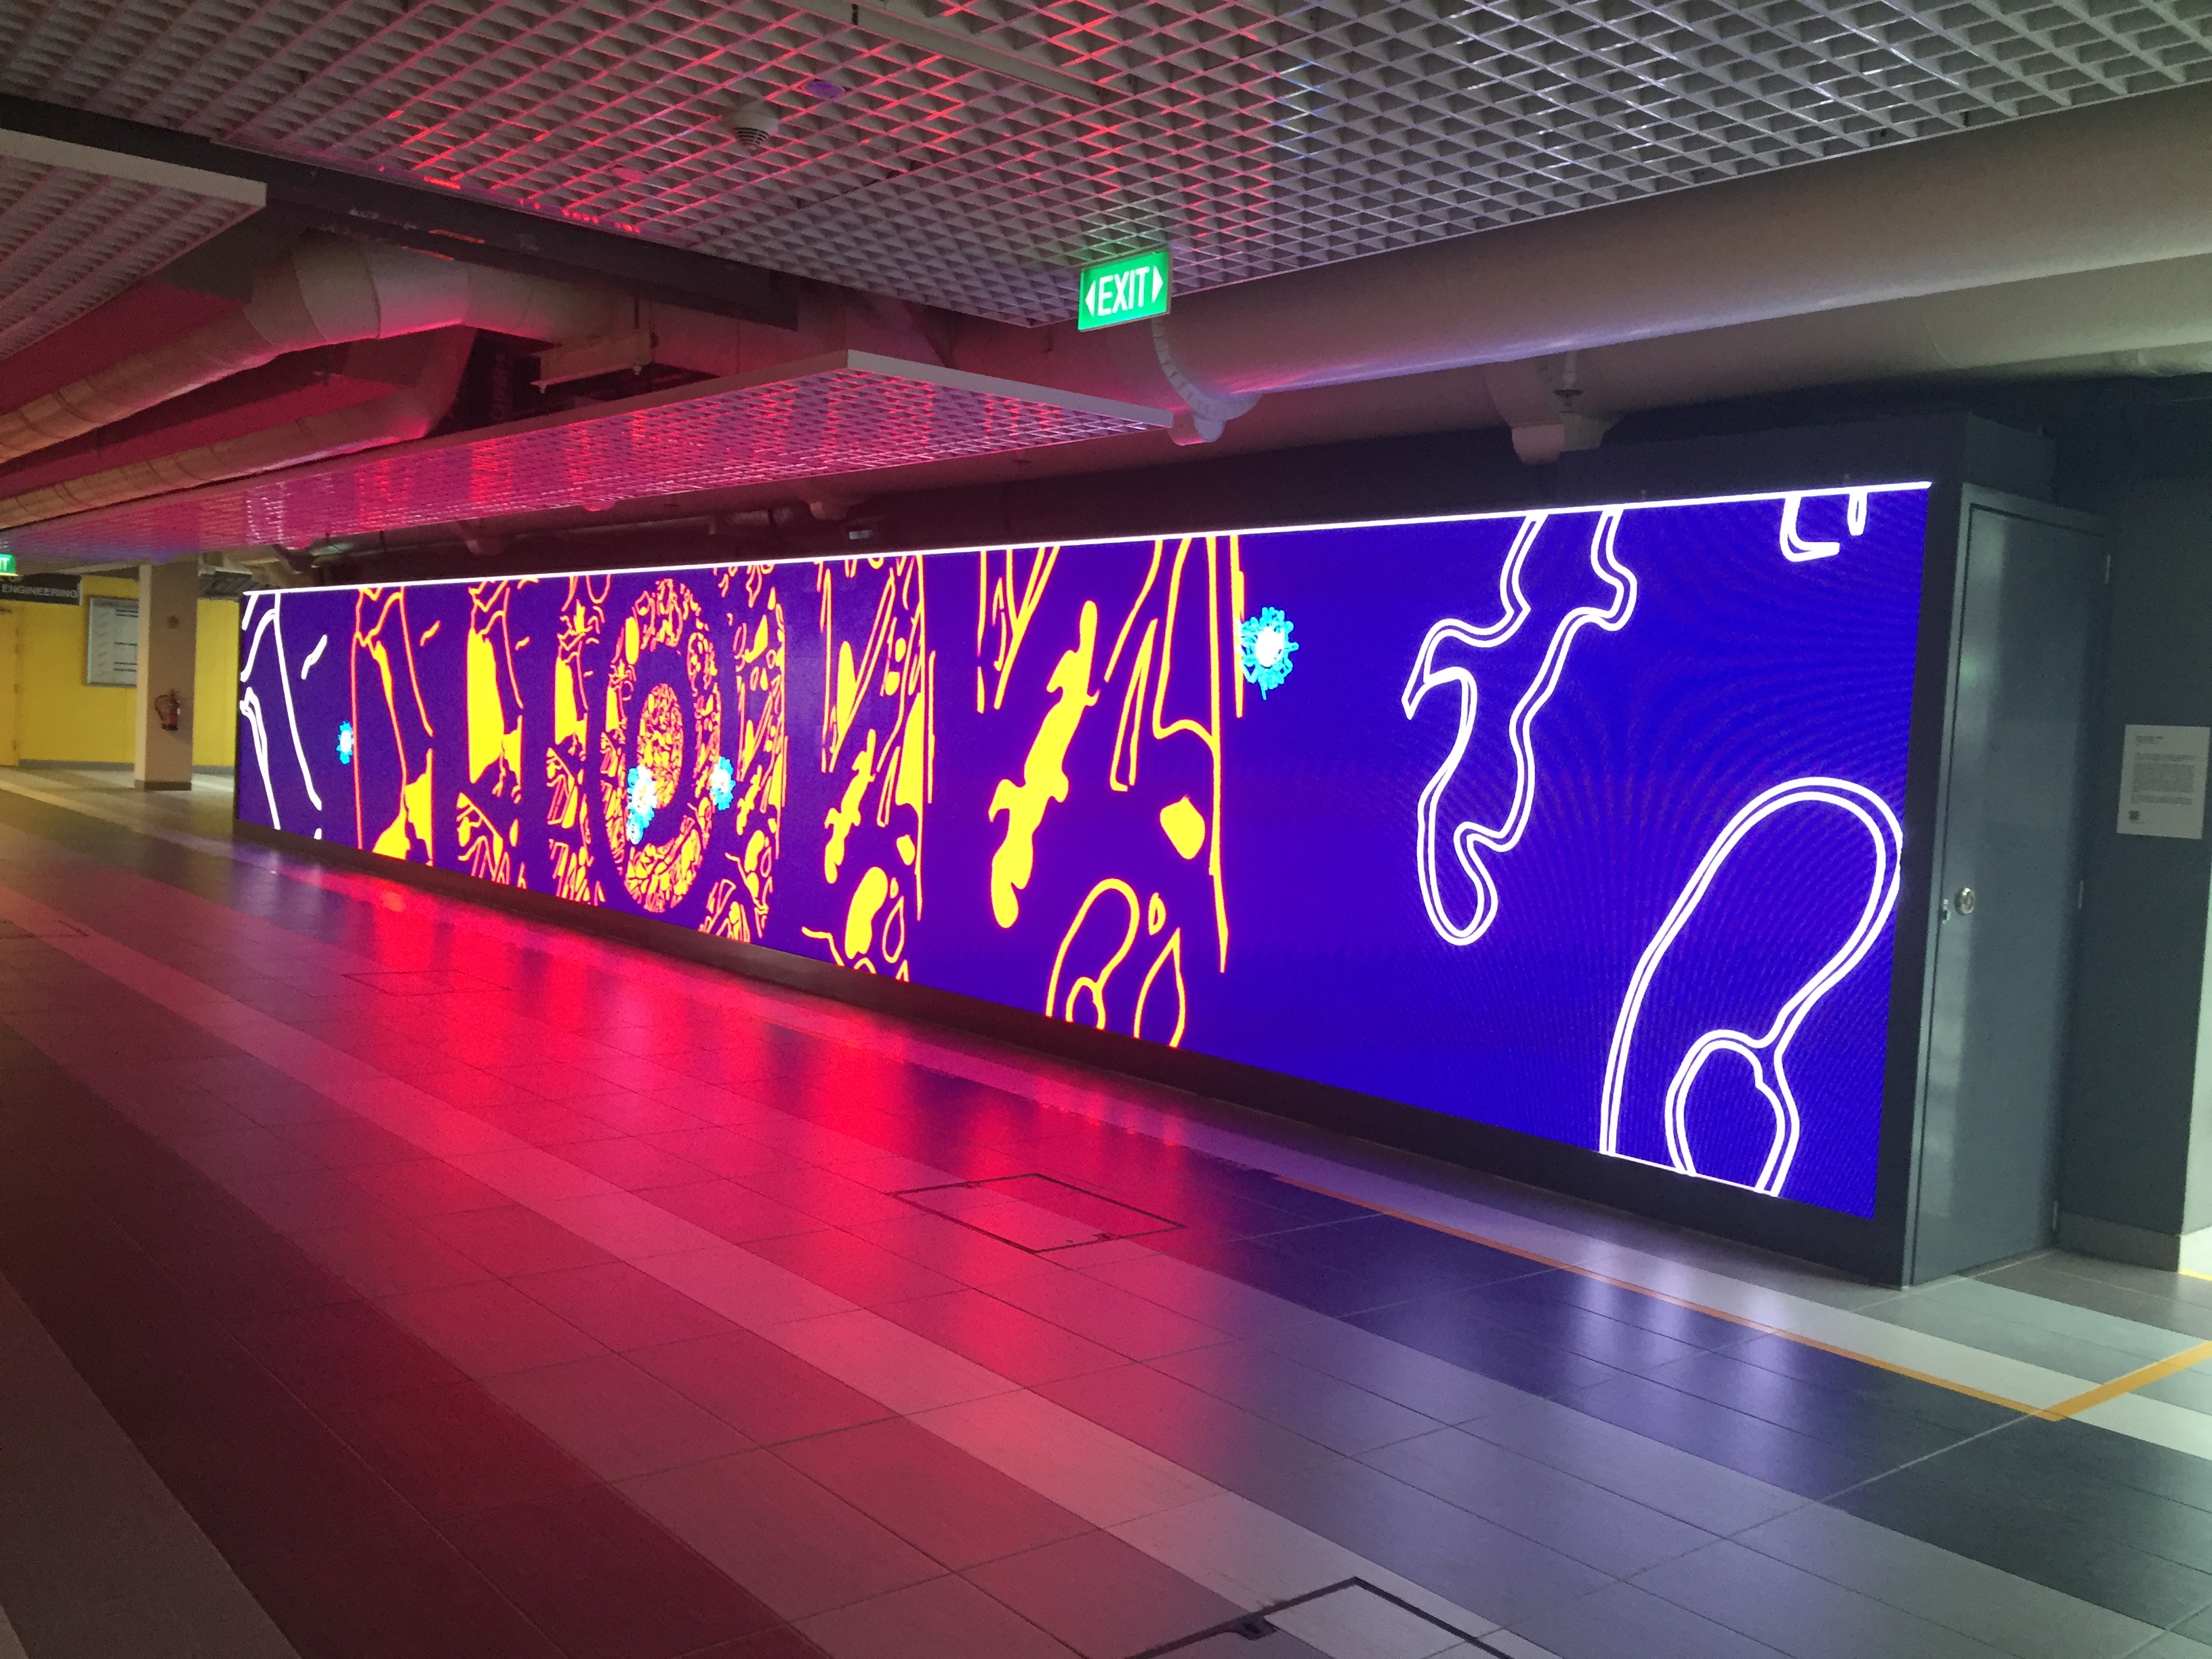
Here are the images captured during the still image test on the media wall:
With the test, I managed to see the scale and proportion of the still images. However, with the white gap between the top panel and the background, there is a need to increase the size slightly more than the size of the panel itself.
Additionally, the background looked rather flat and plain thus I thought of adding texture. Probably will make use of the slideshows I have collected during the visit to the Medicine Lab.
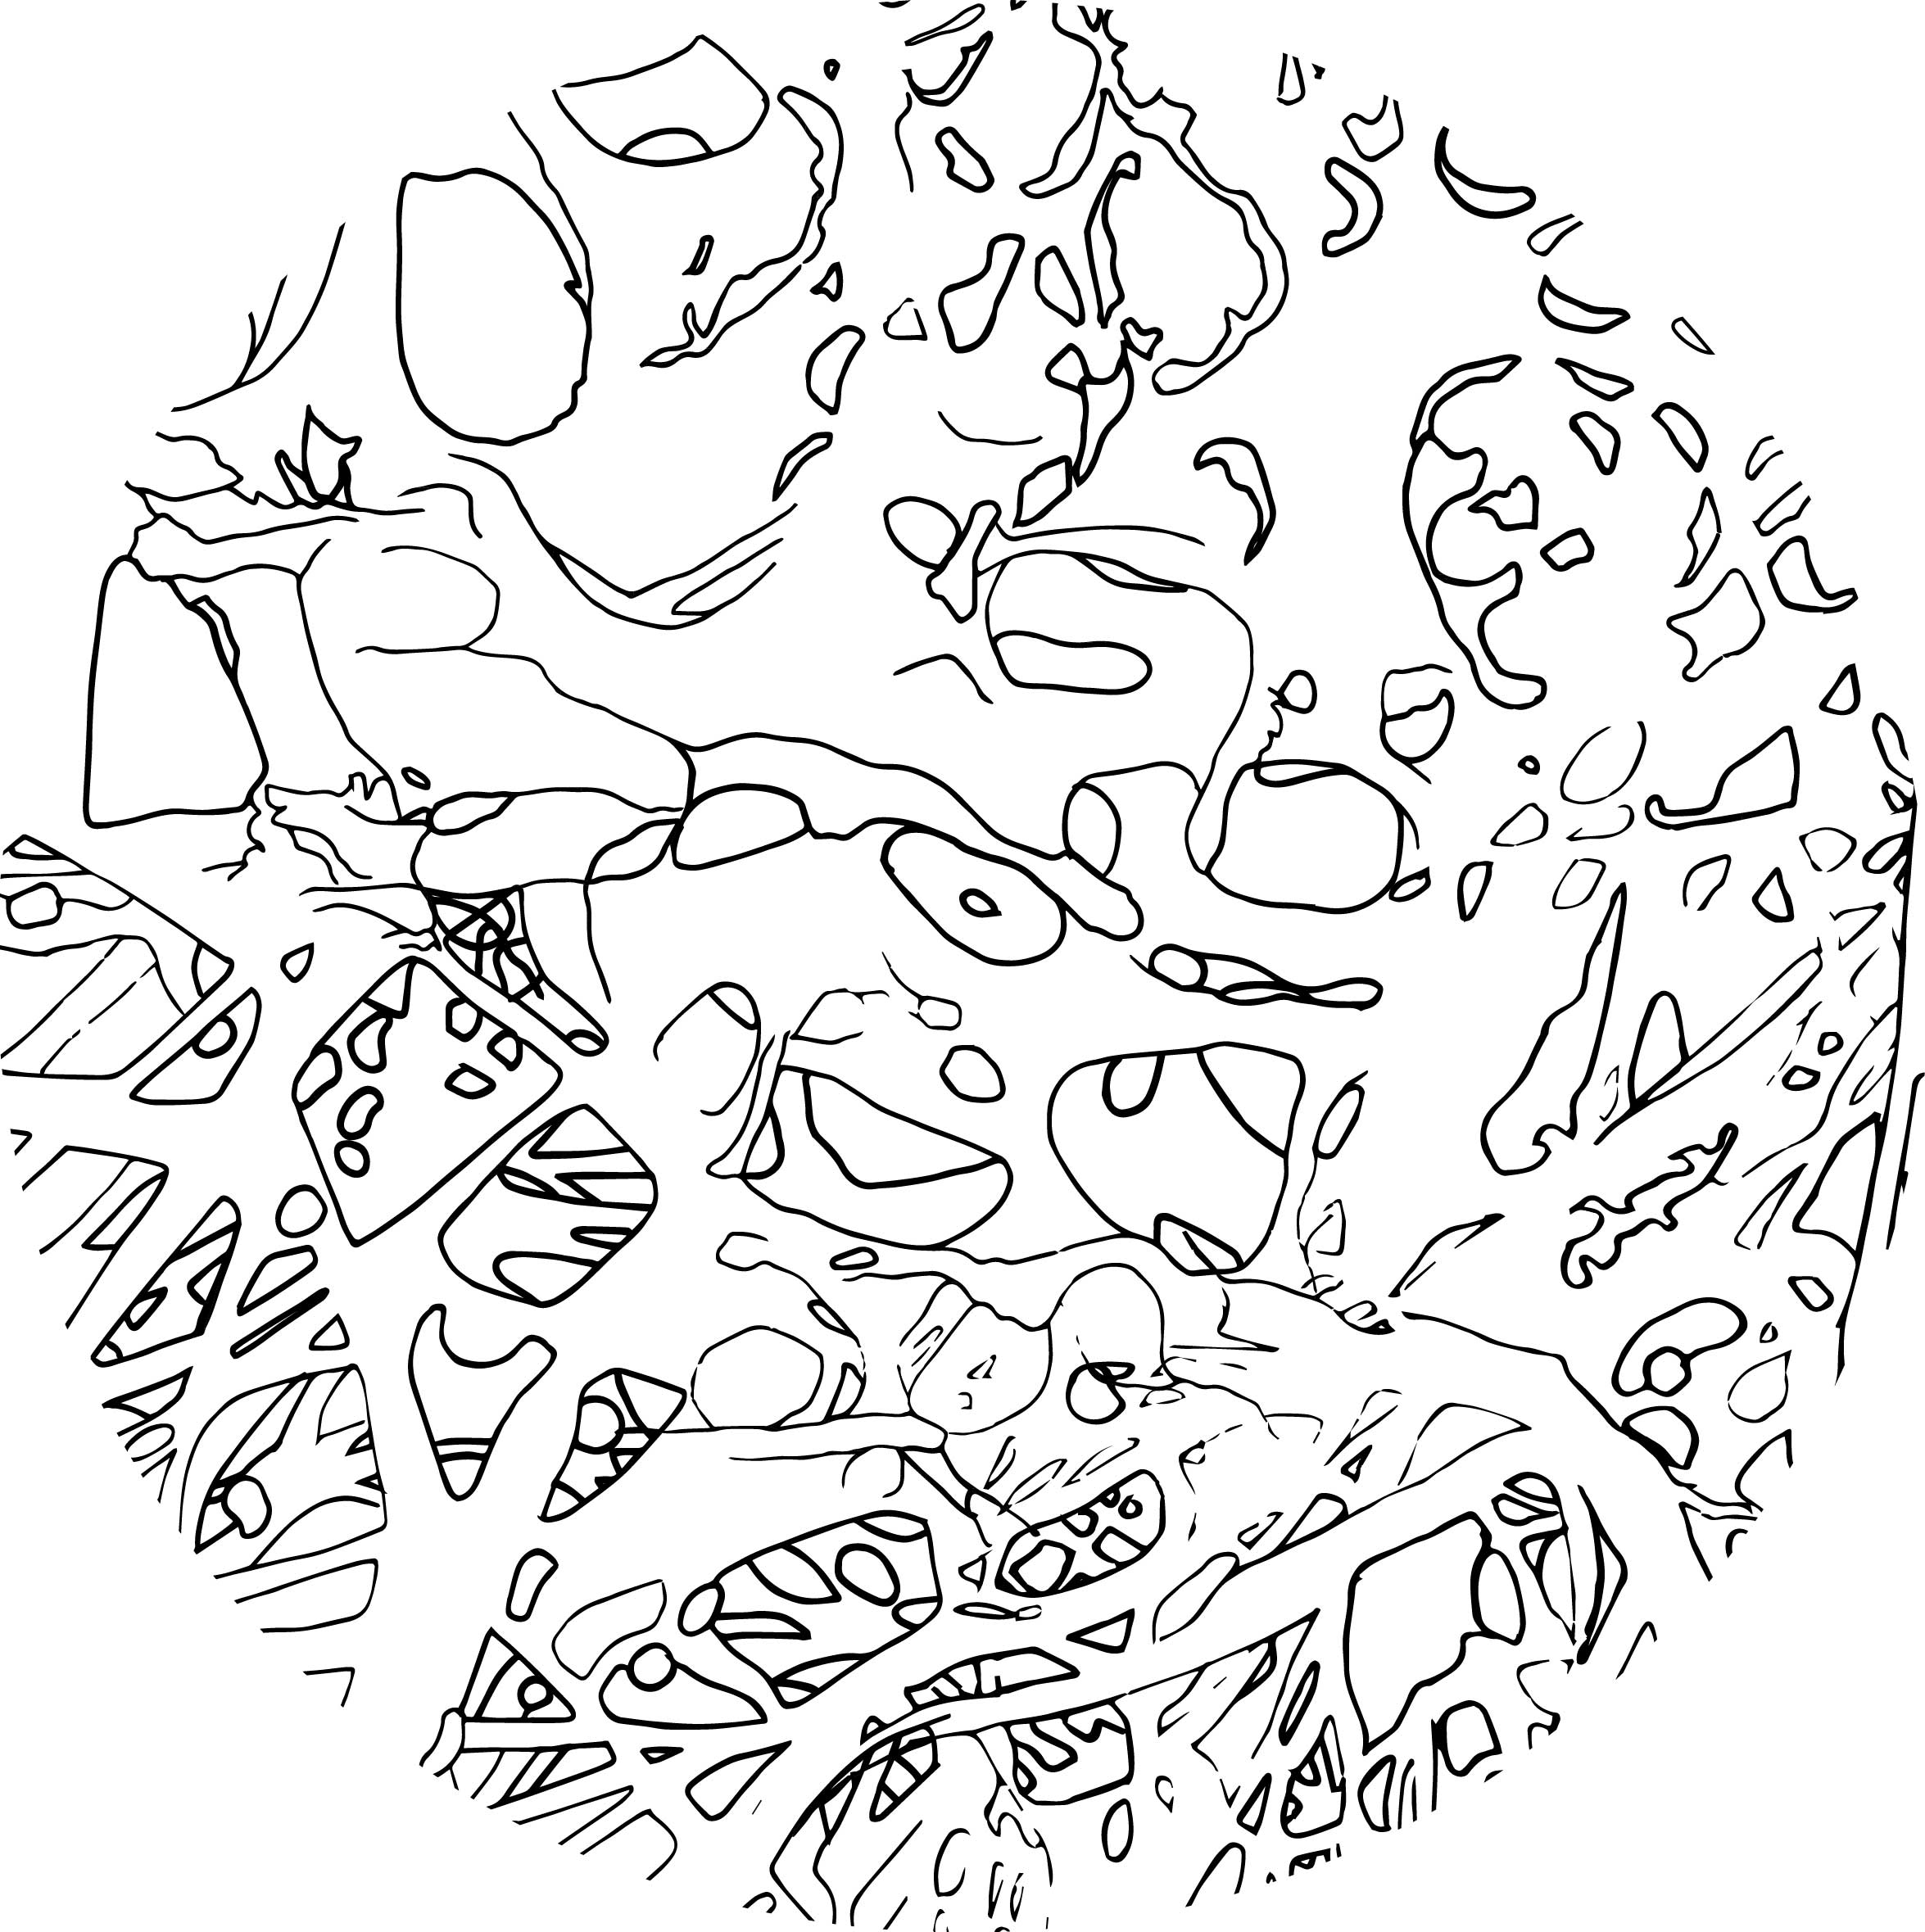
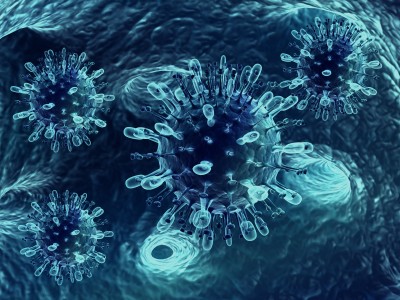
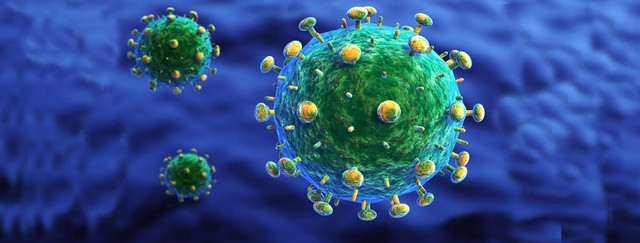
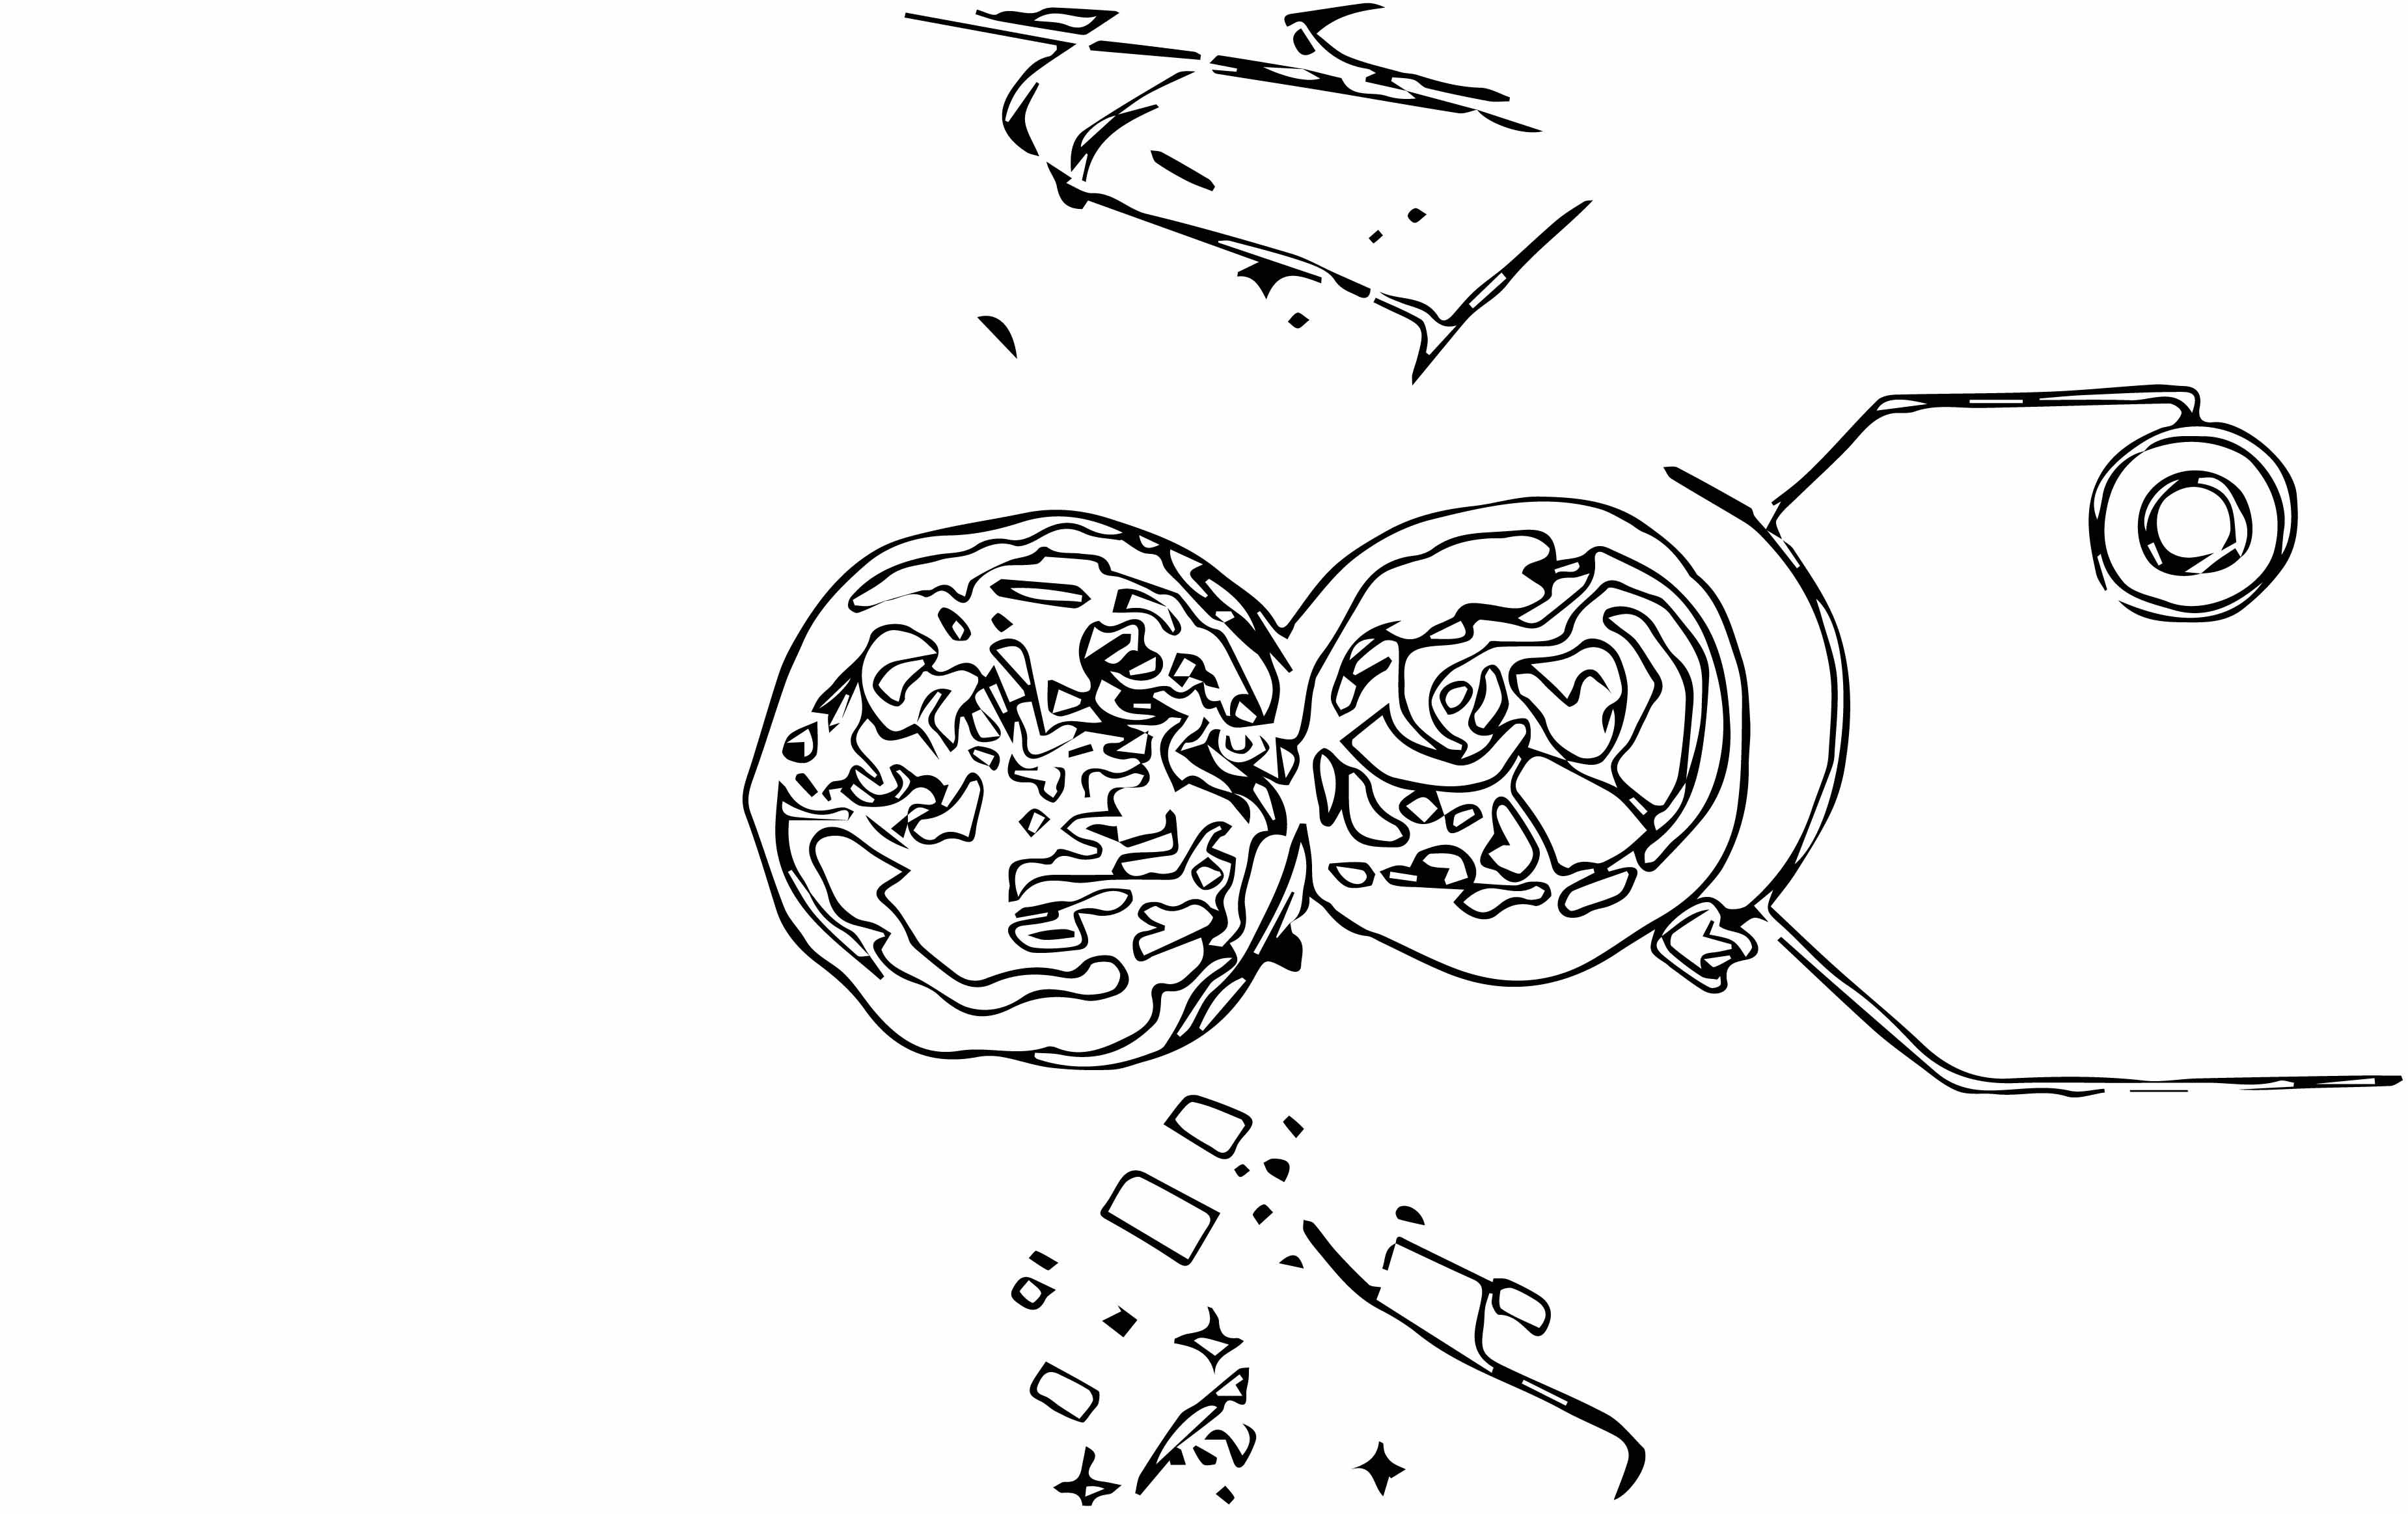
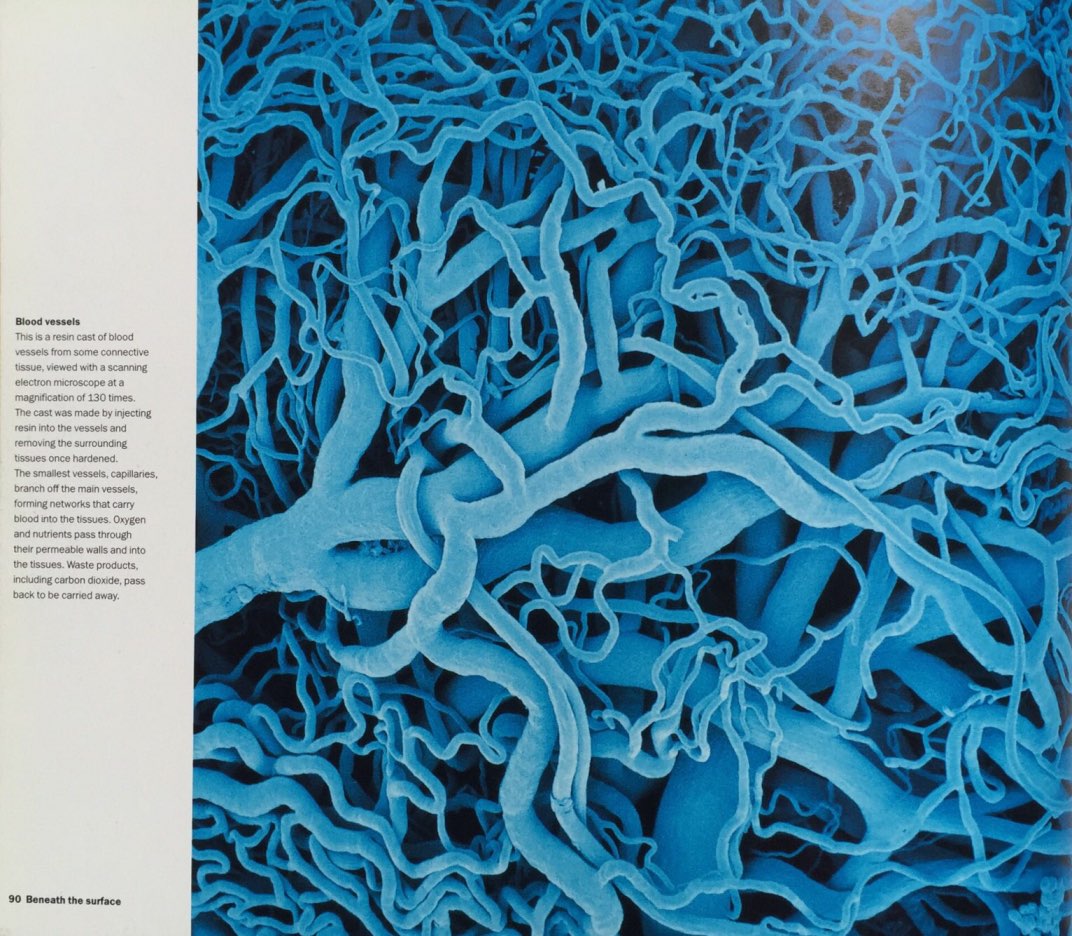
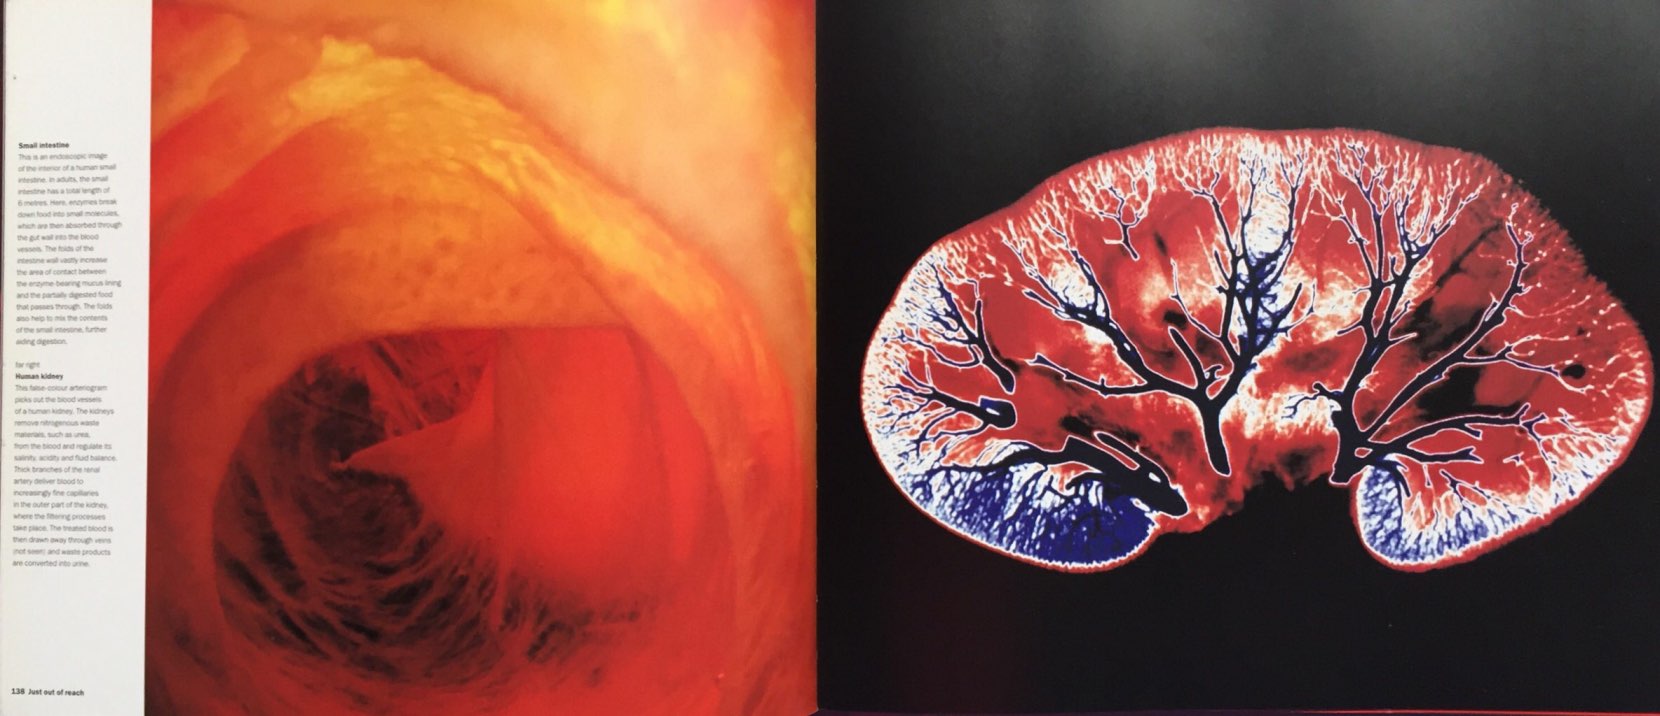
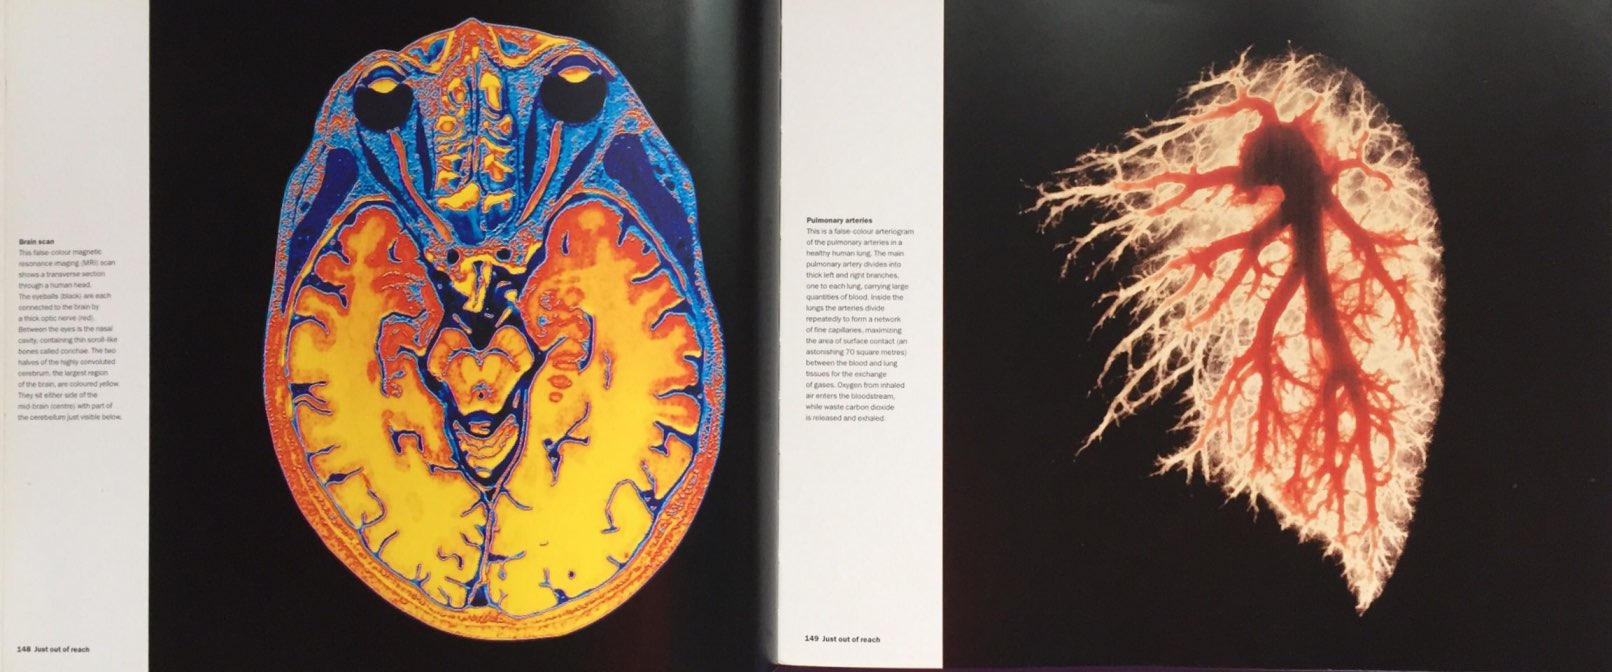
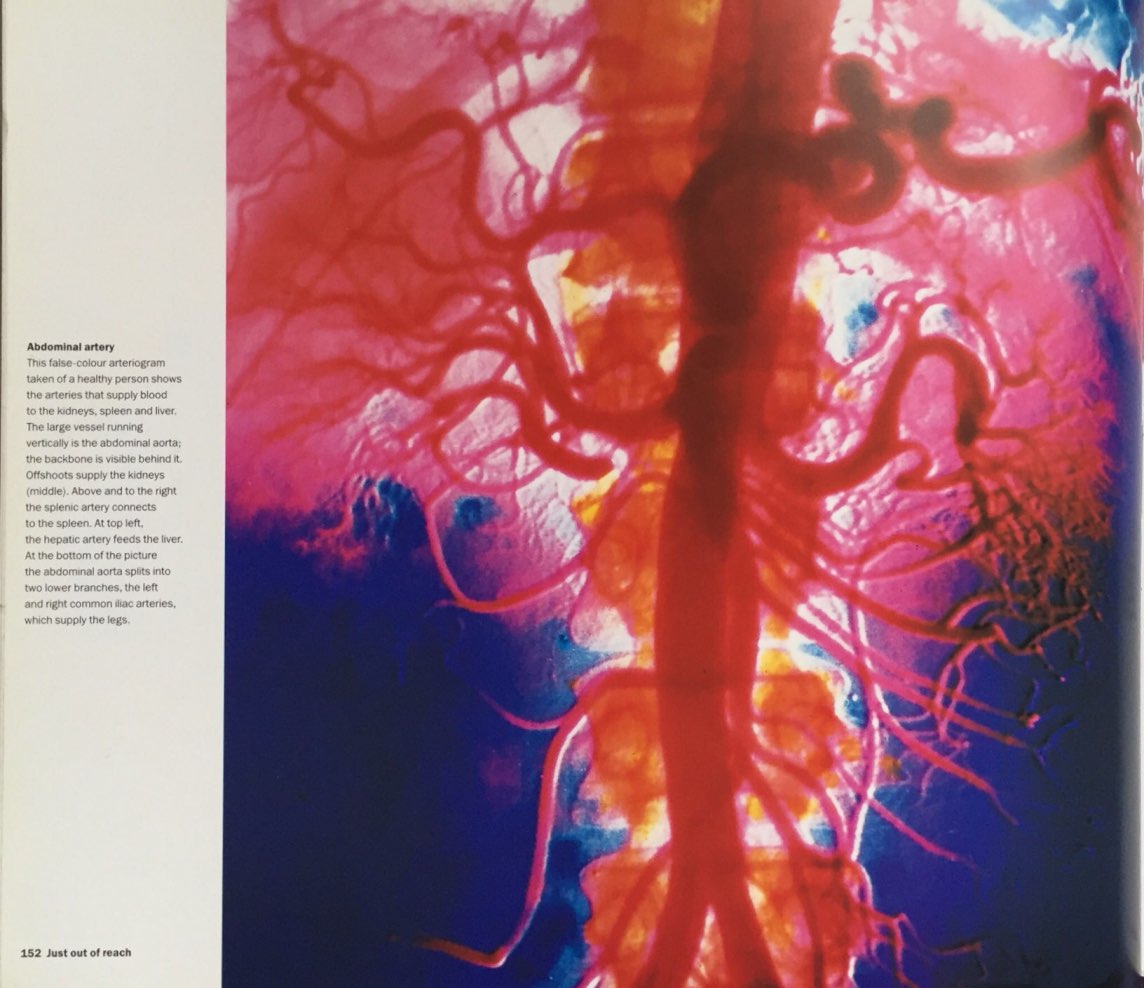
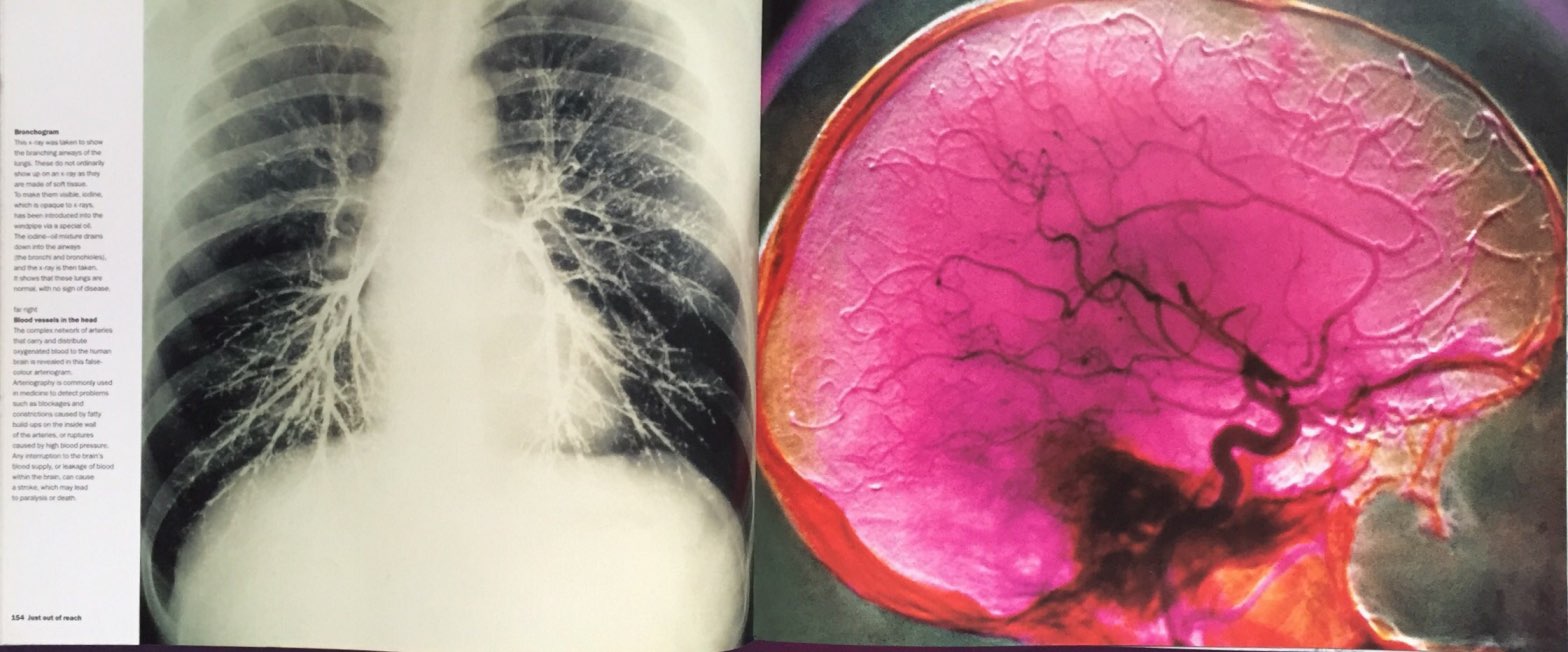
Lately, I started on the motifs for the Virus that will cause the Mutation in the city. The motifs were created and/or designed the same way I did for the previous motifs: find an image of an interesting microscopic anatomy, trace on tracing paper, scan and then digitized and compiled them all together to form ONE virus.
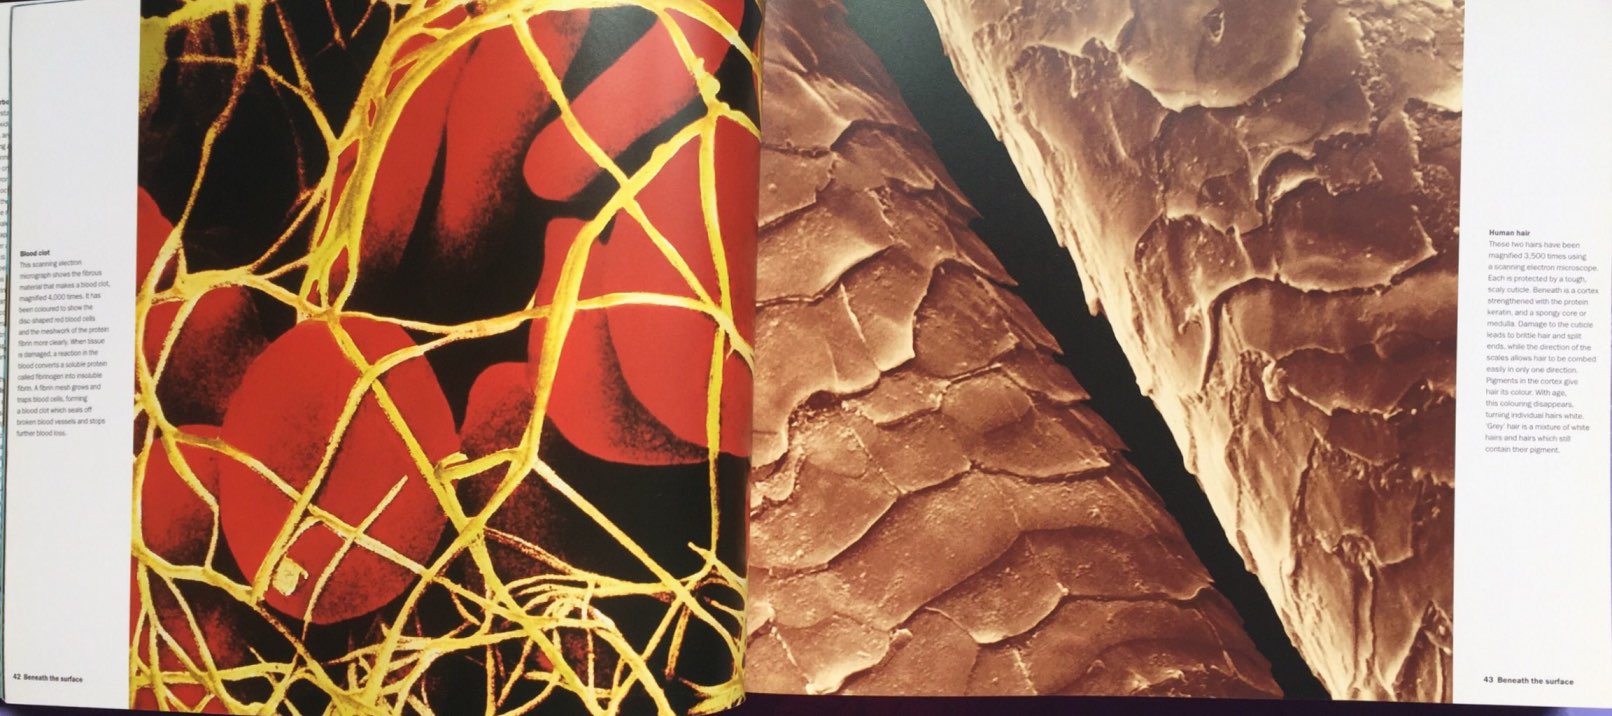
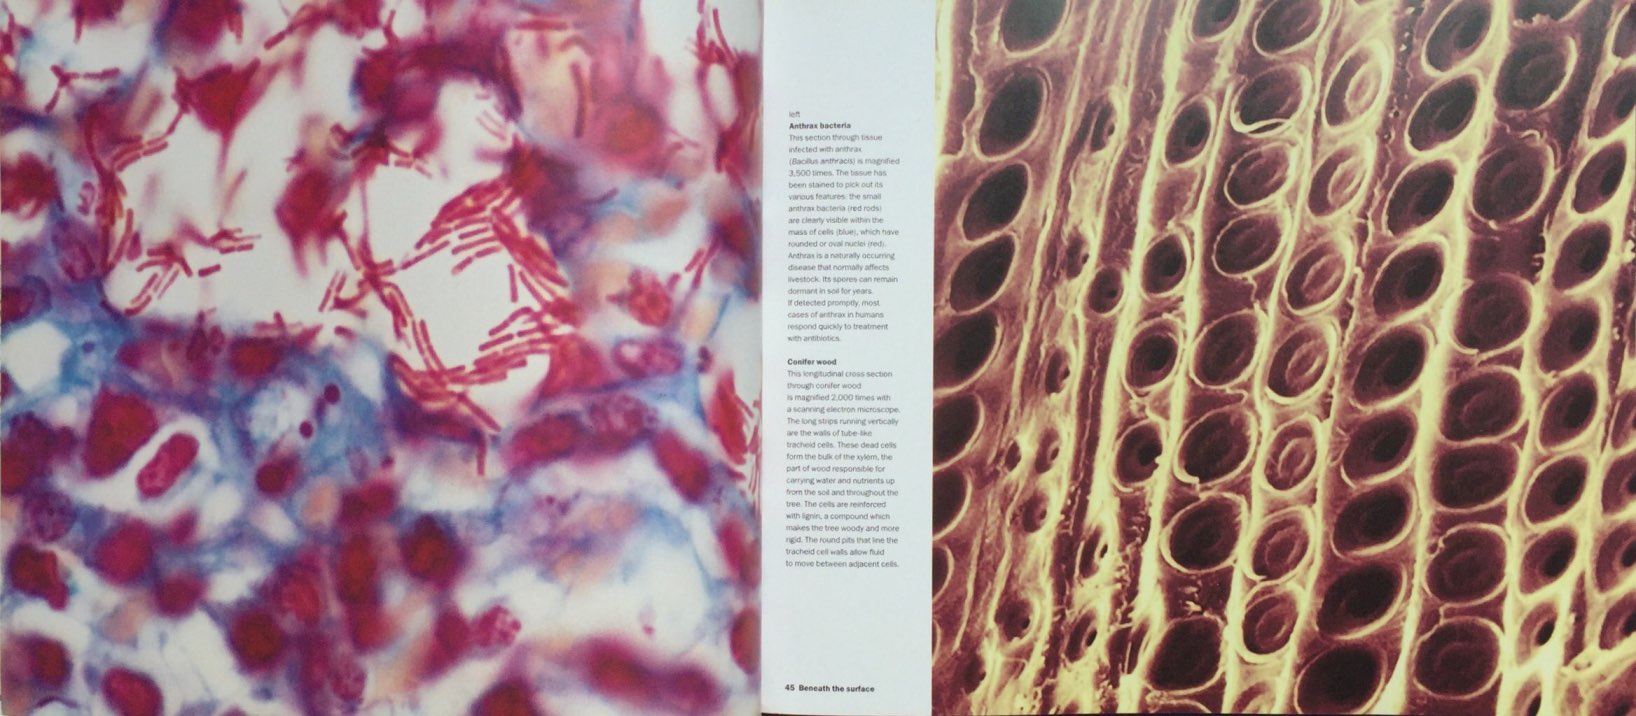
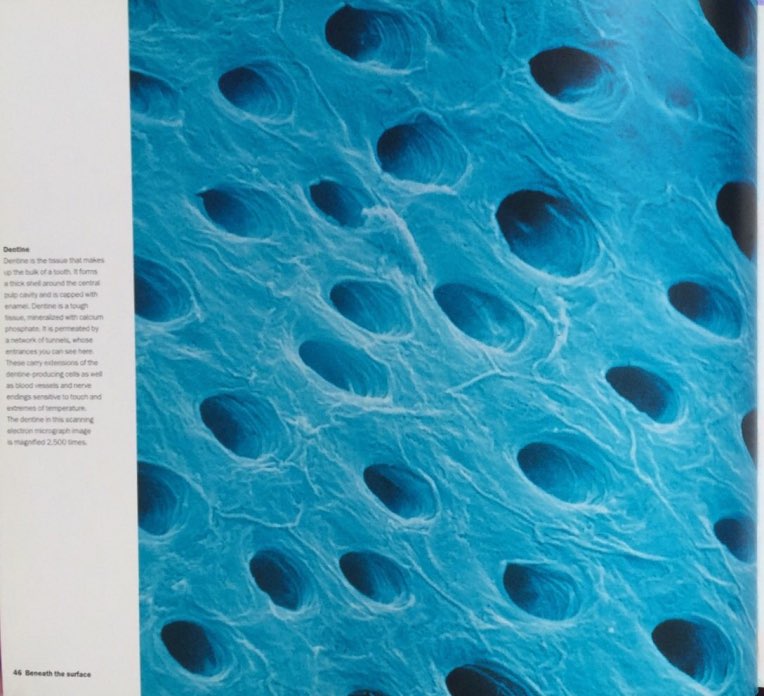
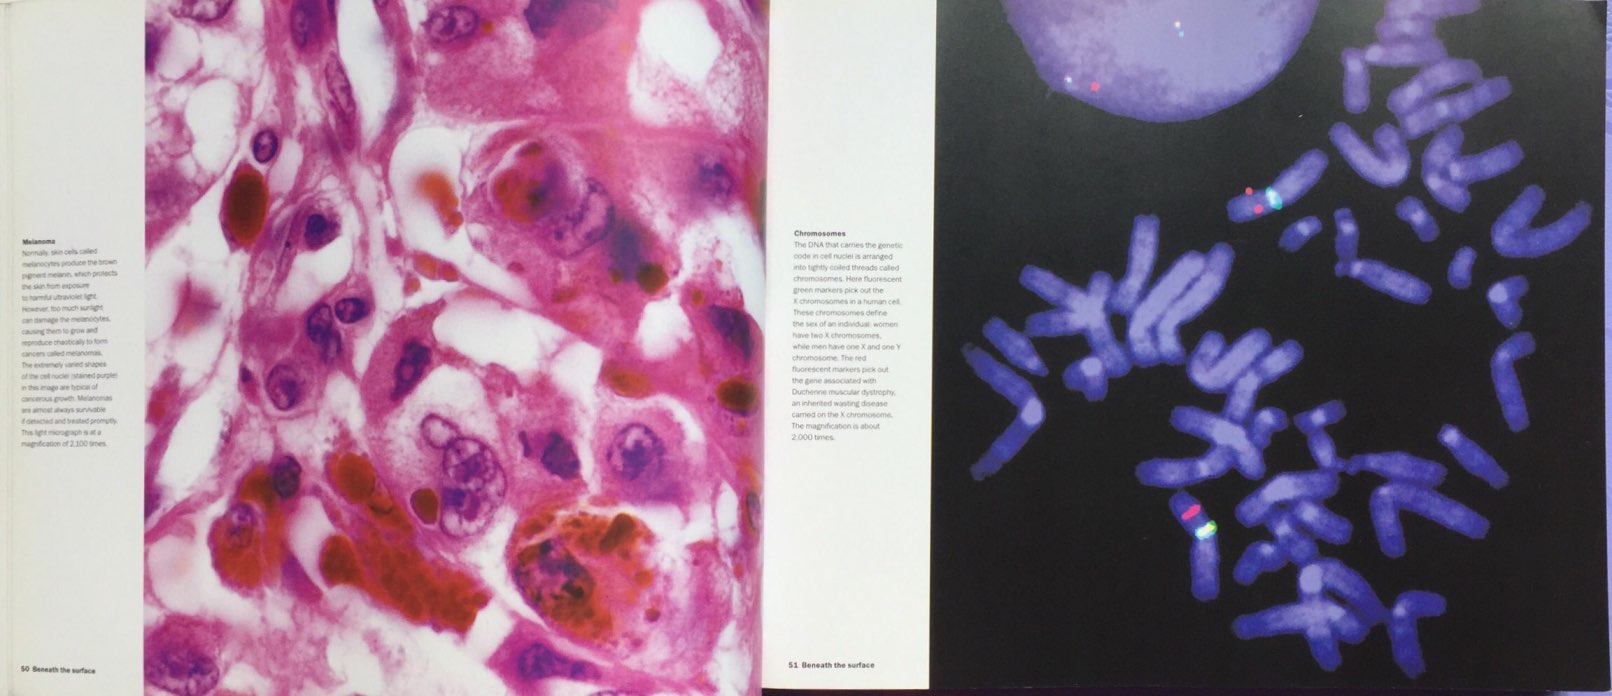
The virus cells that I was inspired by can be seen below.
Virus #1: Structure of Virus
Structure of Virus
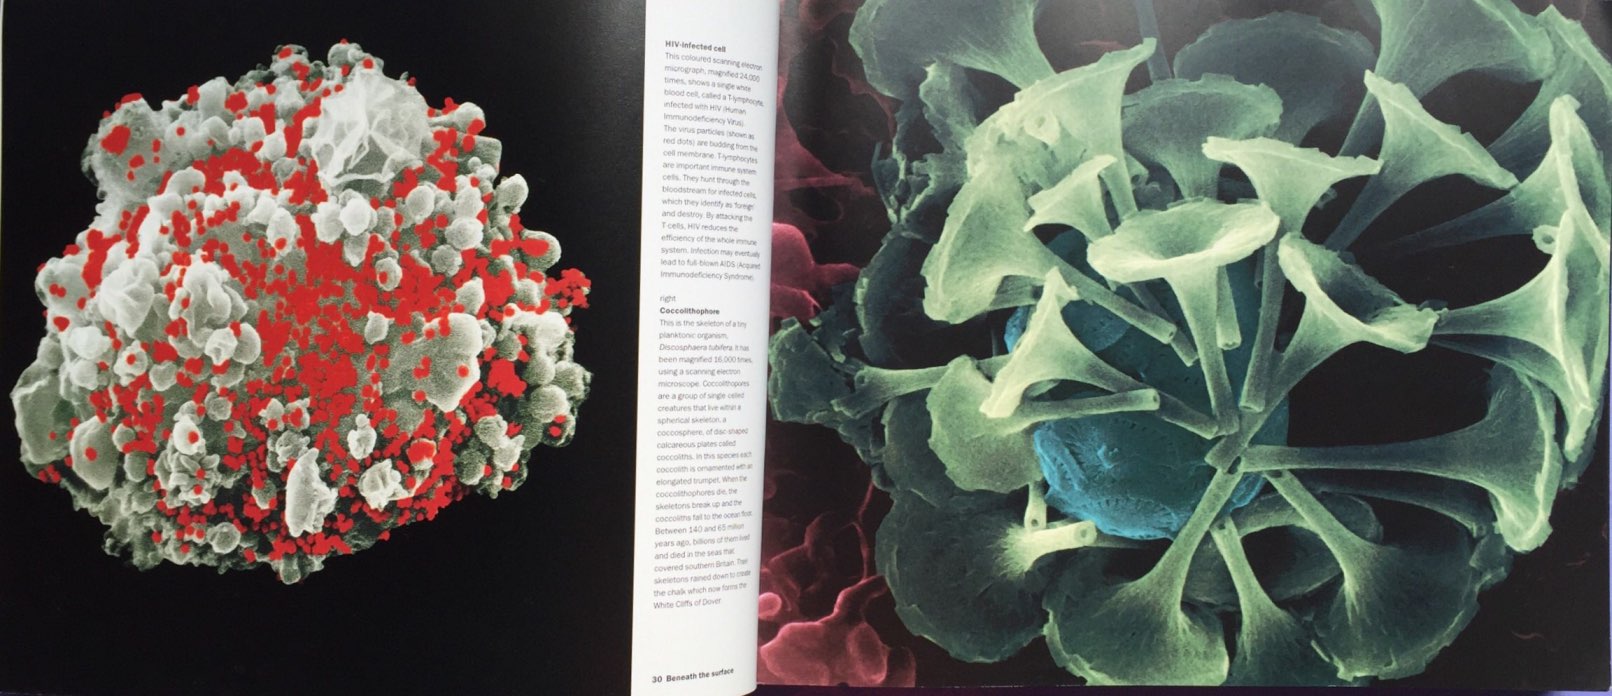
Virus #2: HIV
HIV
Virus #3: Structure of Polio Viruses
Structure of Polio Viruses
Virus #4: Ebola Virus
Ebola Virus
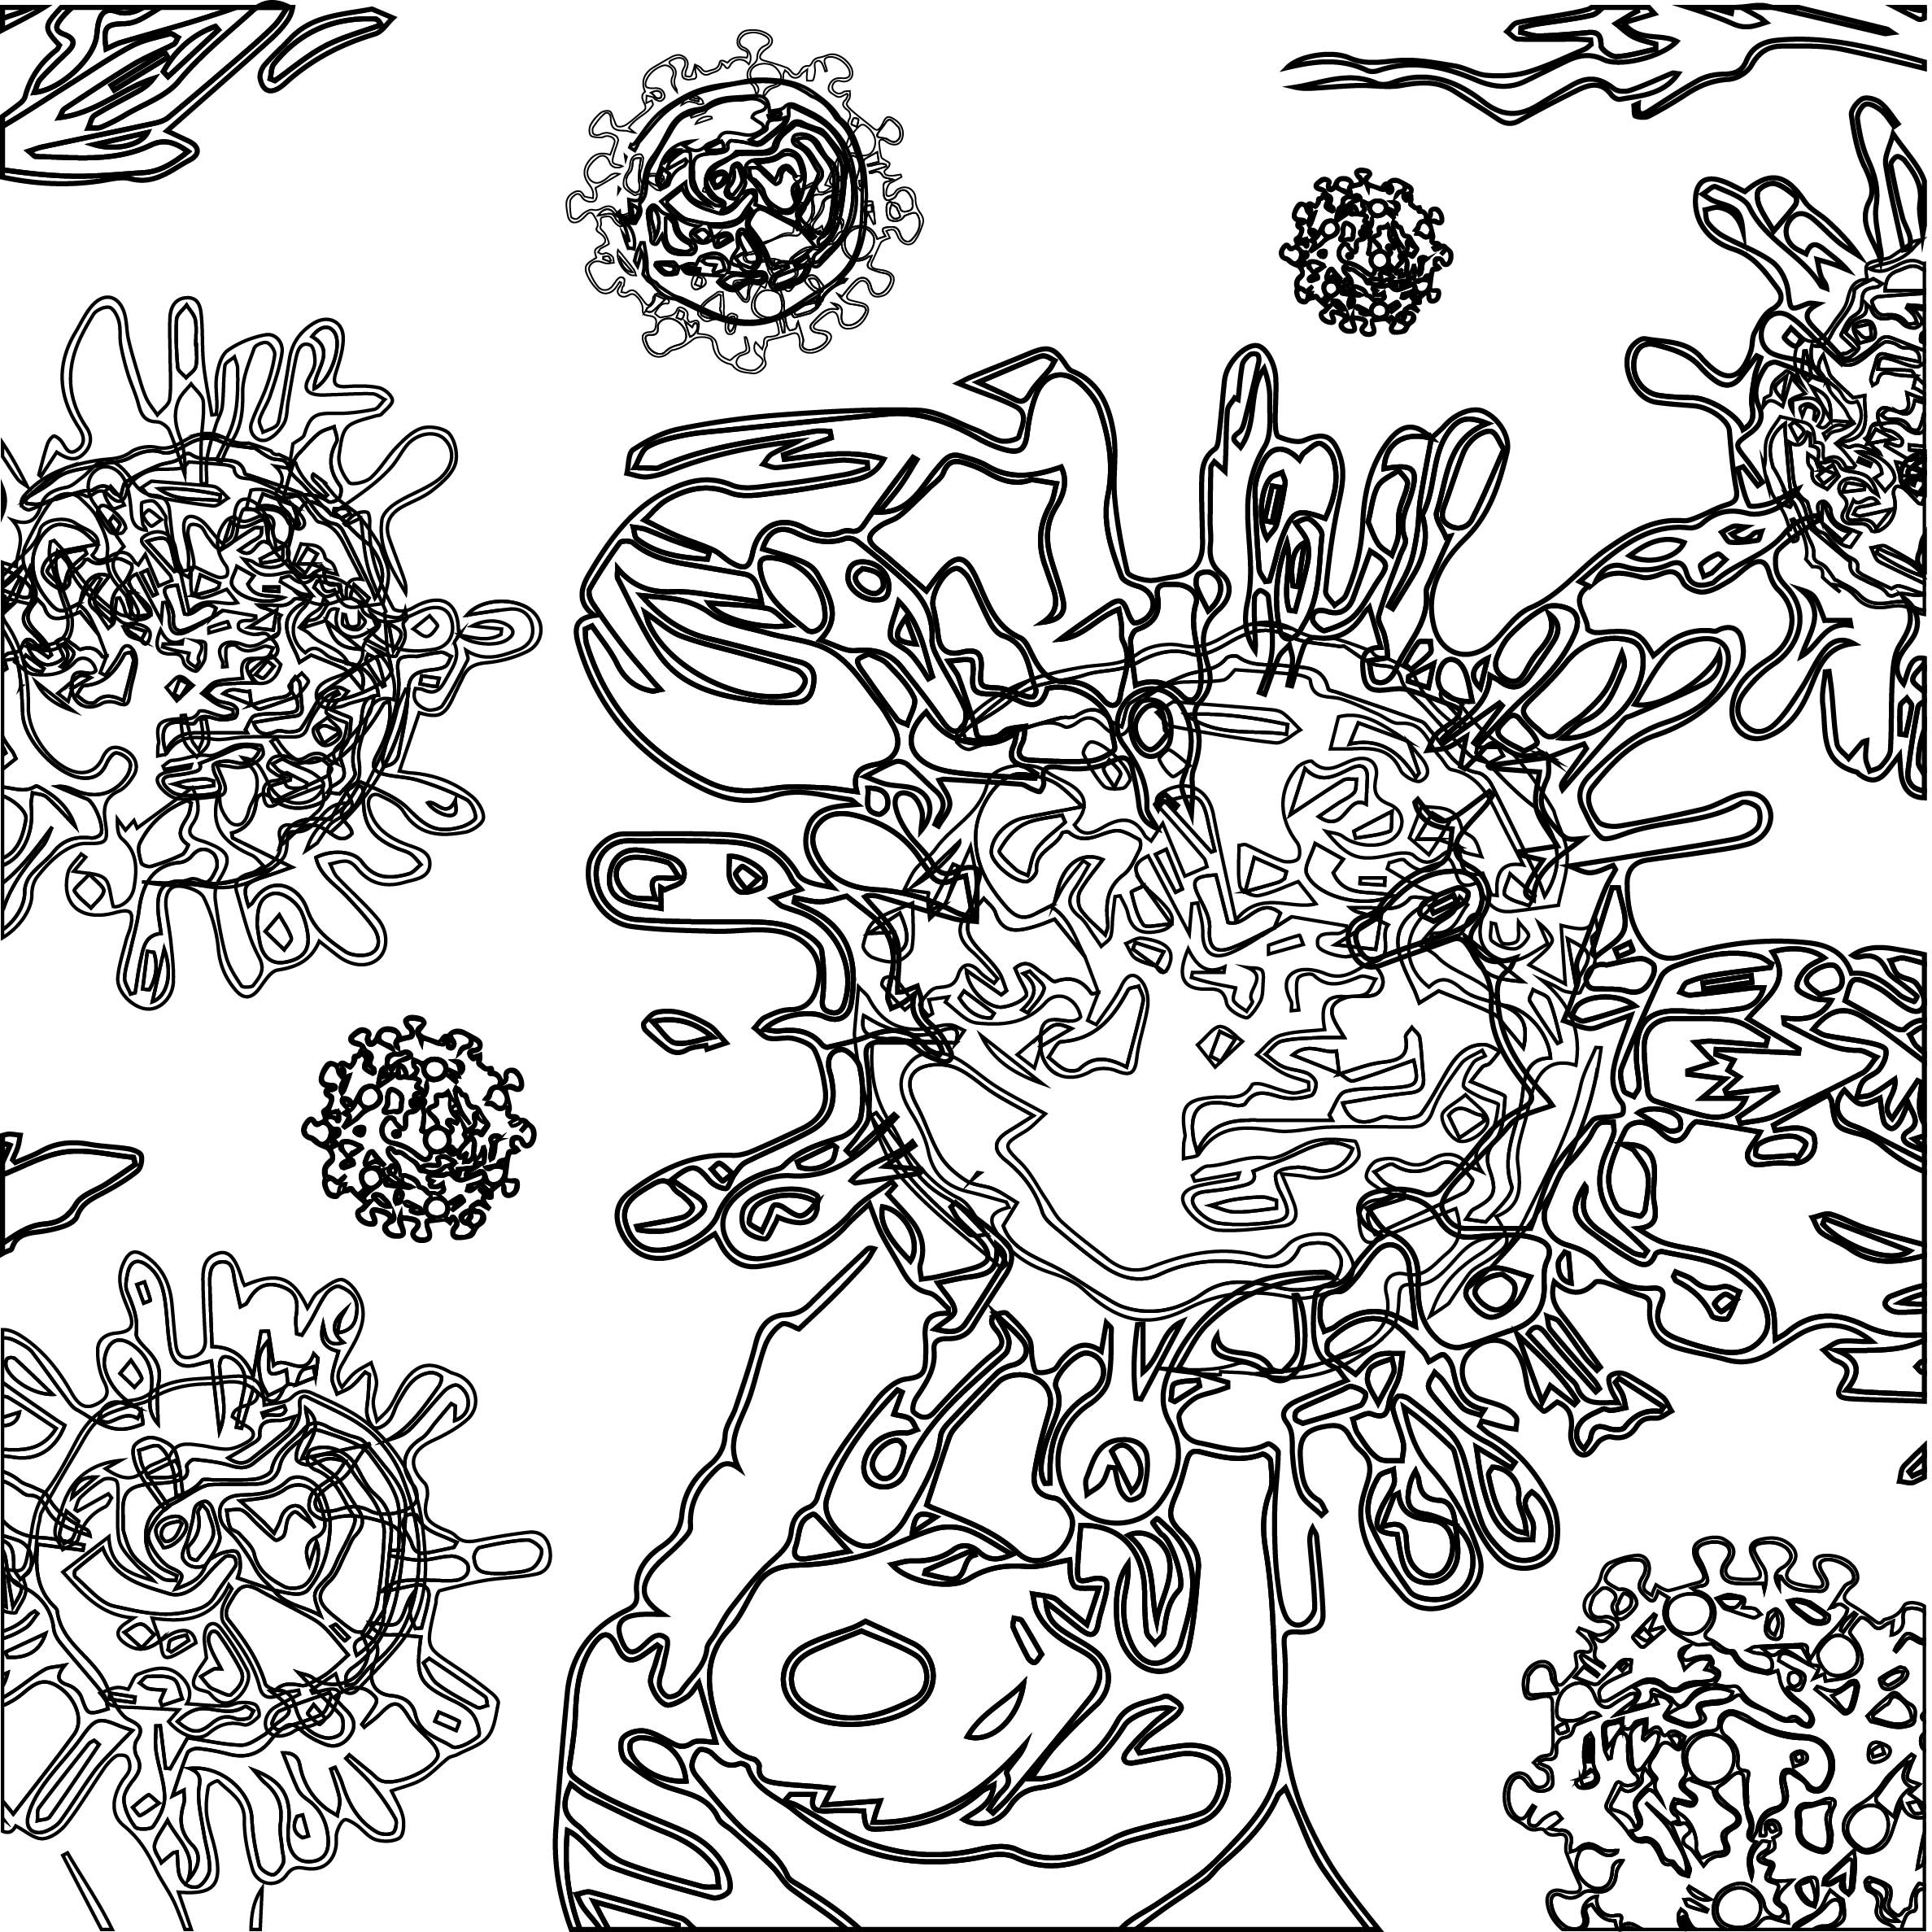
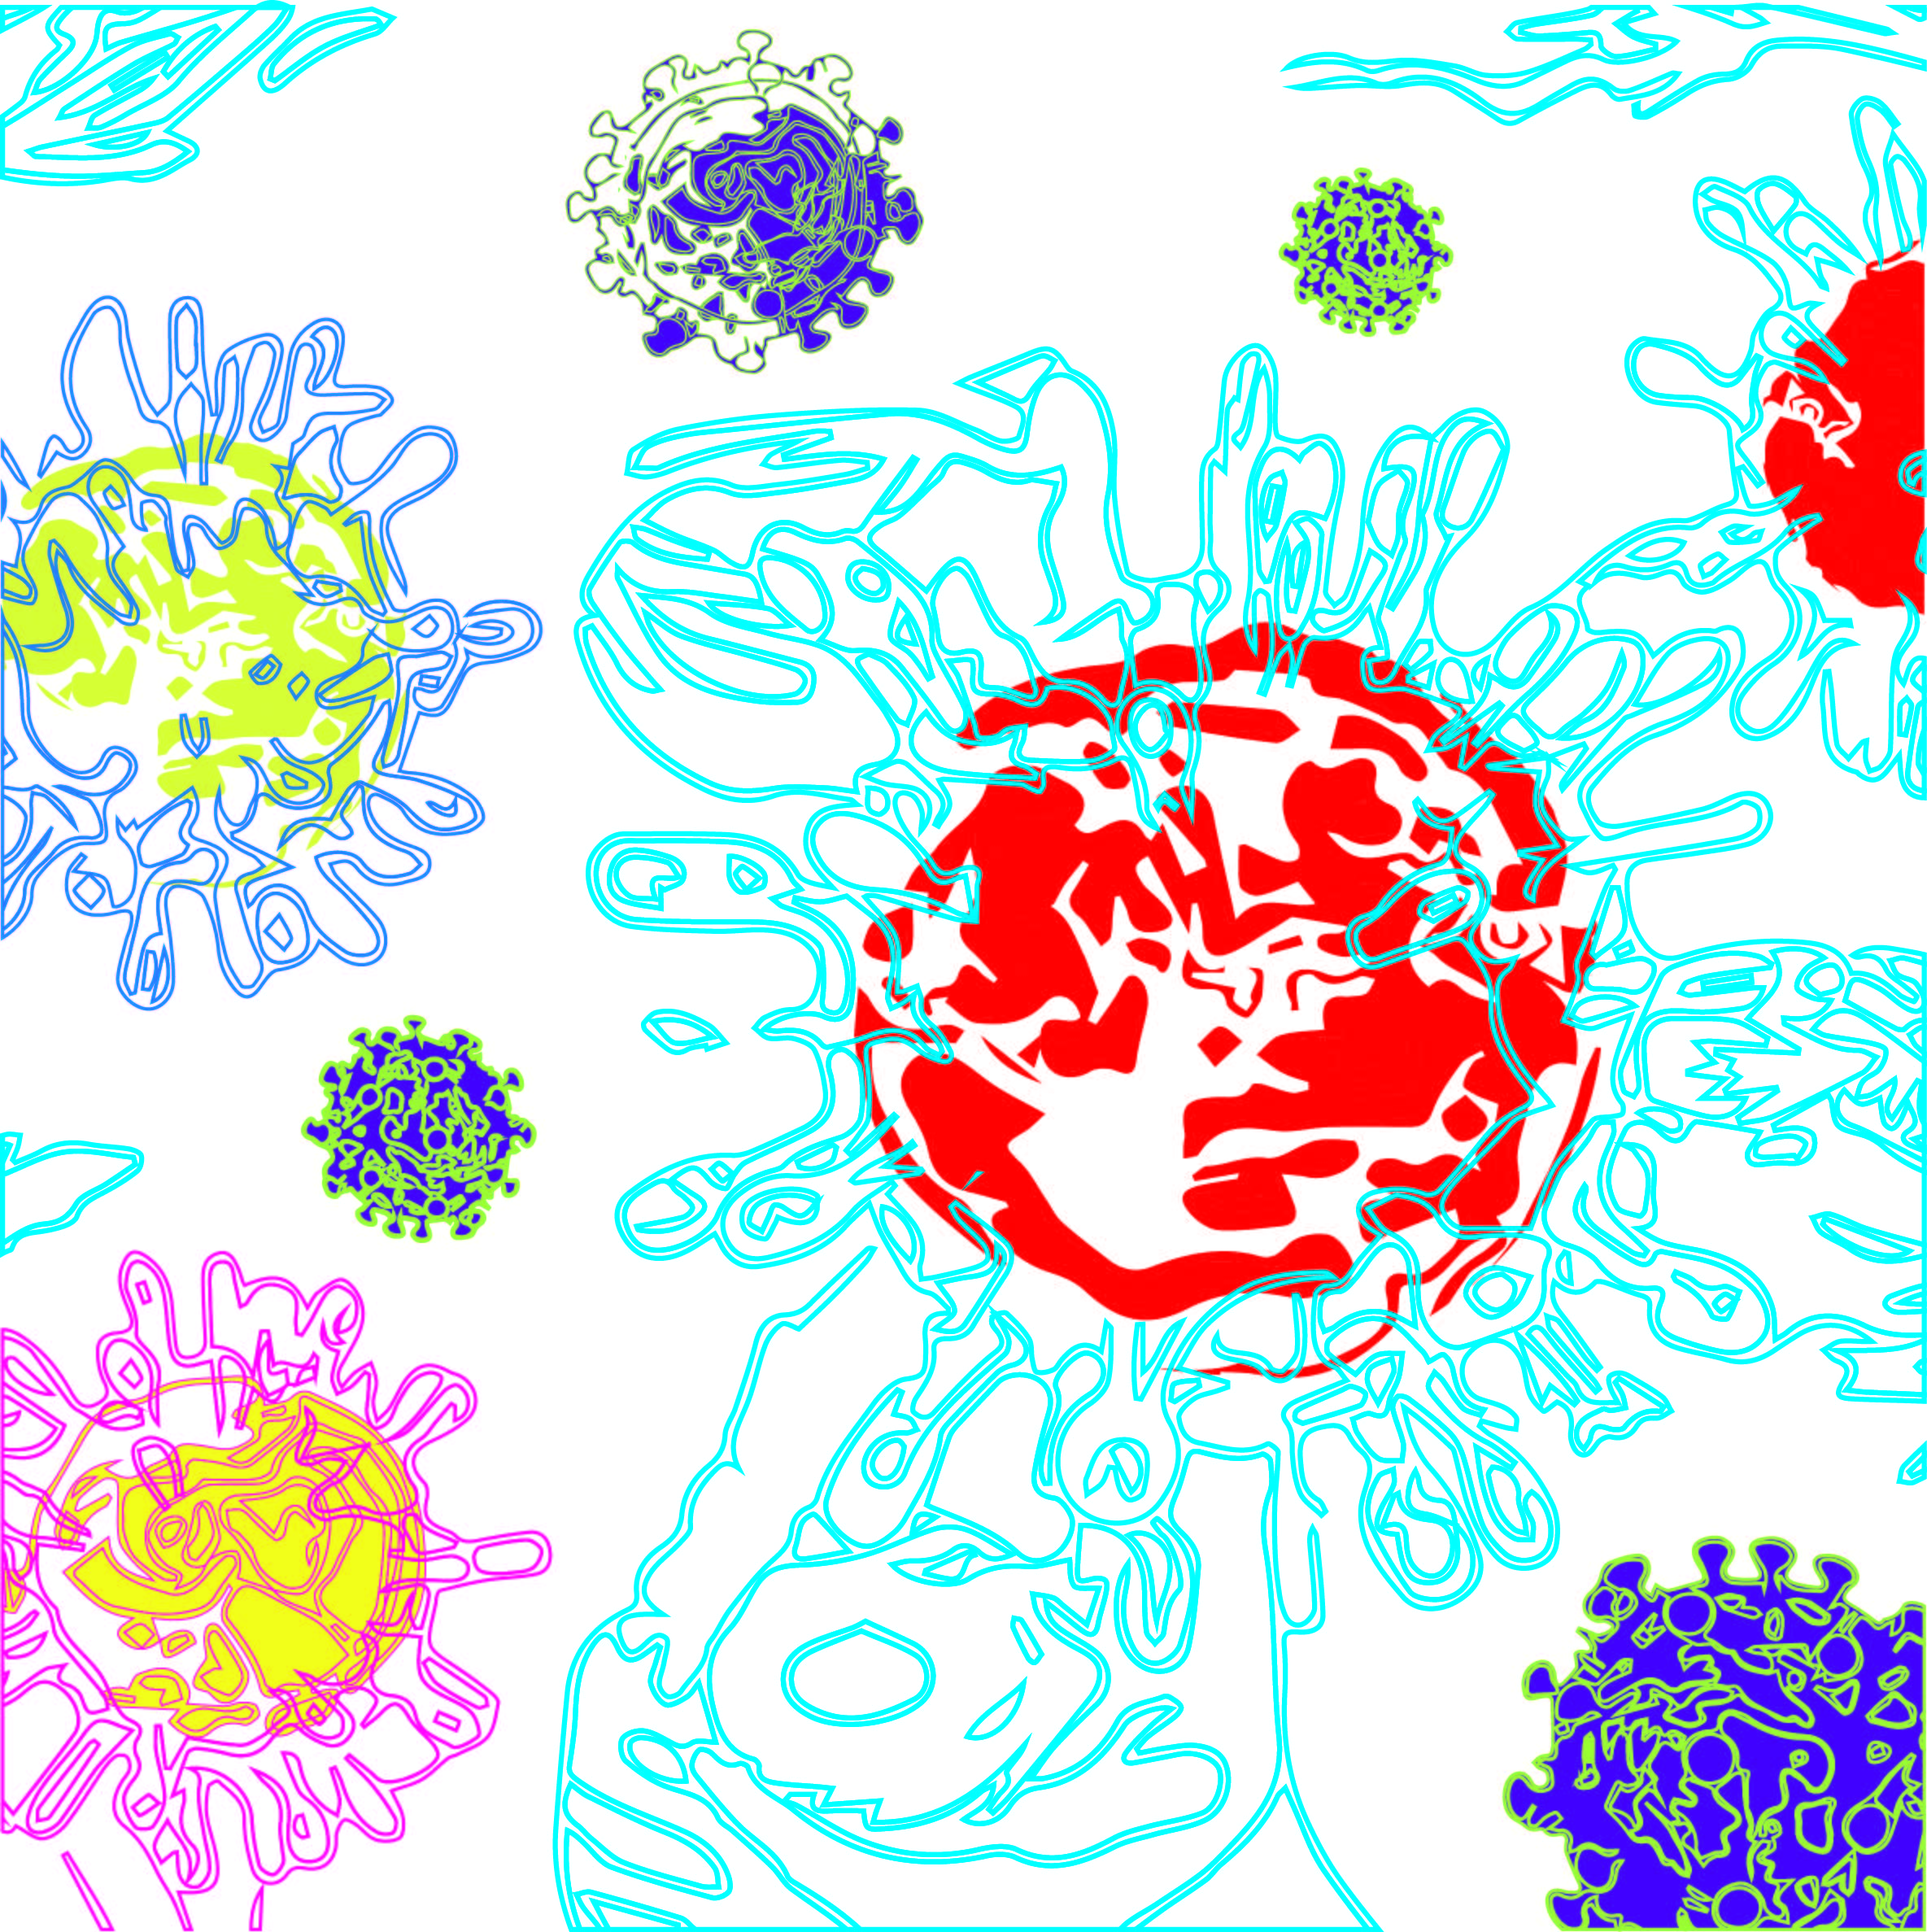
Then, I combined them to form into one motif:
The compiled virus in Black and WhiteThe combined motif in colours.
I had 2 versions of the motif in terms of colour to have a general outline vs how I intend for the virus motif to look like — clearly going towards the direction where my “healthy, normal, and non-virus” main motifs will soon change its “pure” colours to the spread of virus.
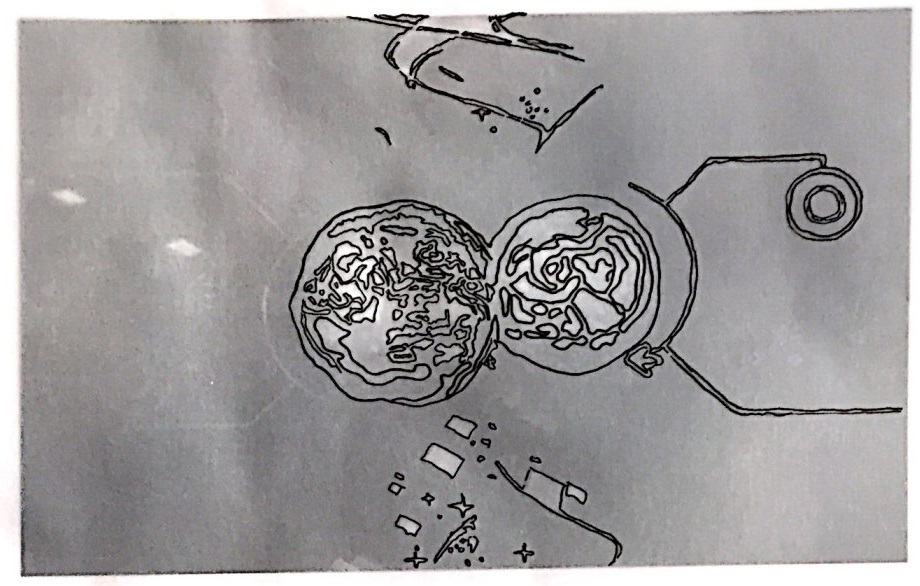
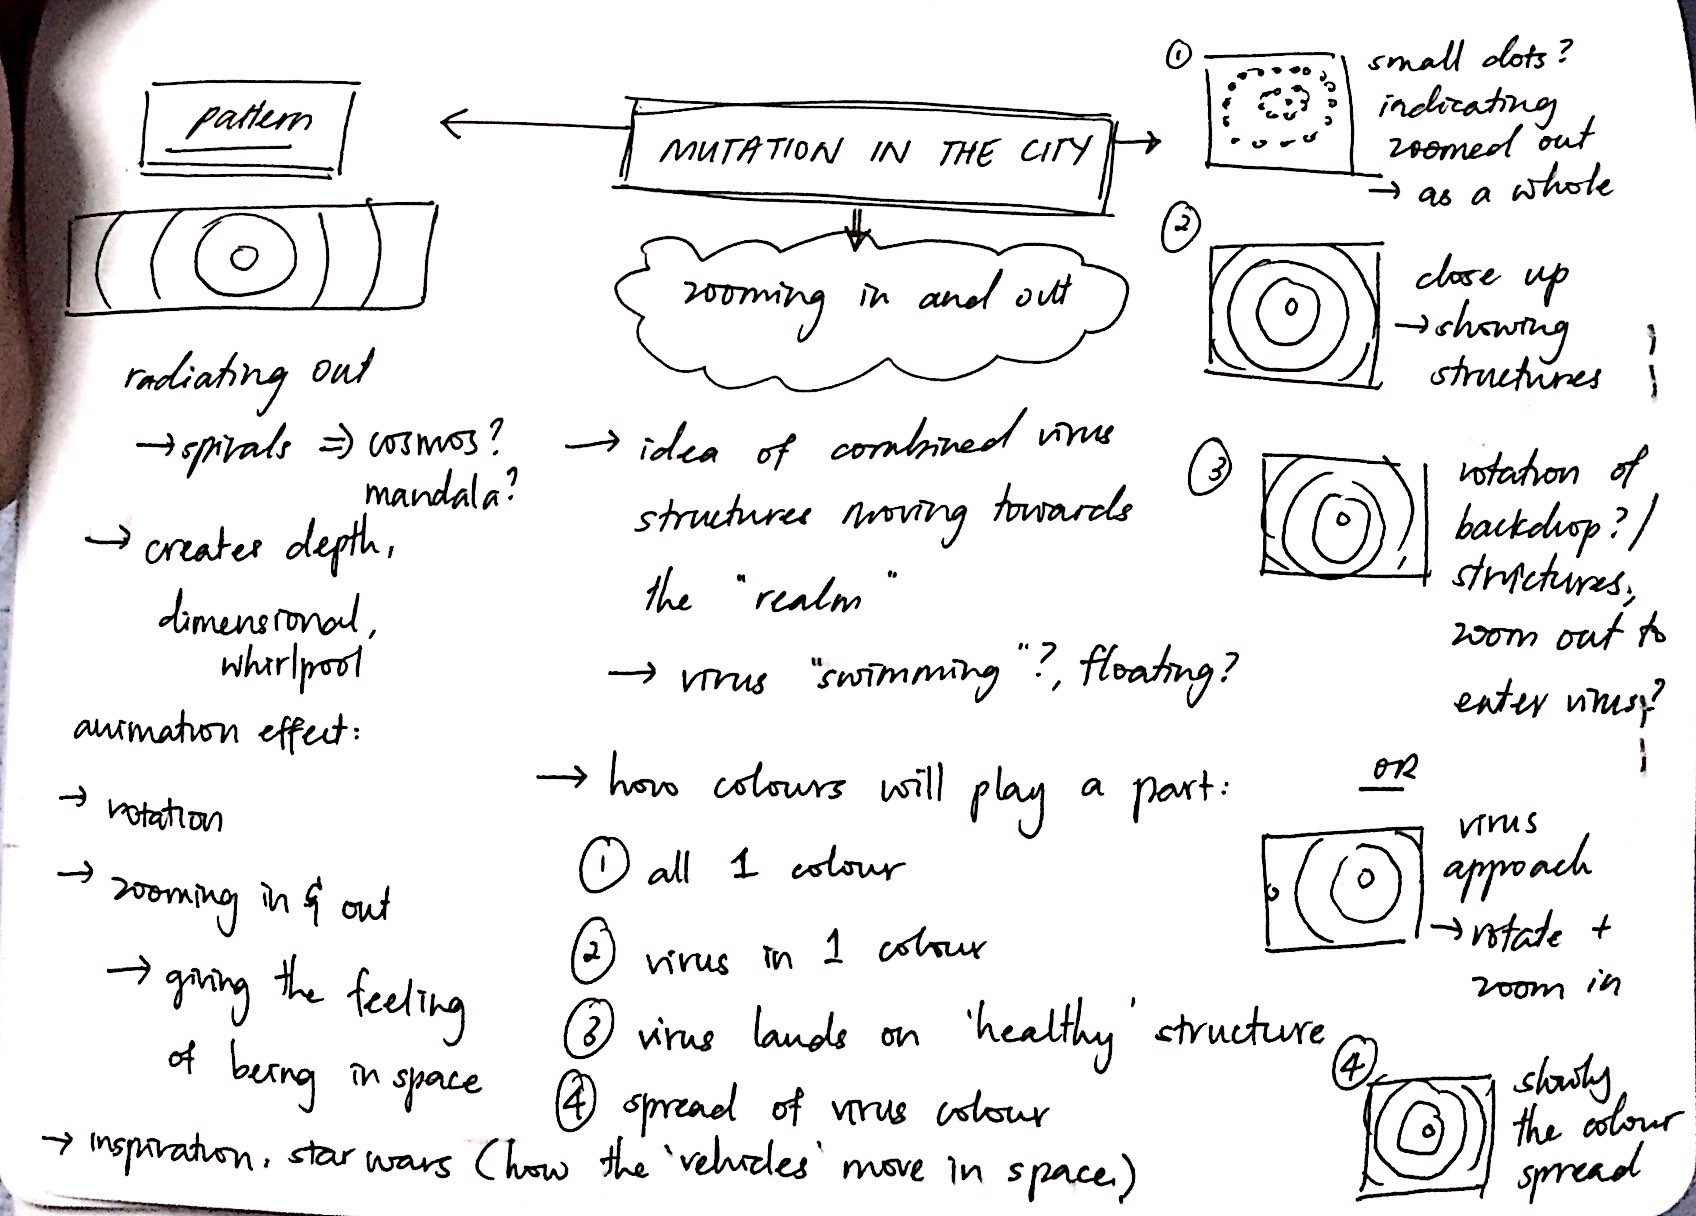
Apart from motifs, since the previous lesson where we were demo-ed on how to animate our banner in After Effects, I had thoughts mingling in my mind and thus decided to write it down:
To be brief, I noted down how I think I want my animation to be — main motifs zoomed in or out, virus approaching main motifs, spreading of colour, etc.
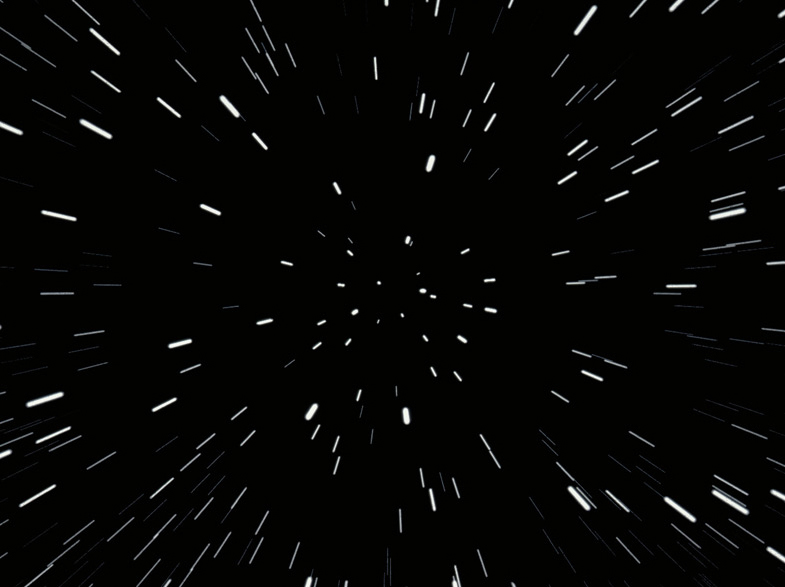
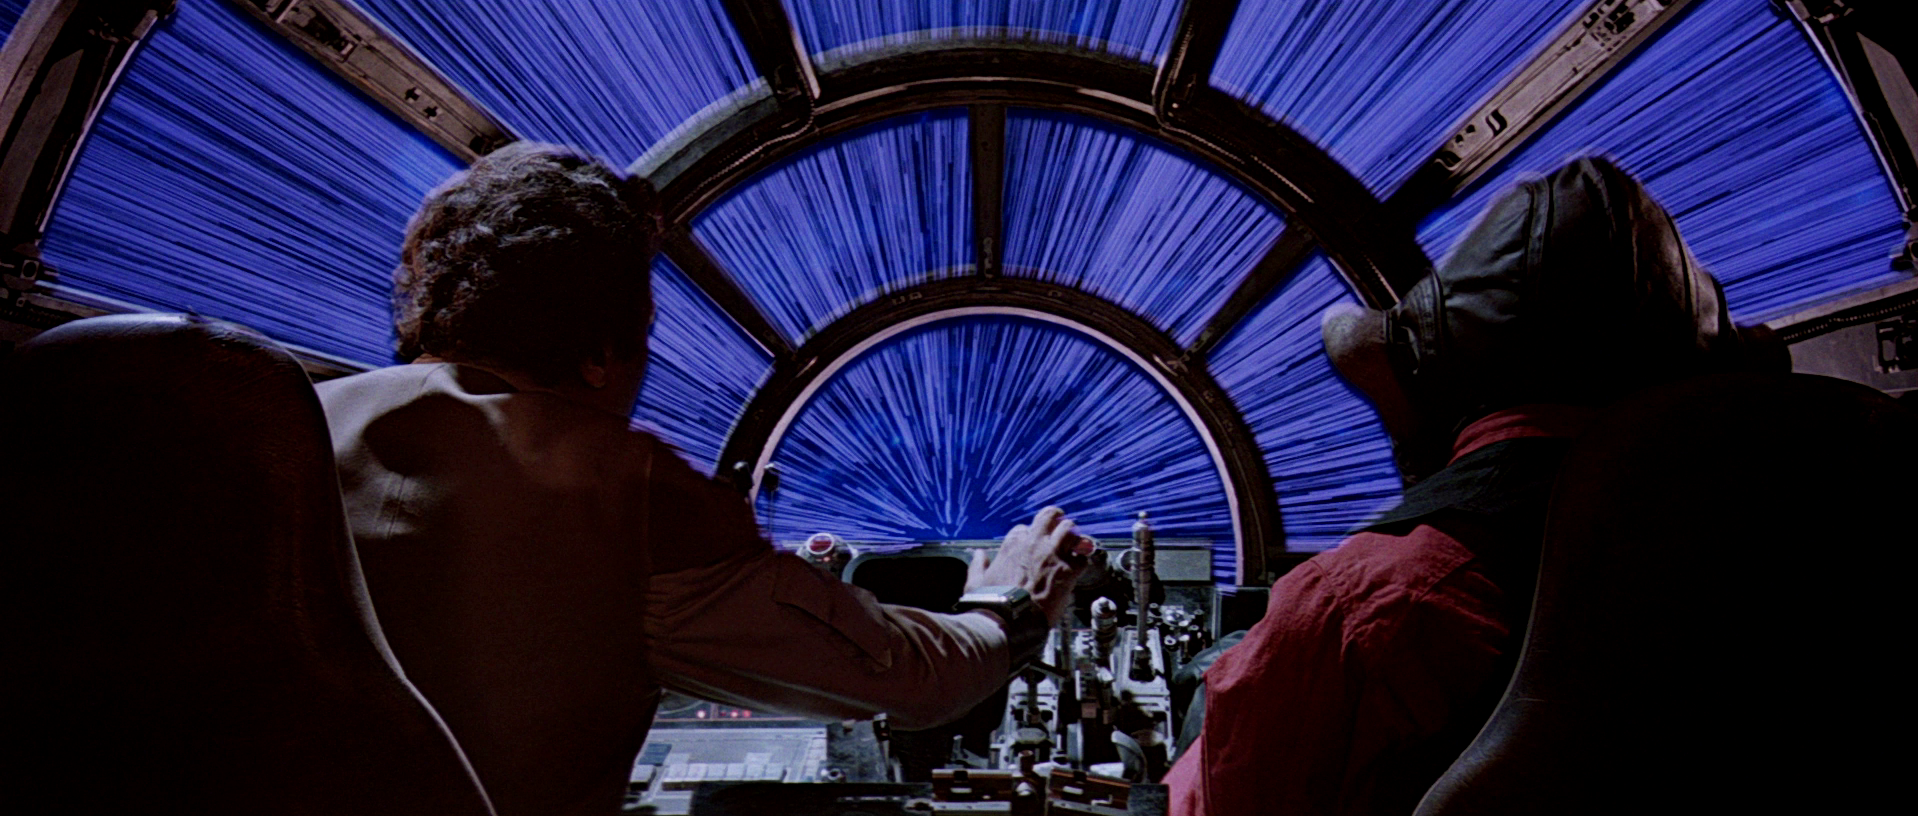
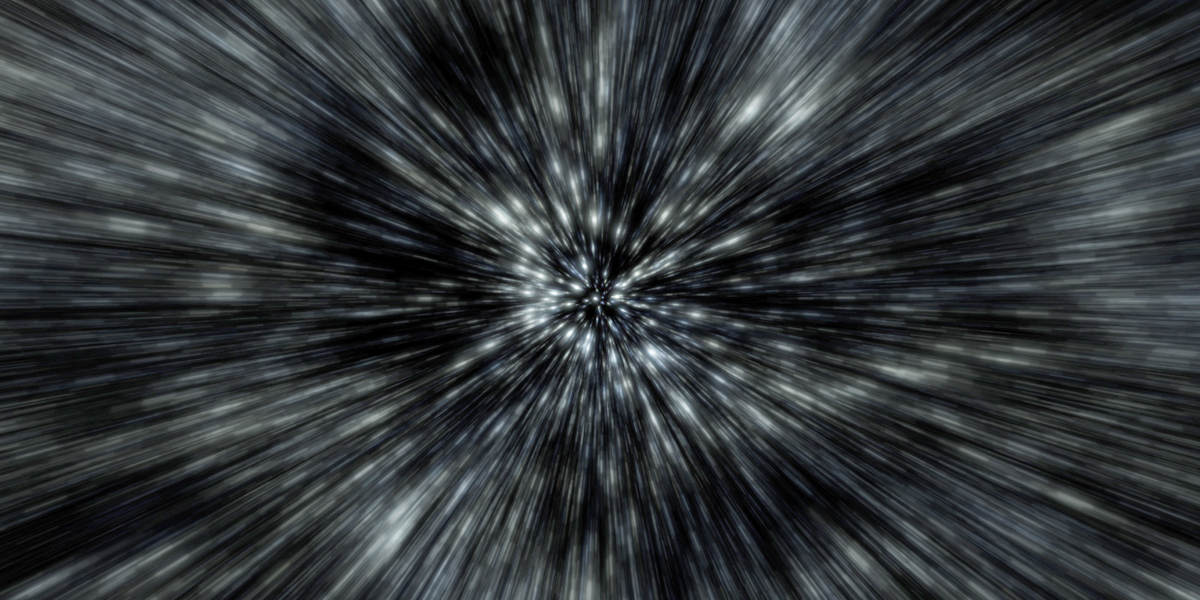
When I had these thoughts, I was thinking of Star Wars — how their spaceships were floating in space, the movement of space when spaceship goes towards whirlpool galaxy(?).
Maybe these images will help to show you how I envisioned the background of my banner to be:
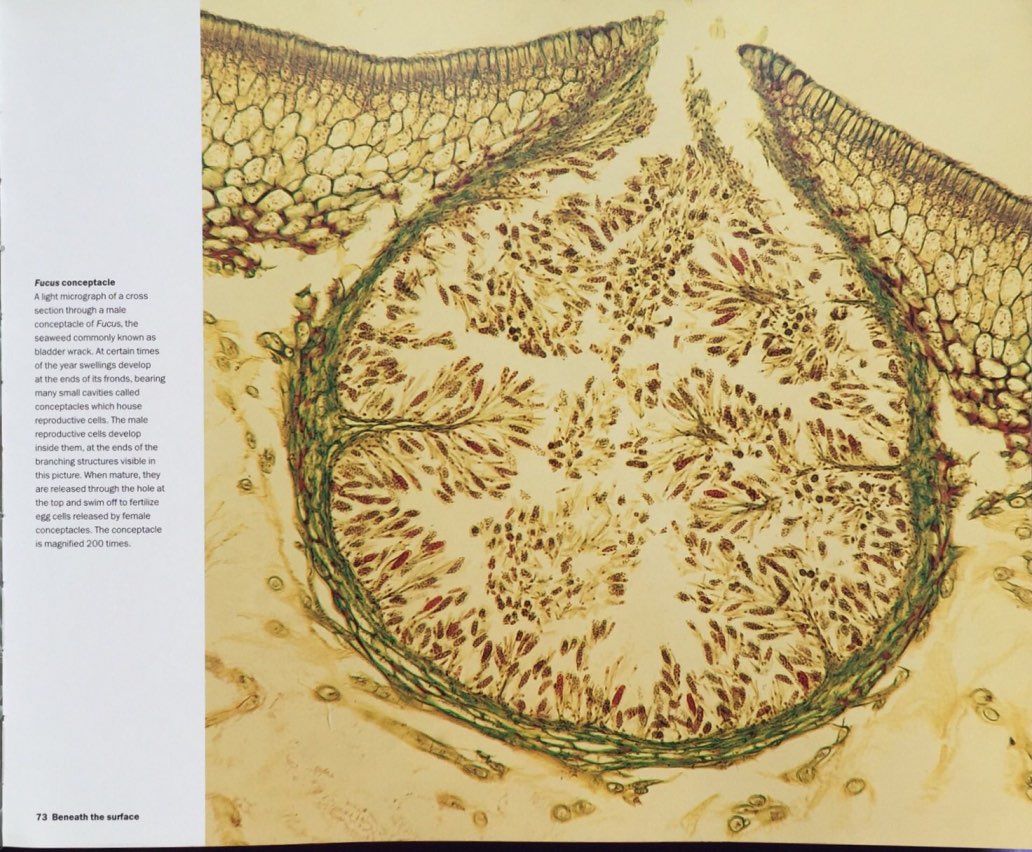
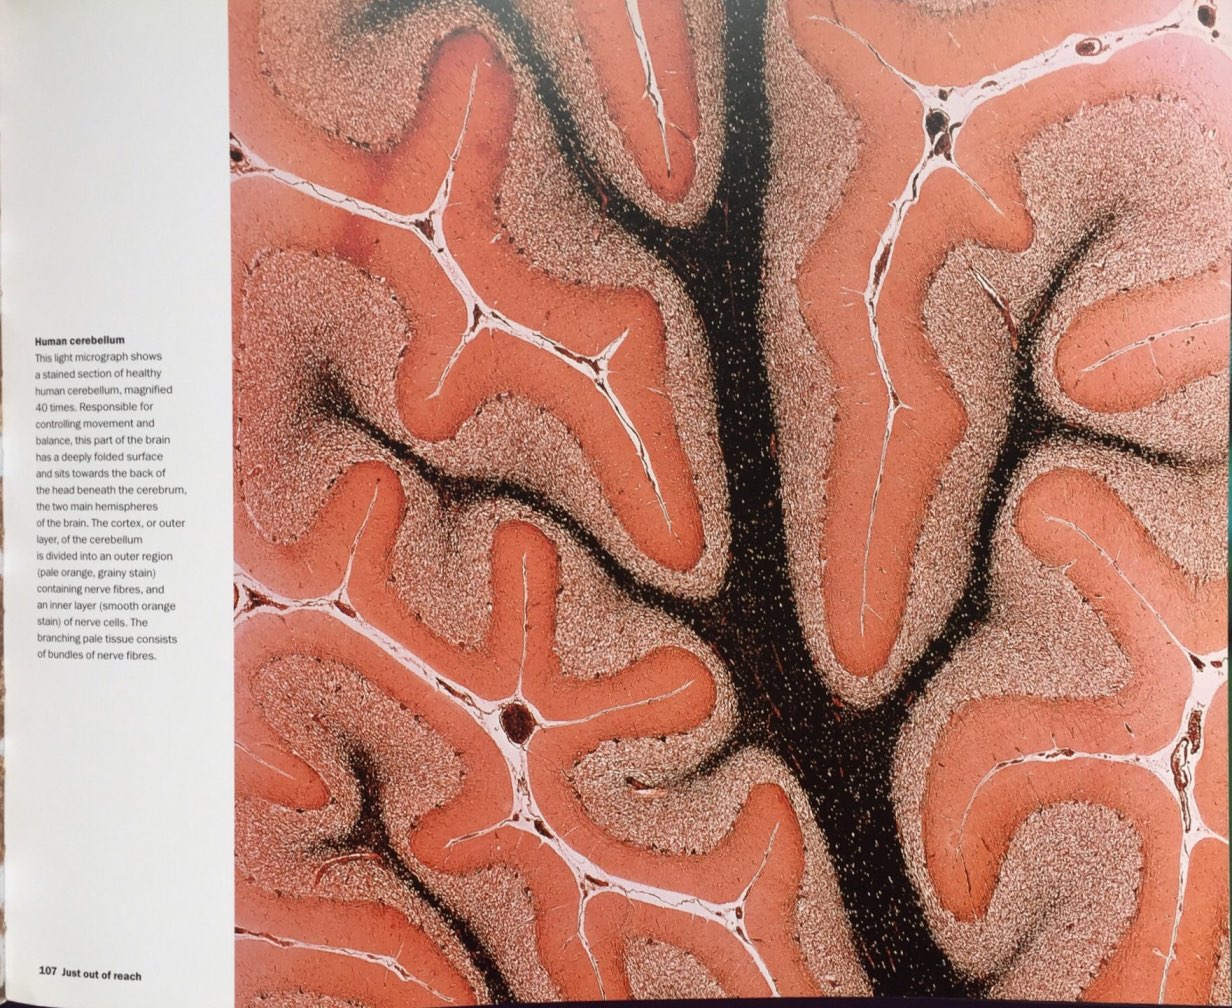
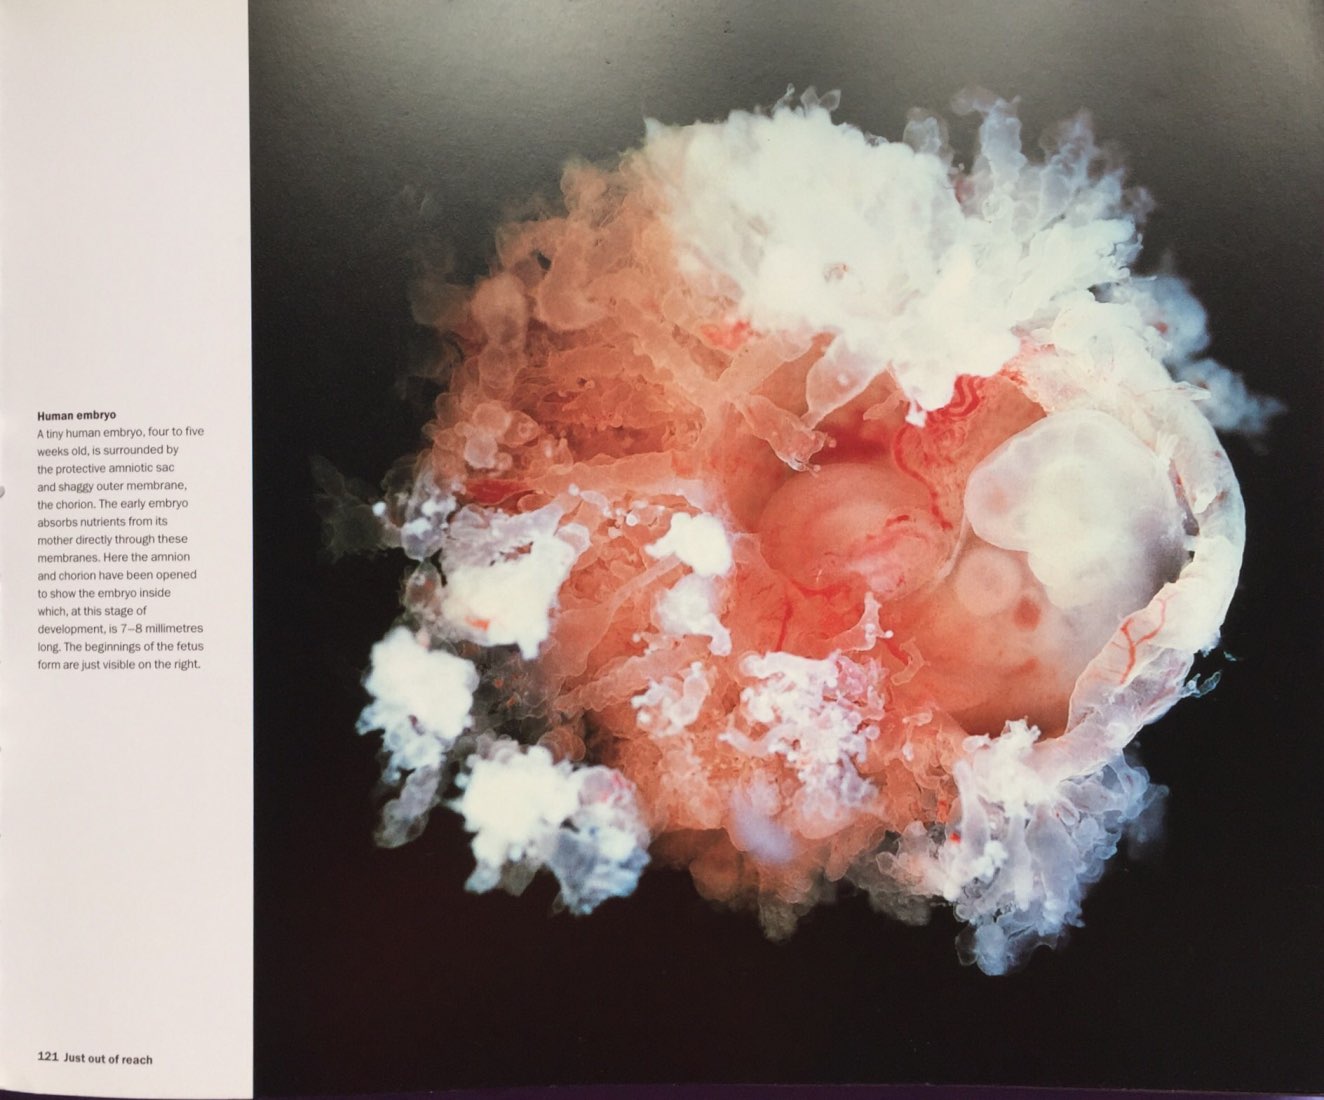
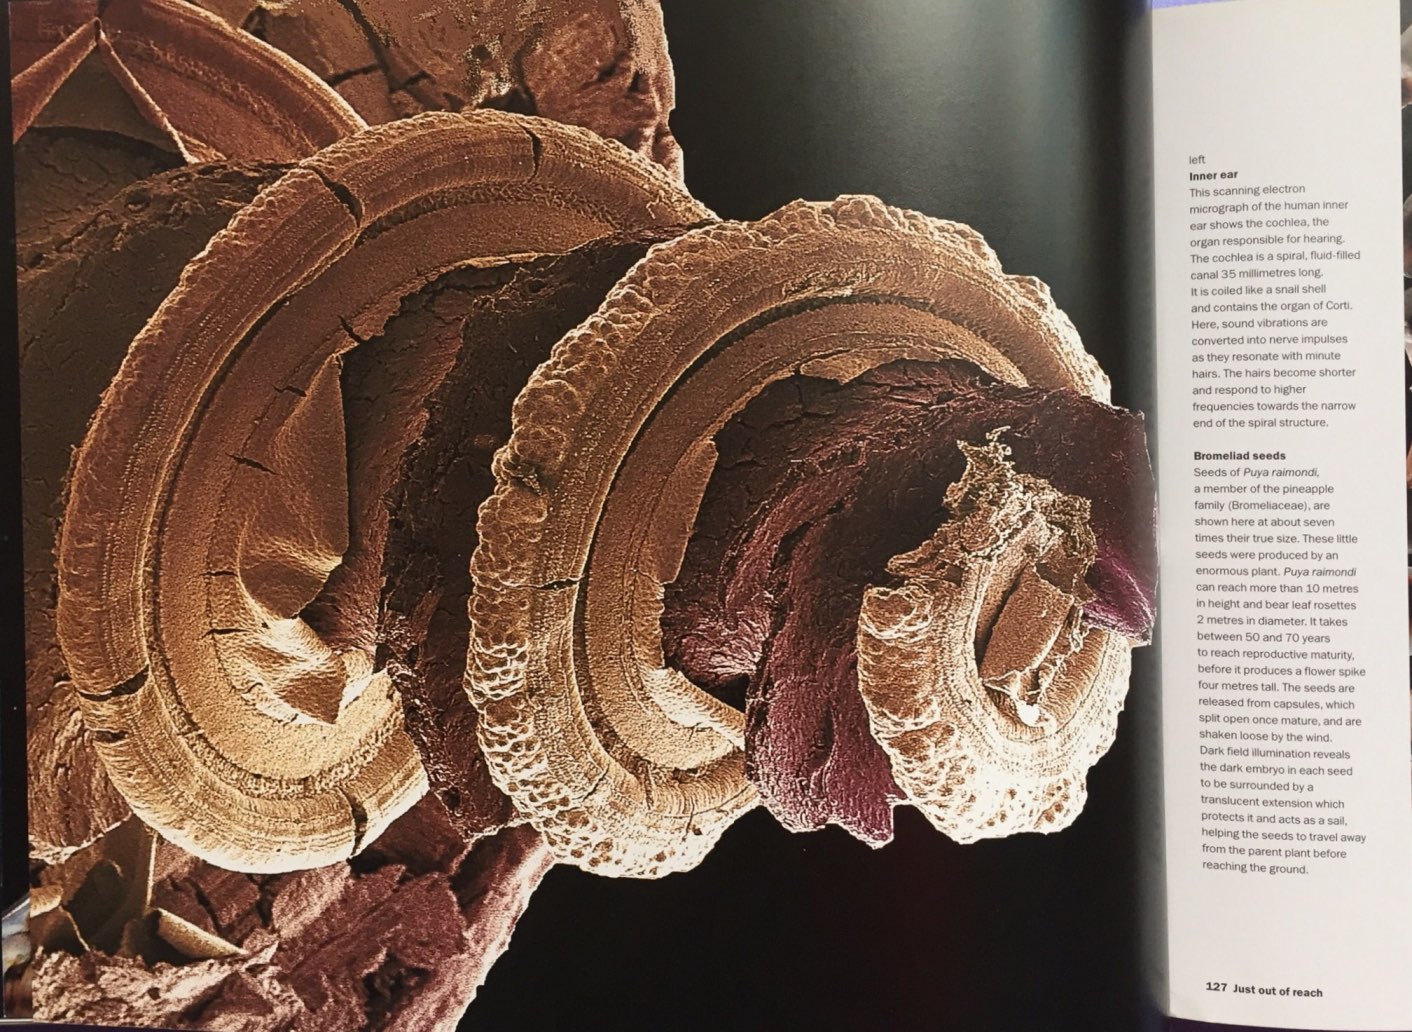
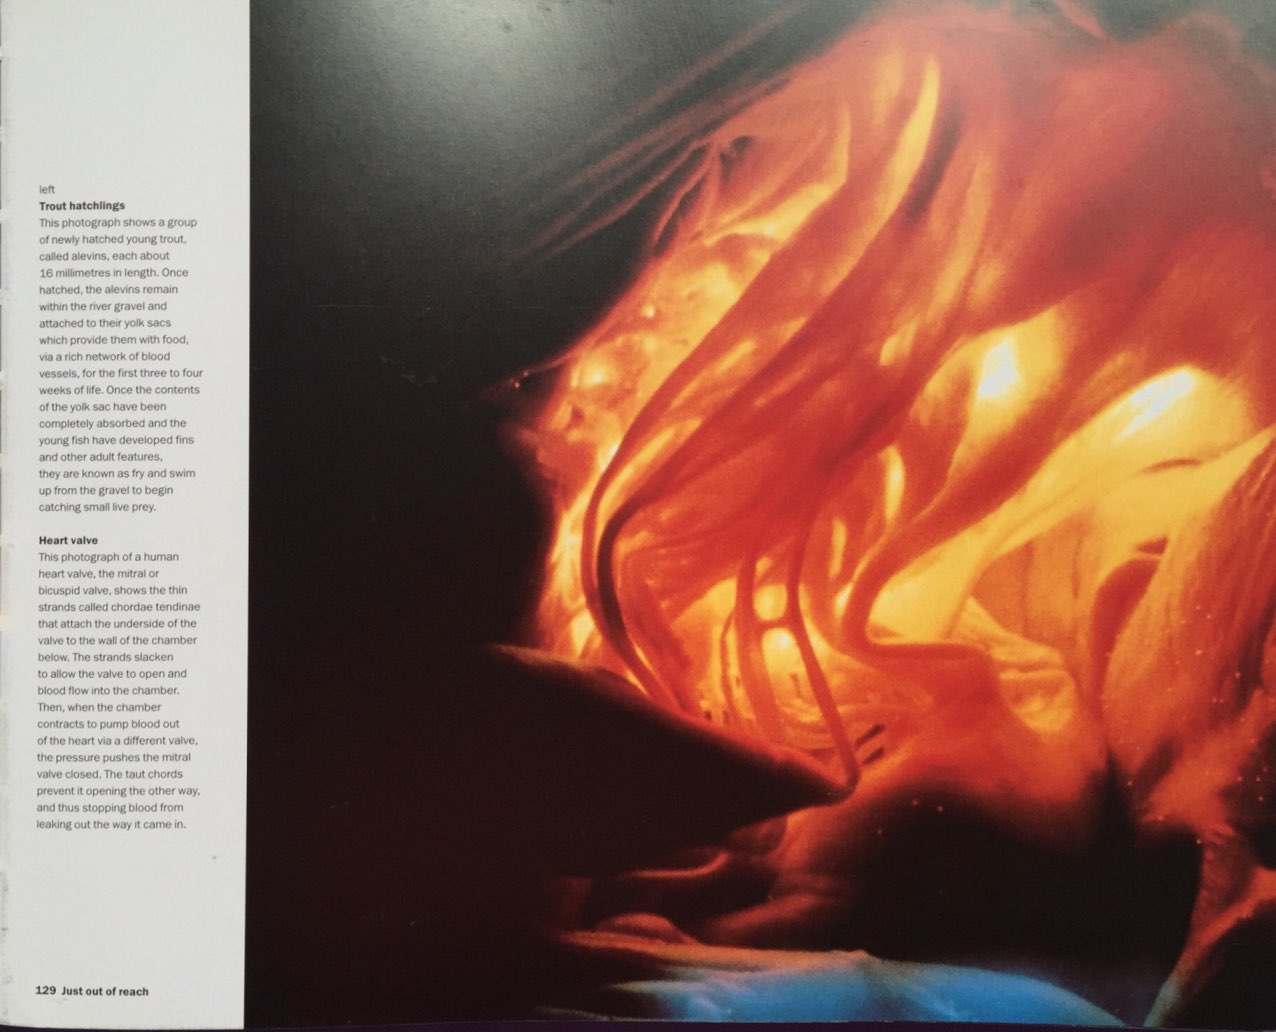
Why do things appear when we least expect them? These past few days, I have been holding on to a book that I found in the library, and perhaps it should be the first few things I should have found from the start of the Pattern project.
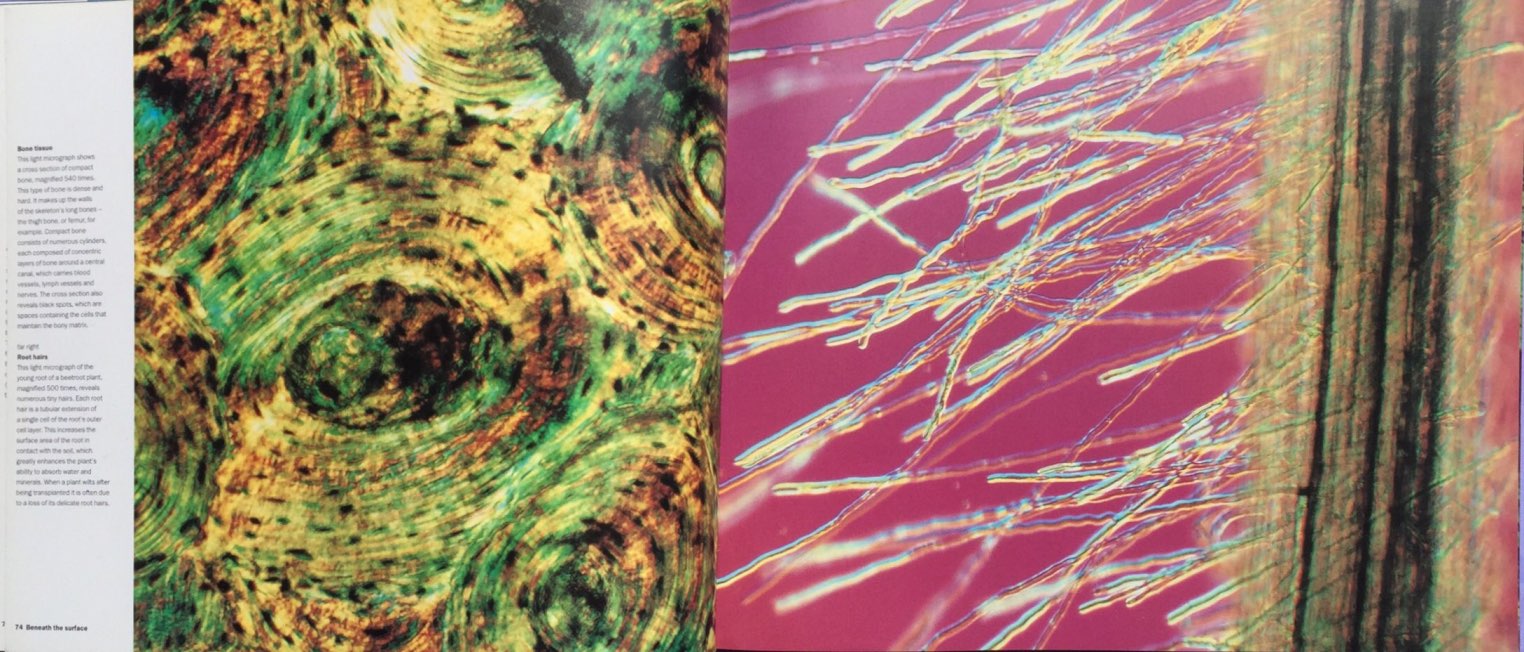
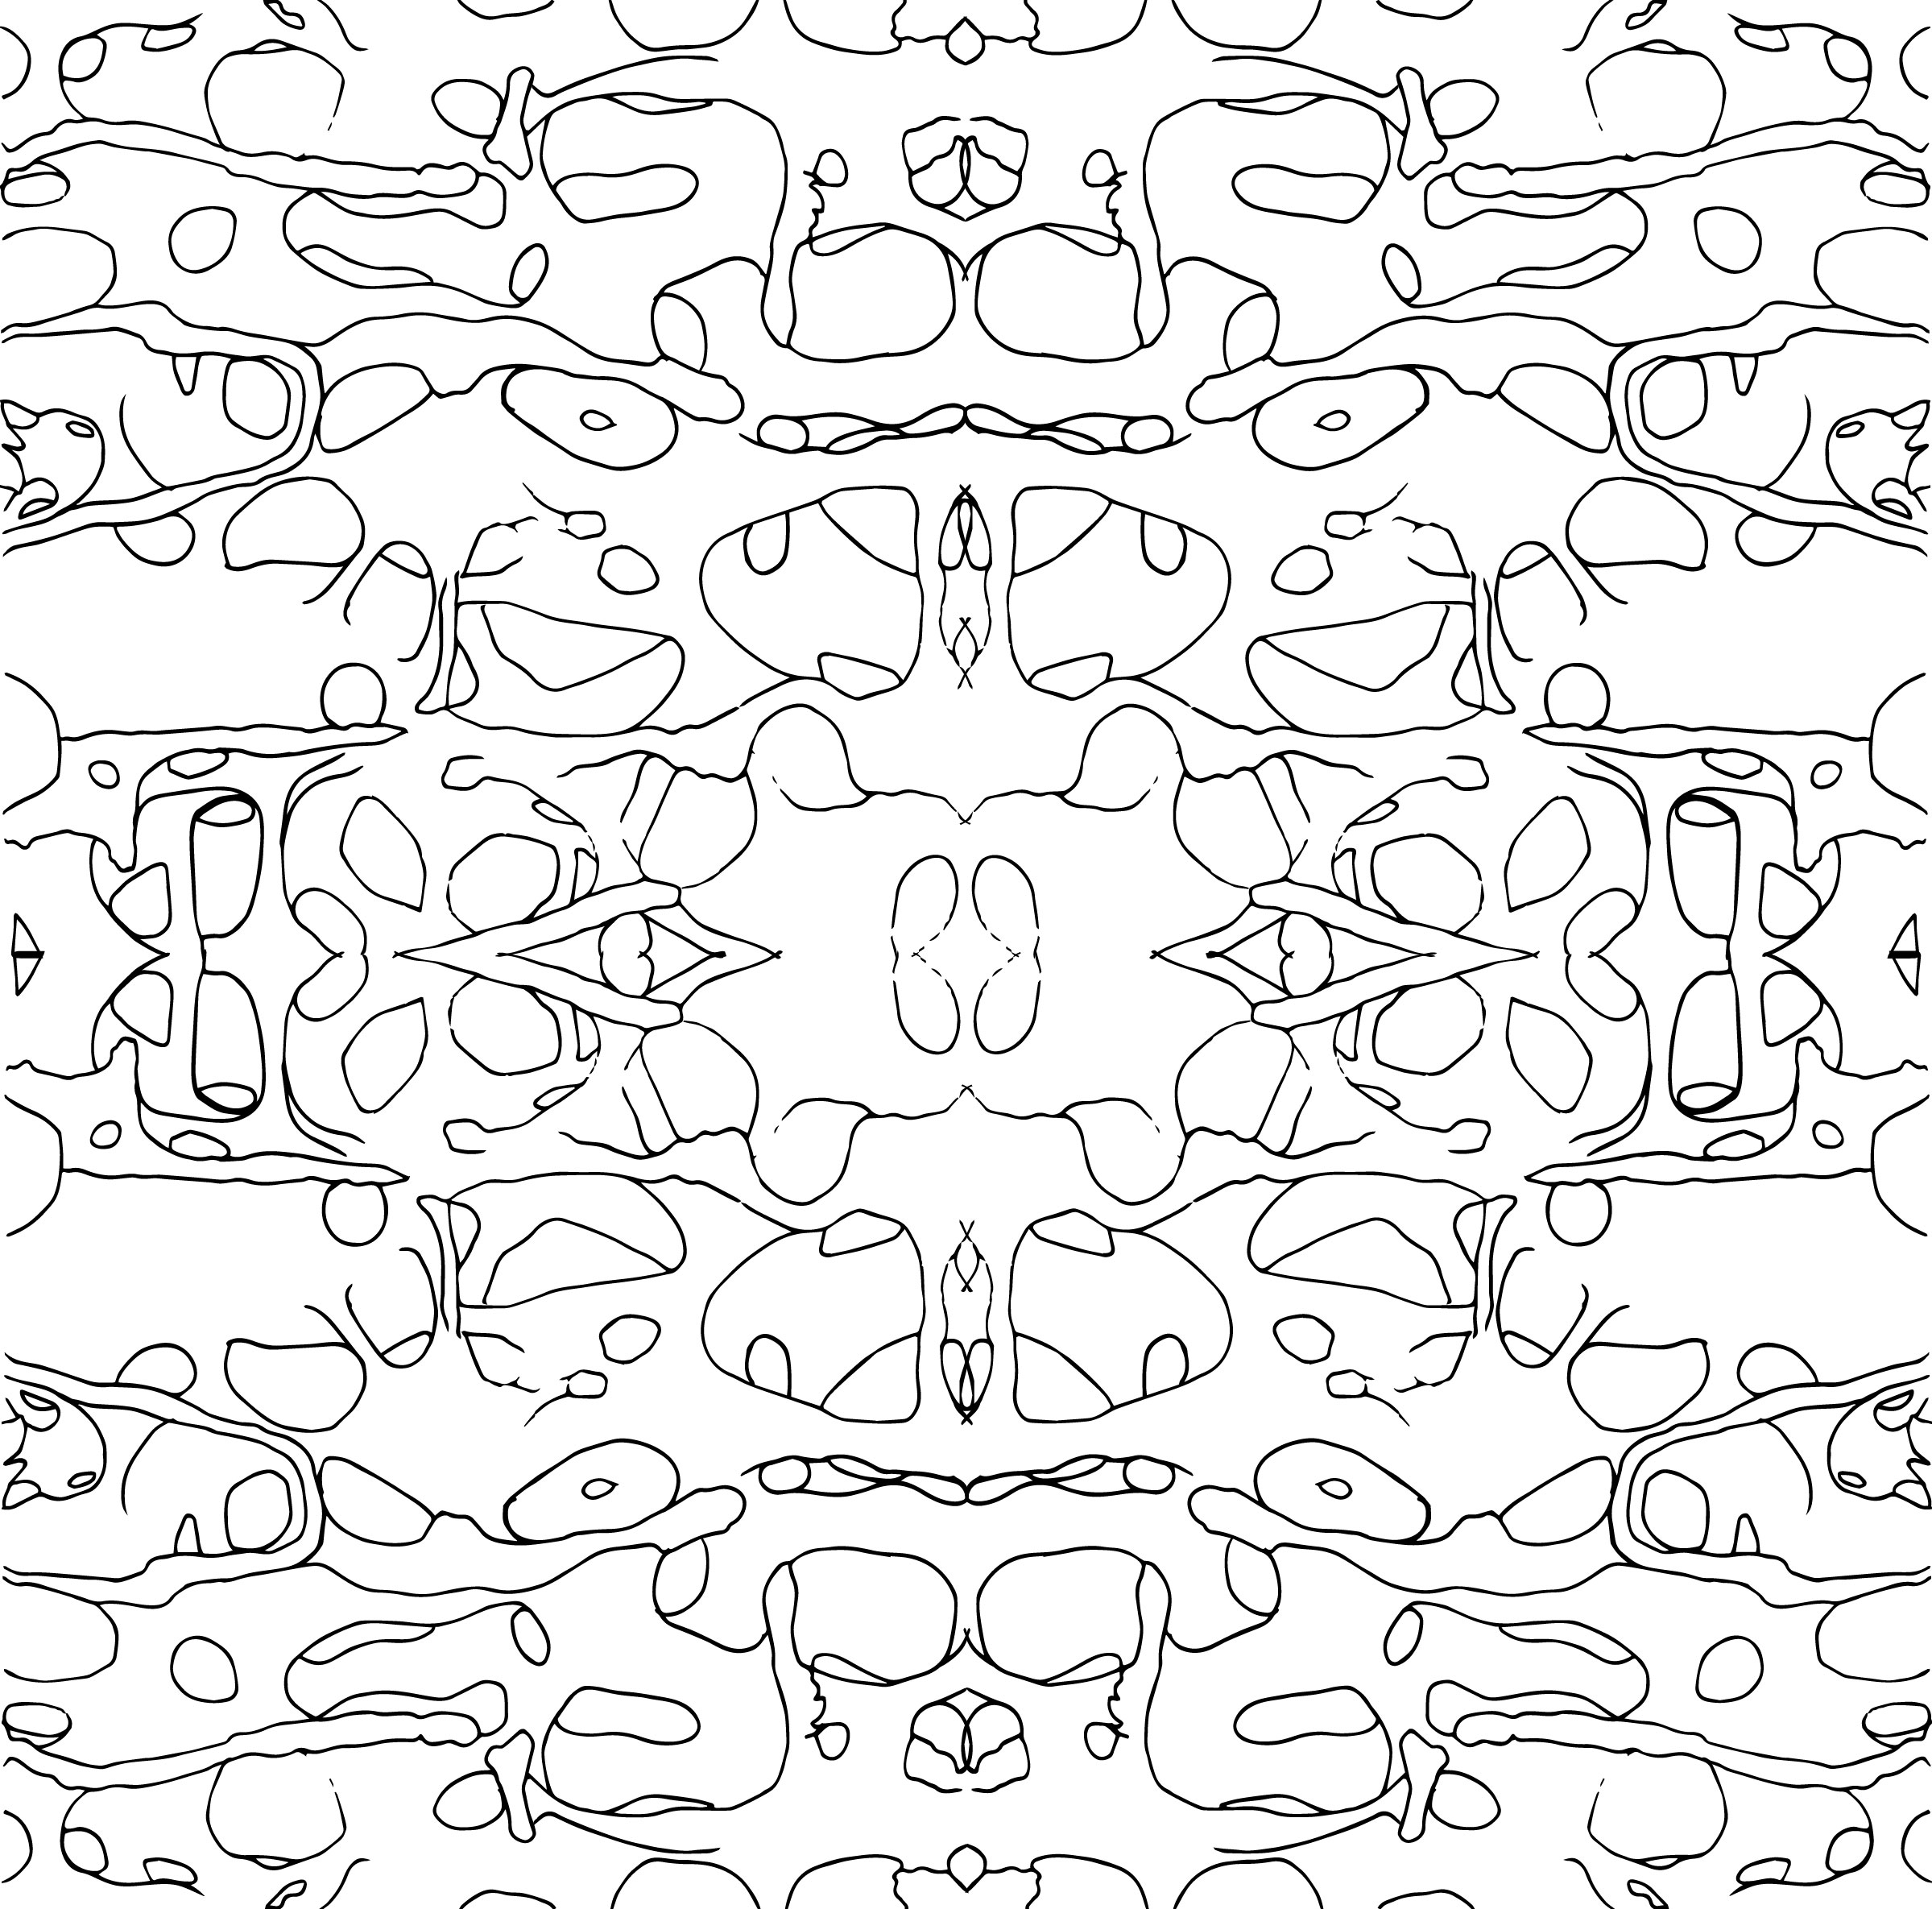
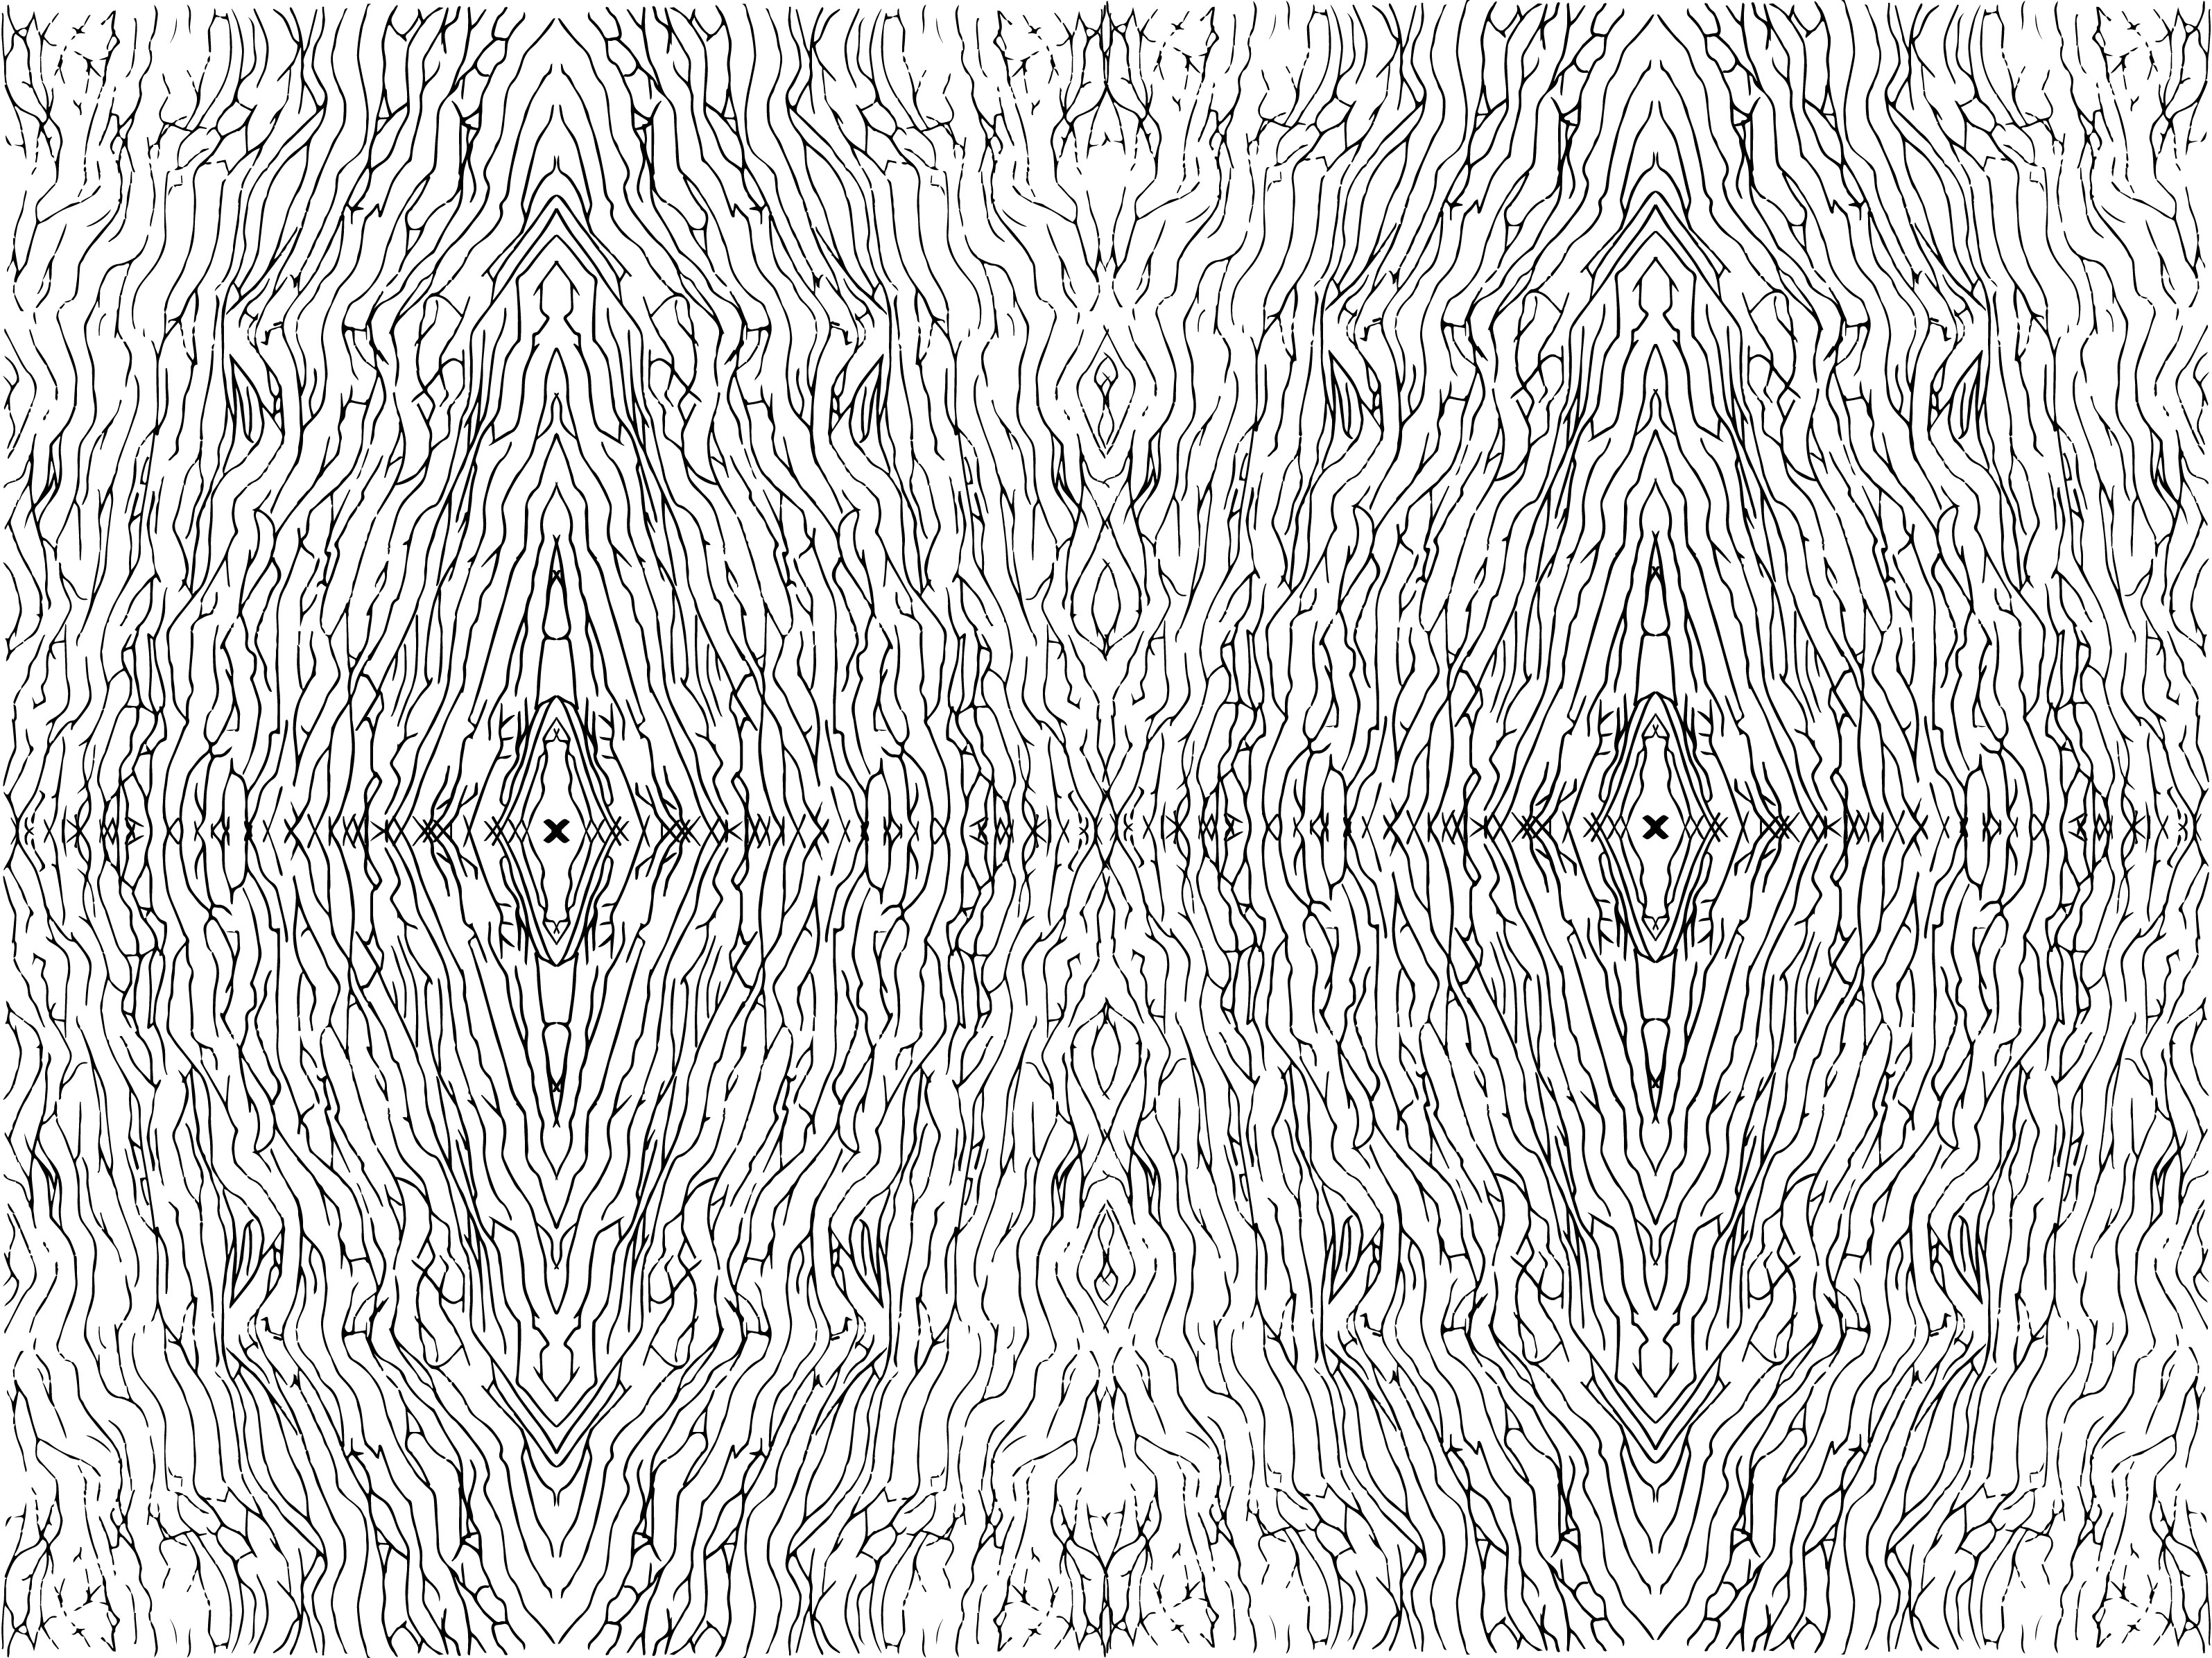
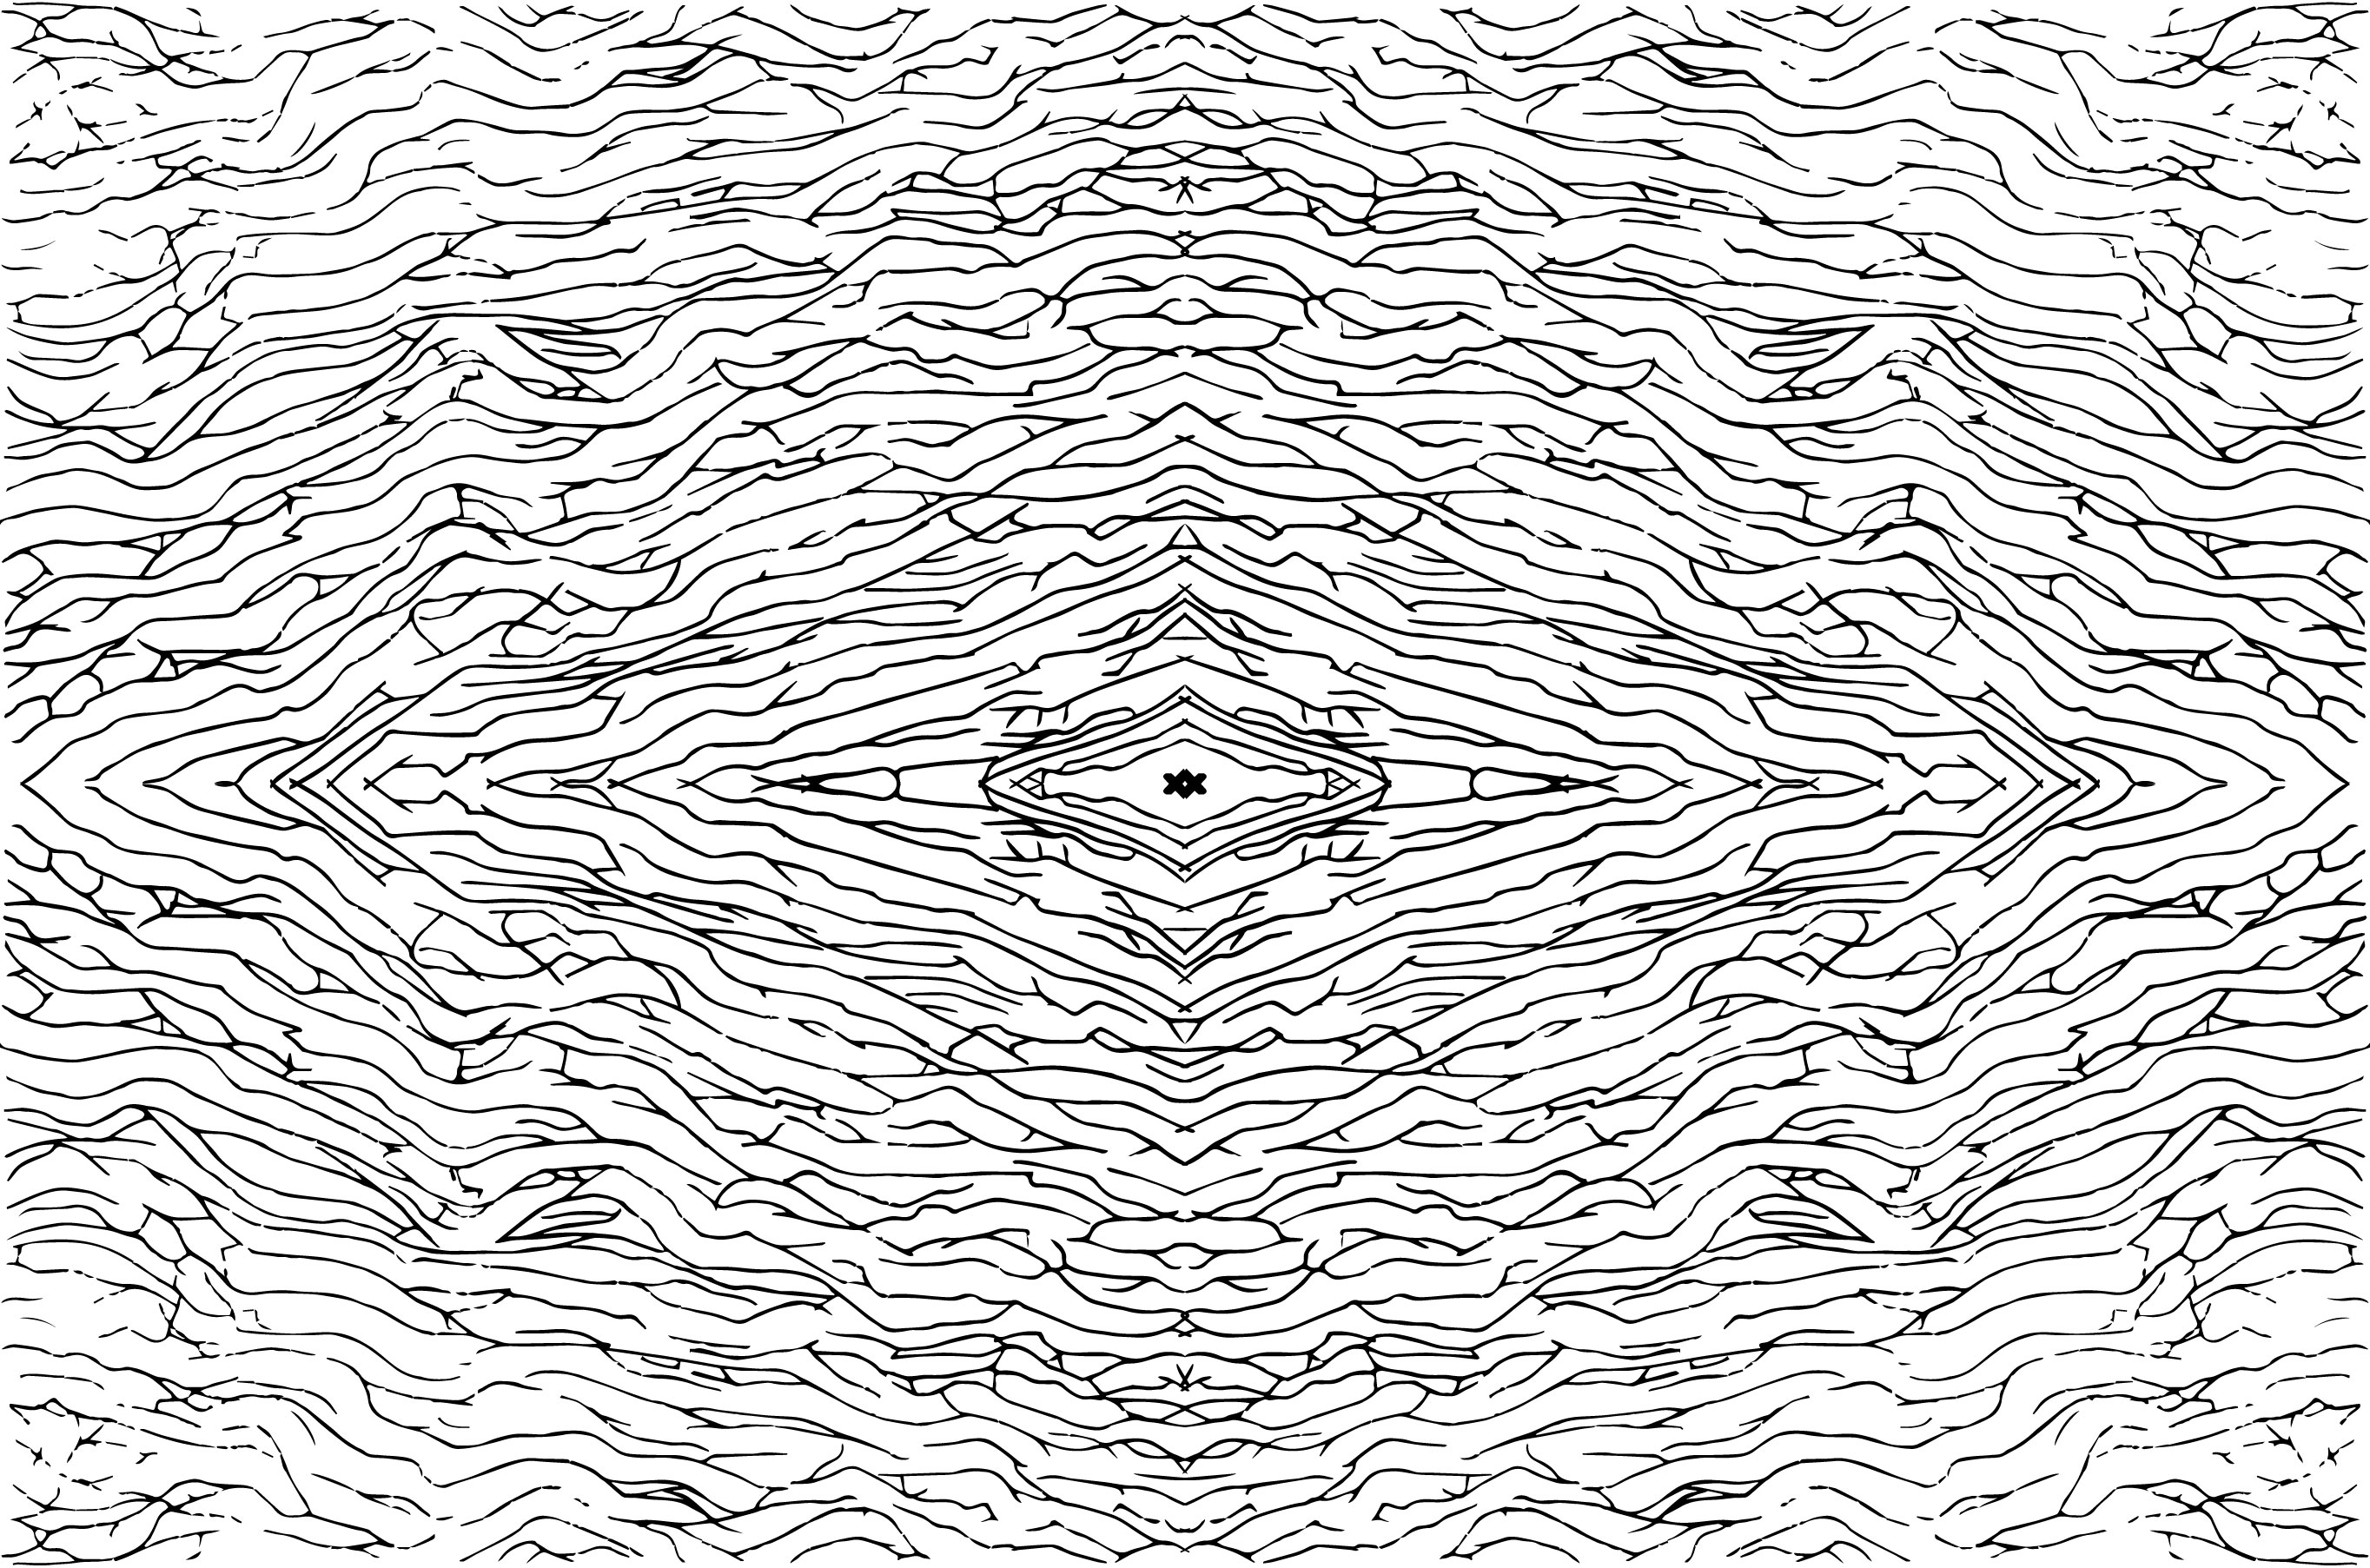
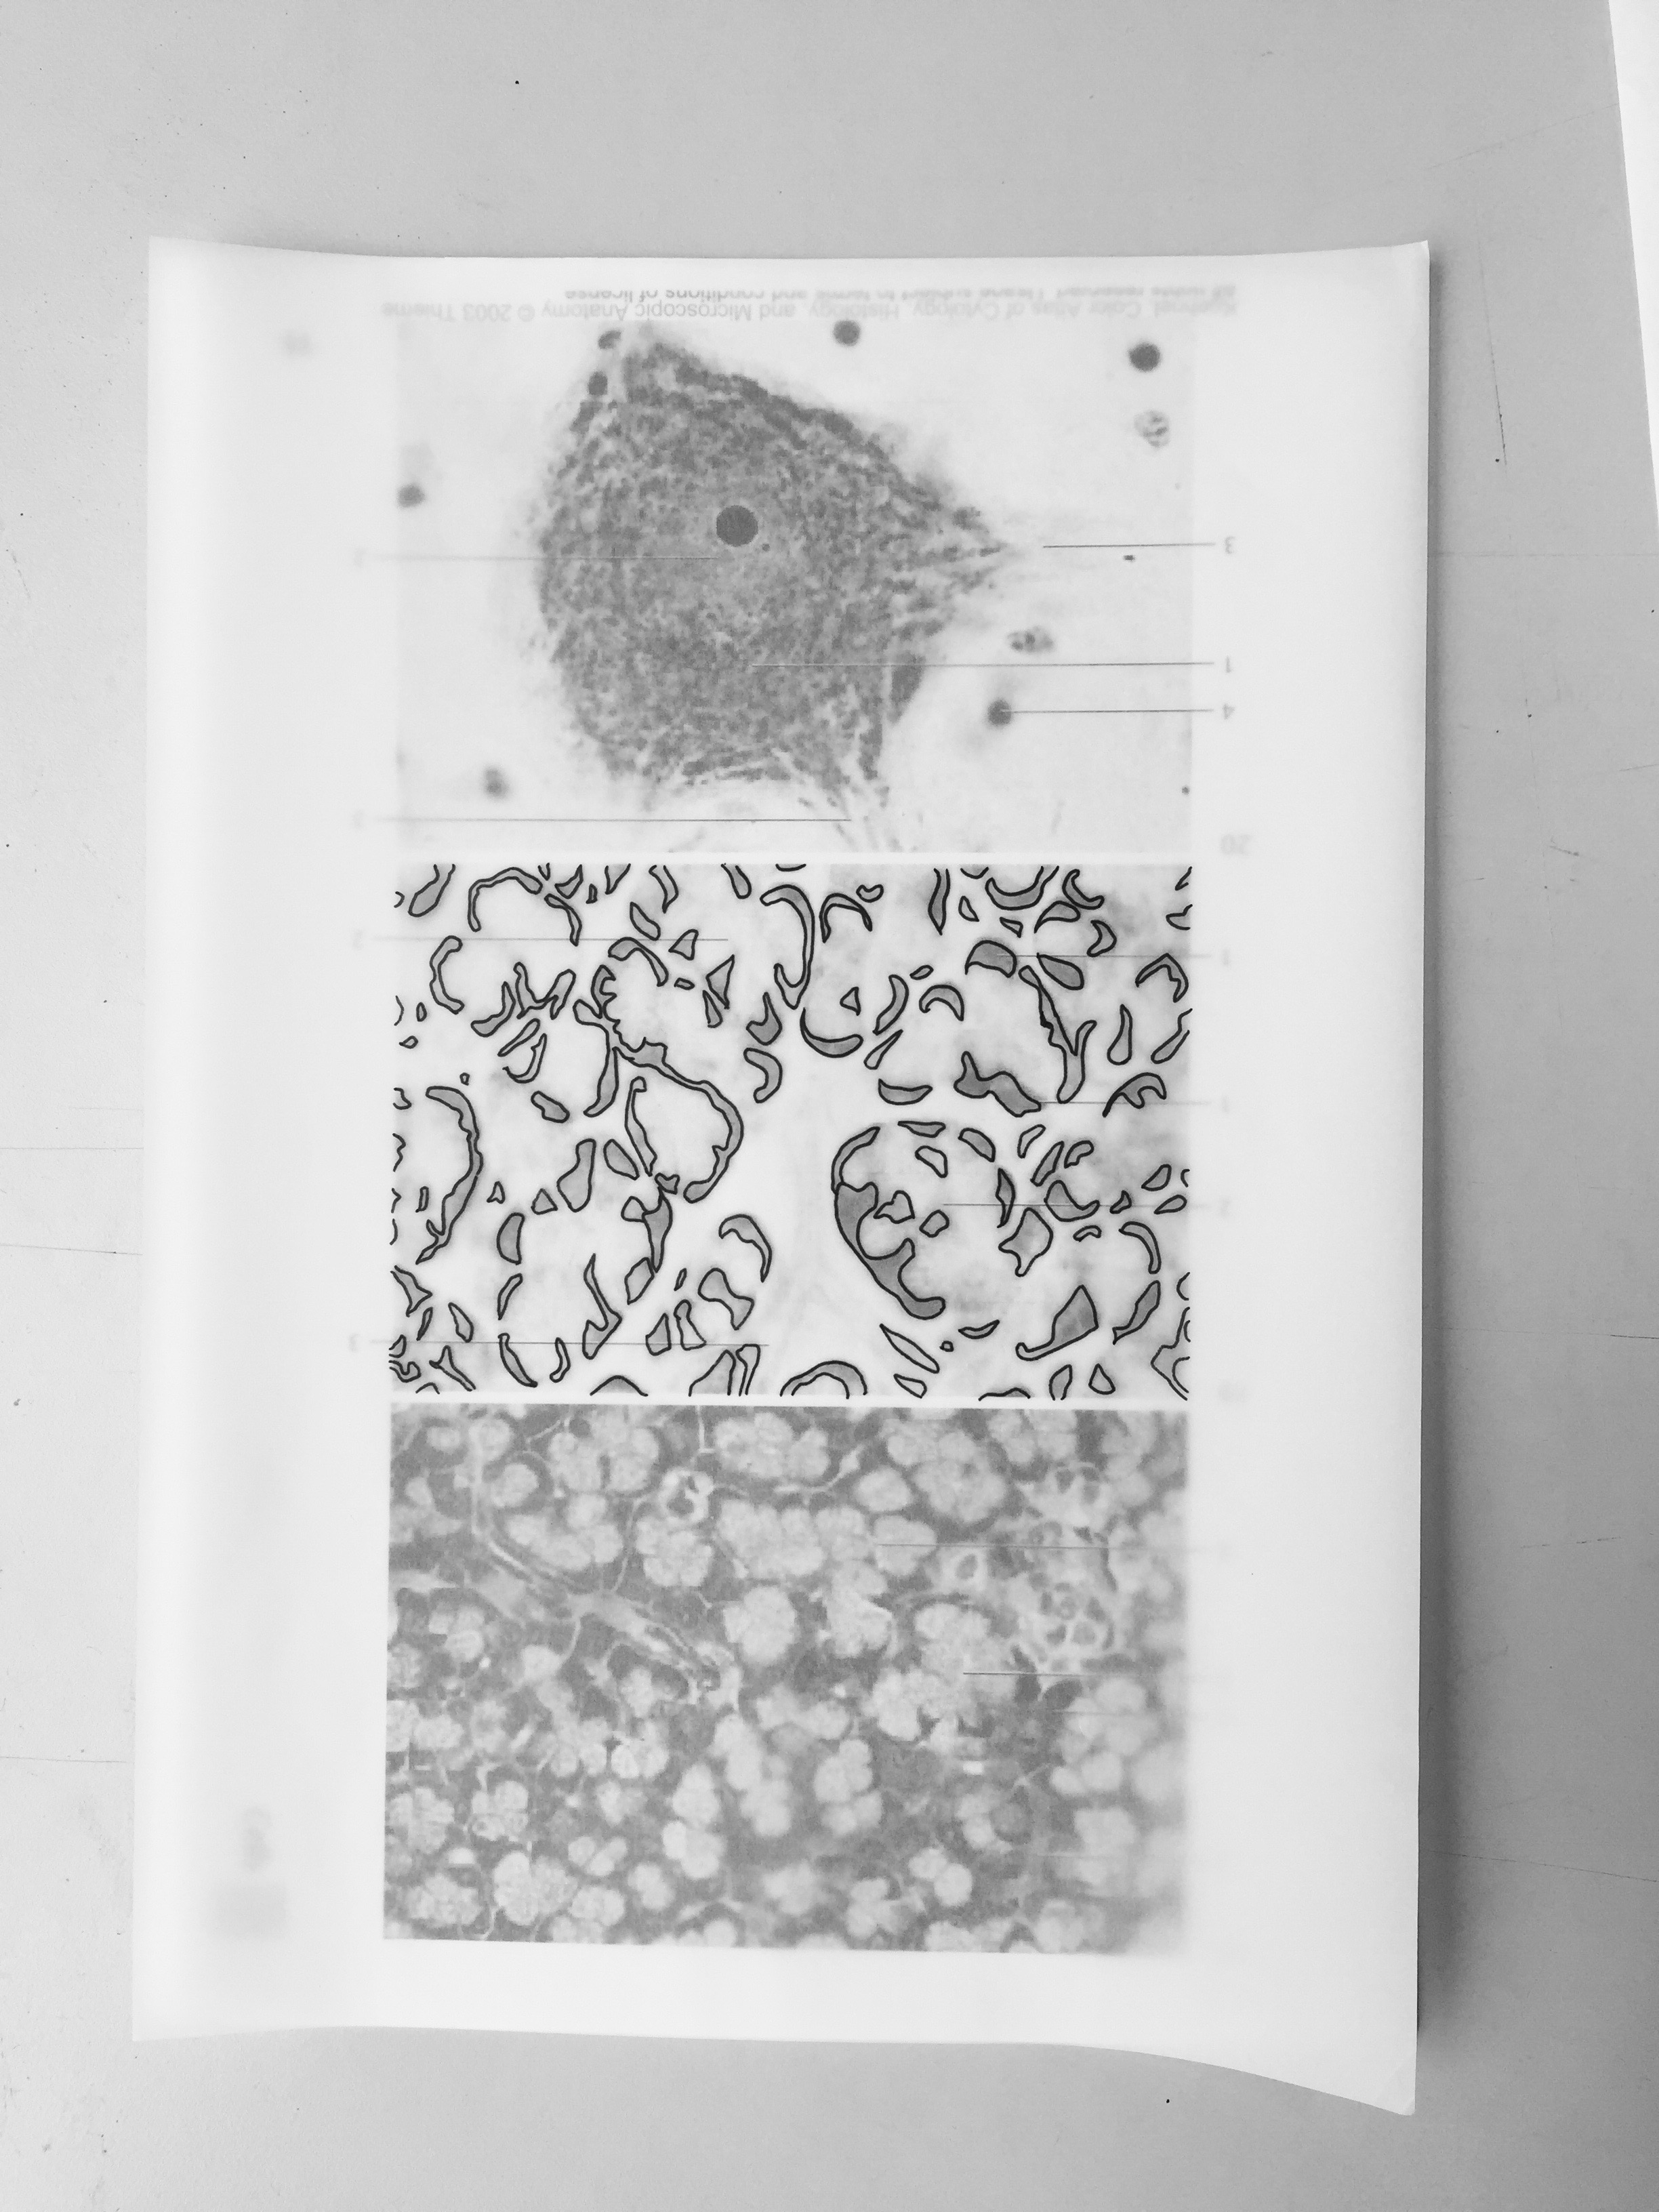
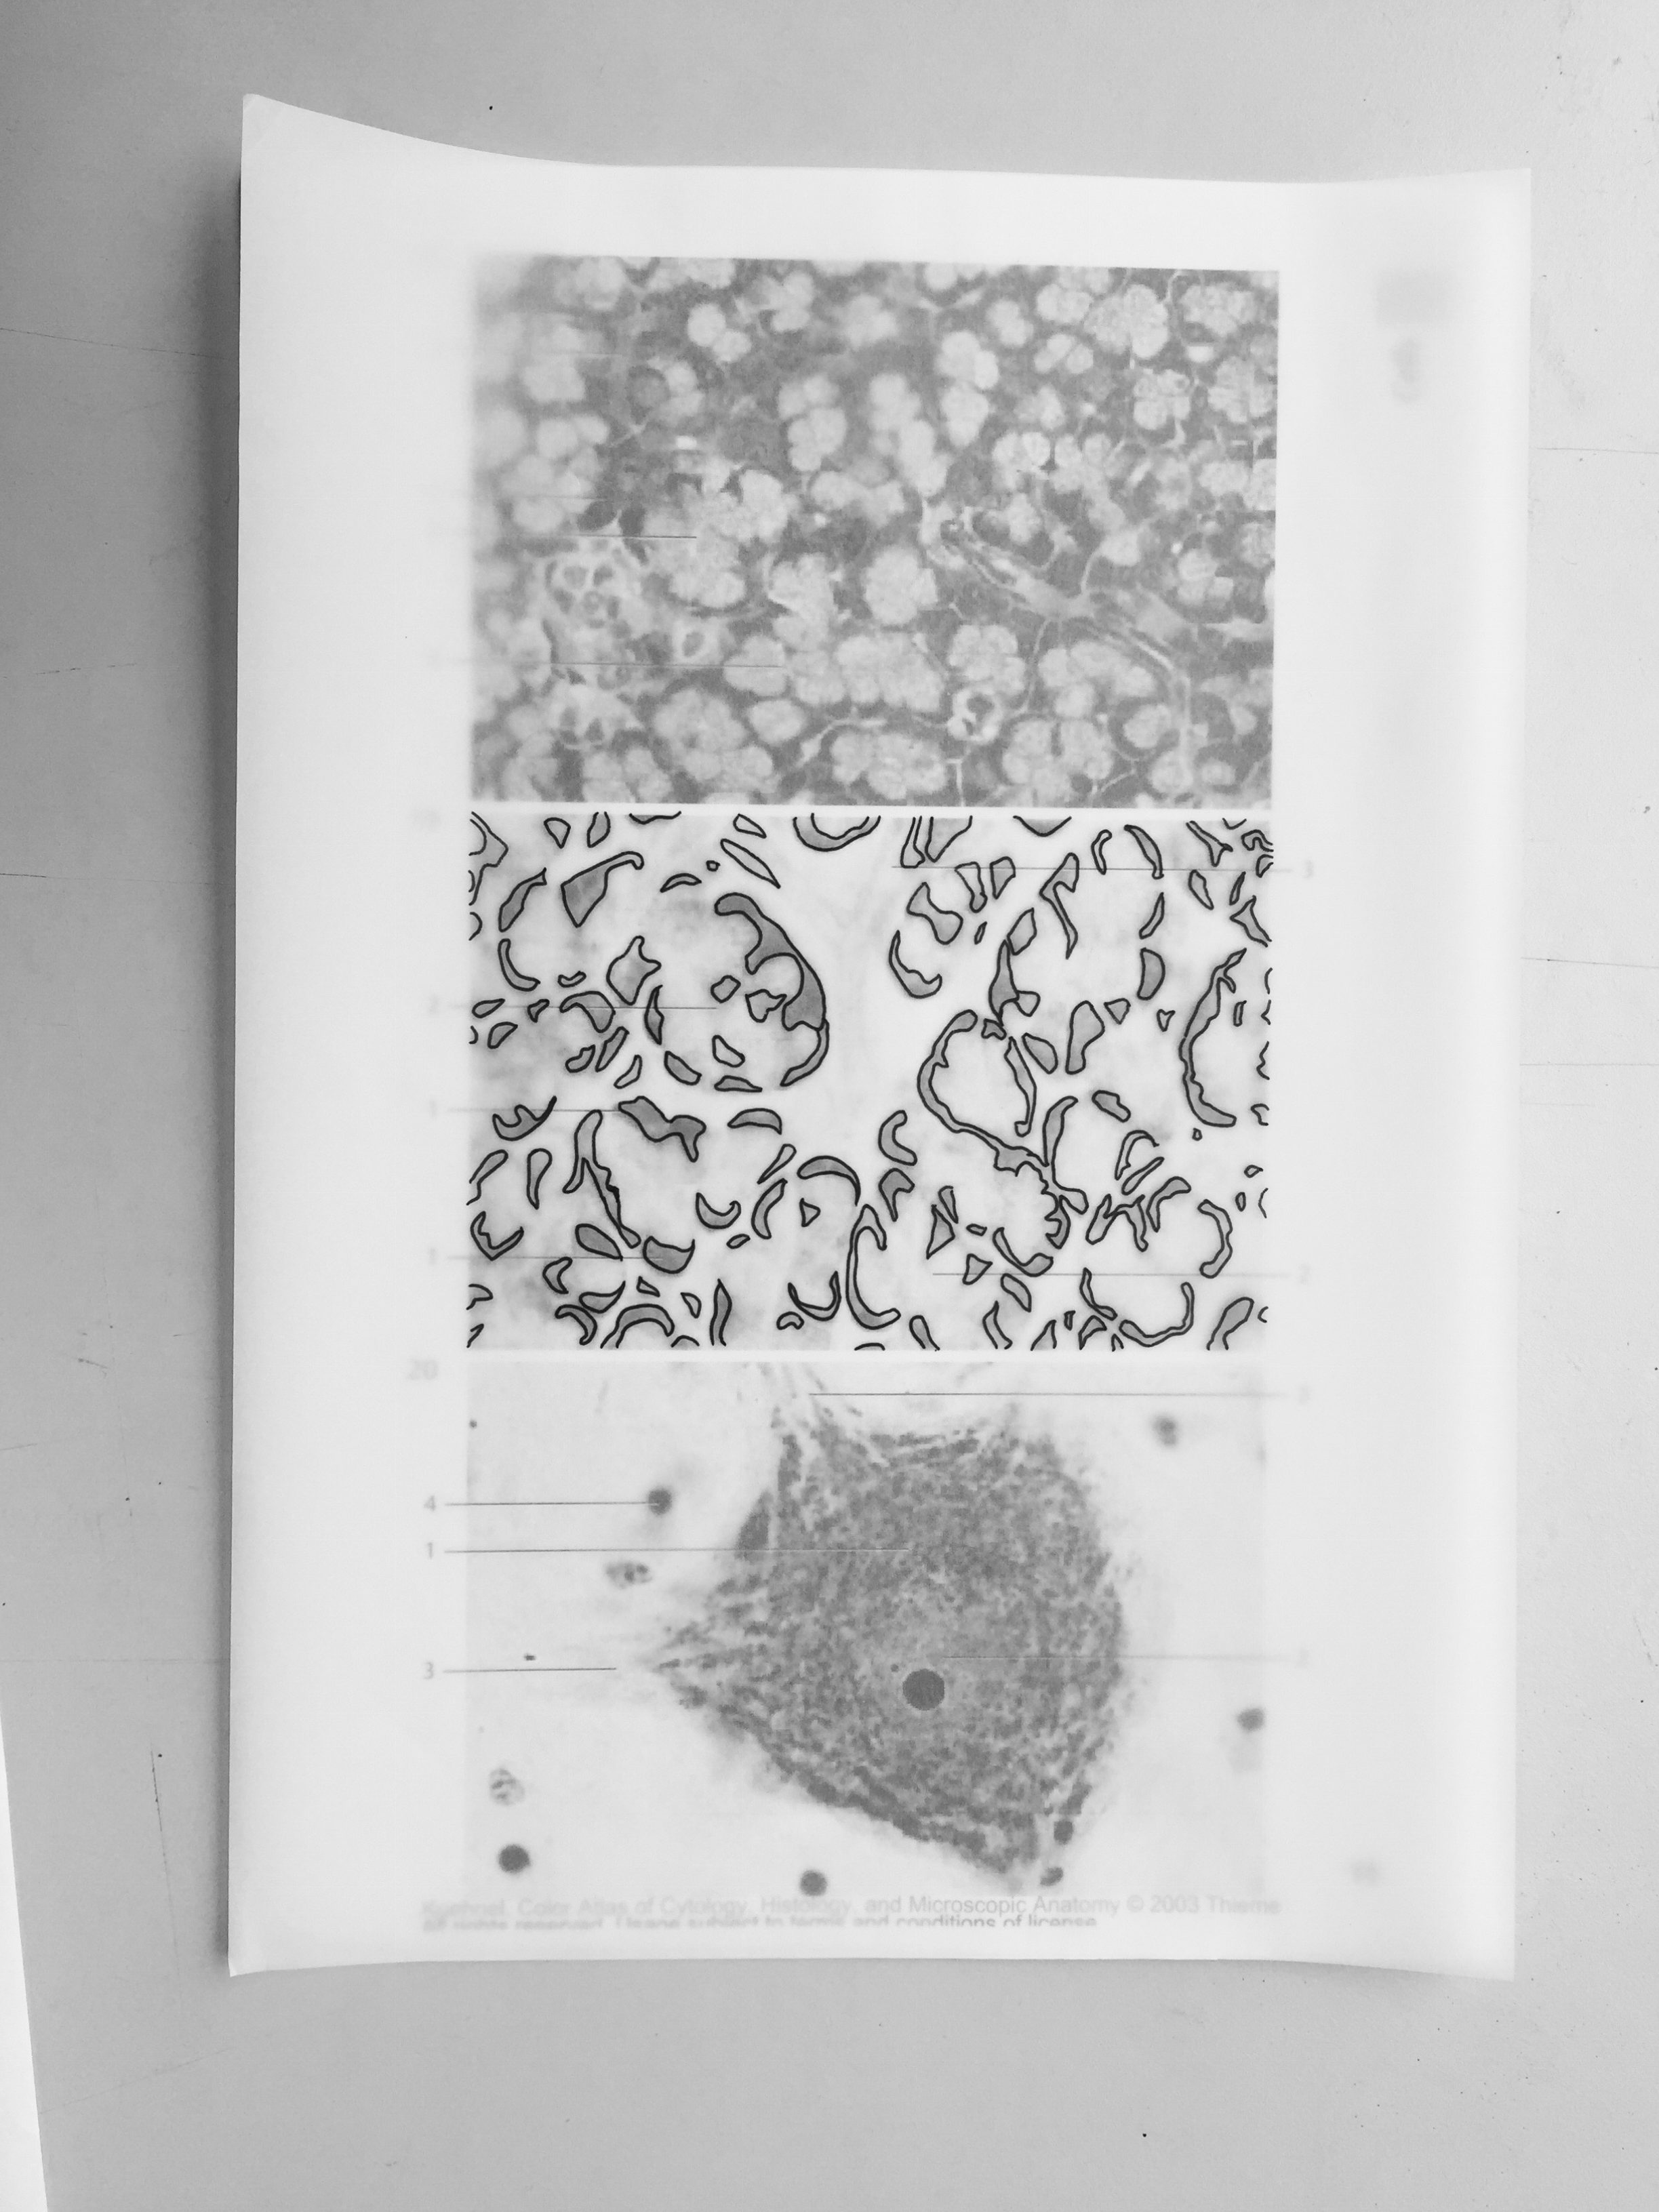
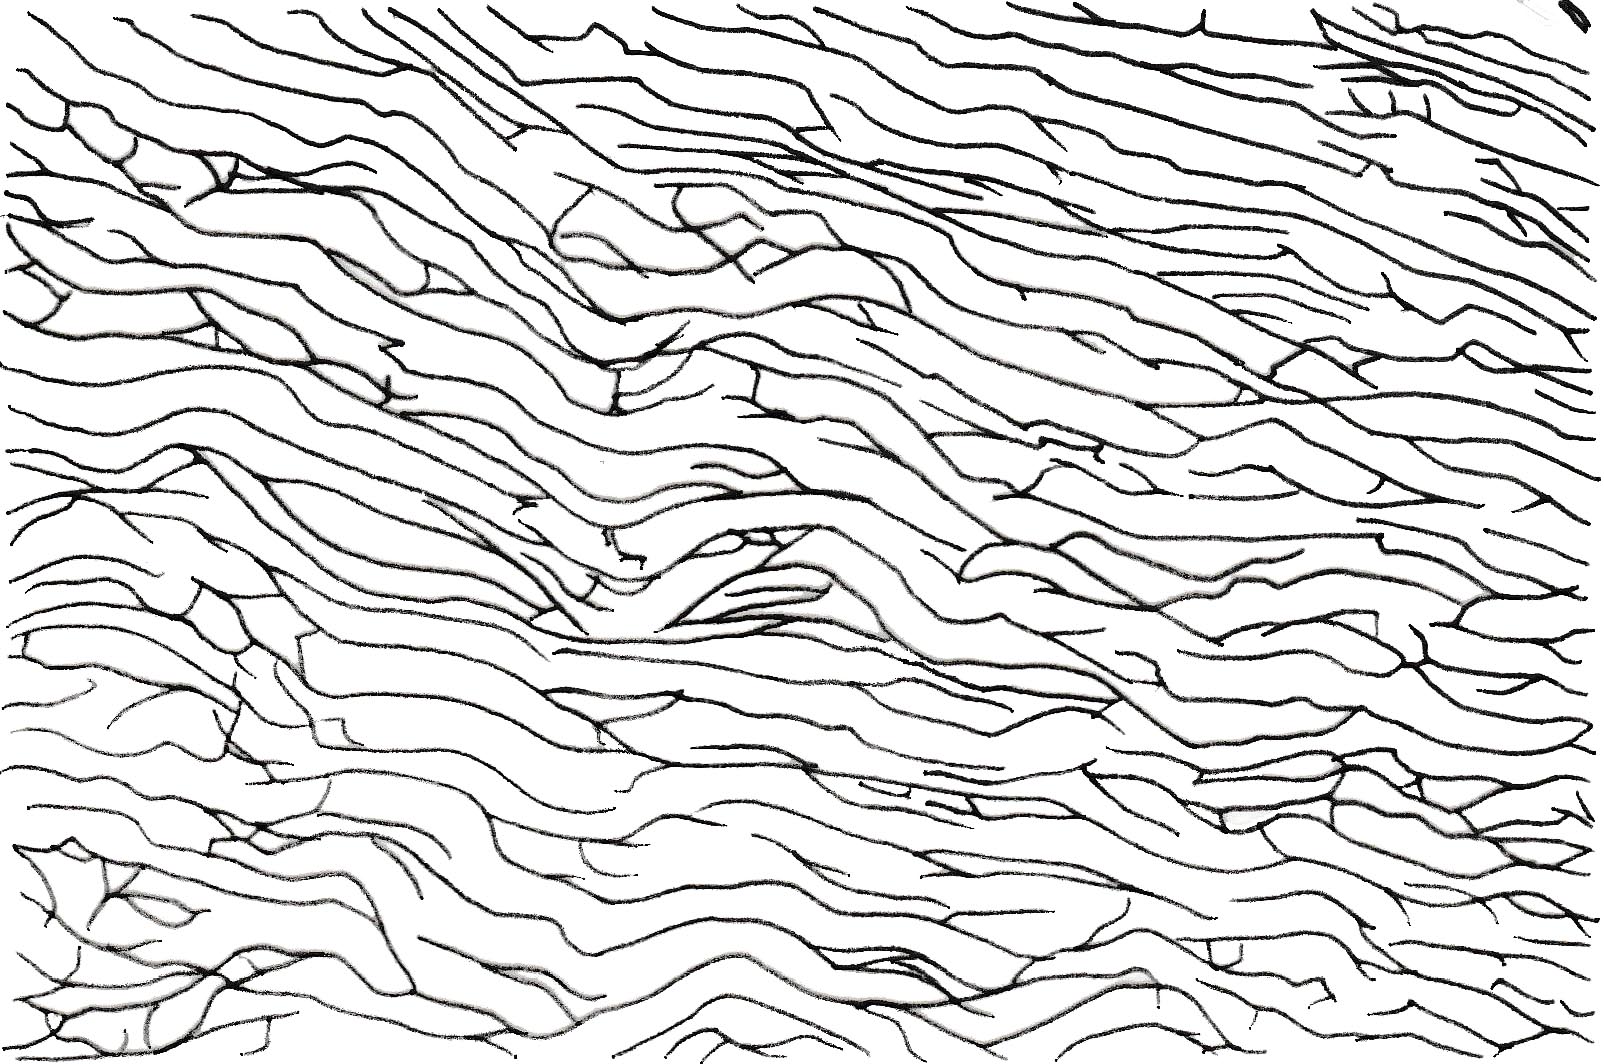
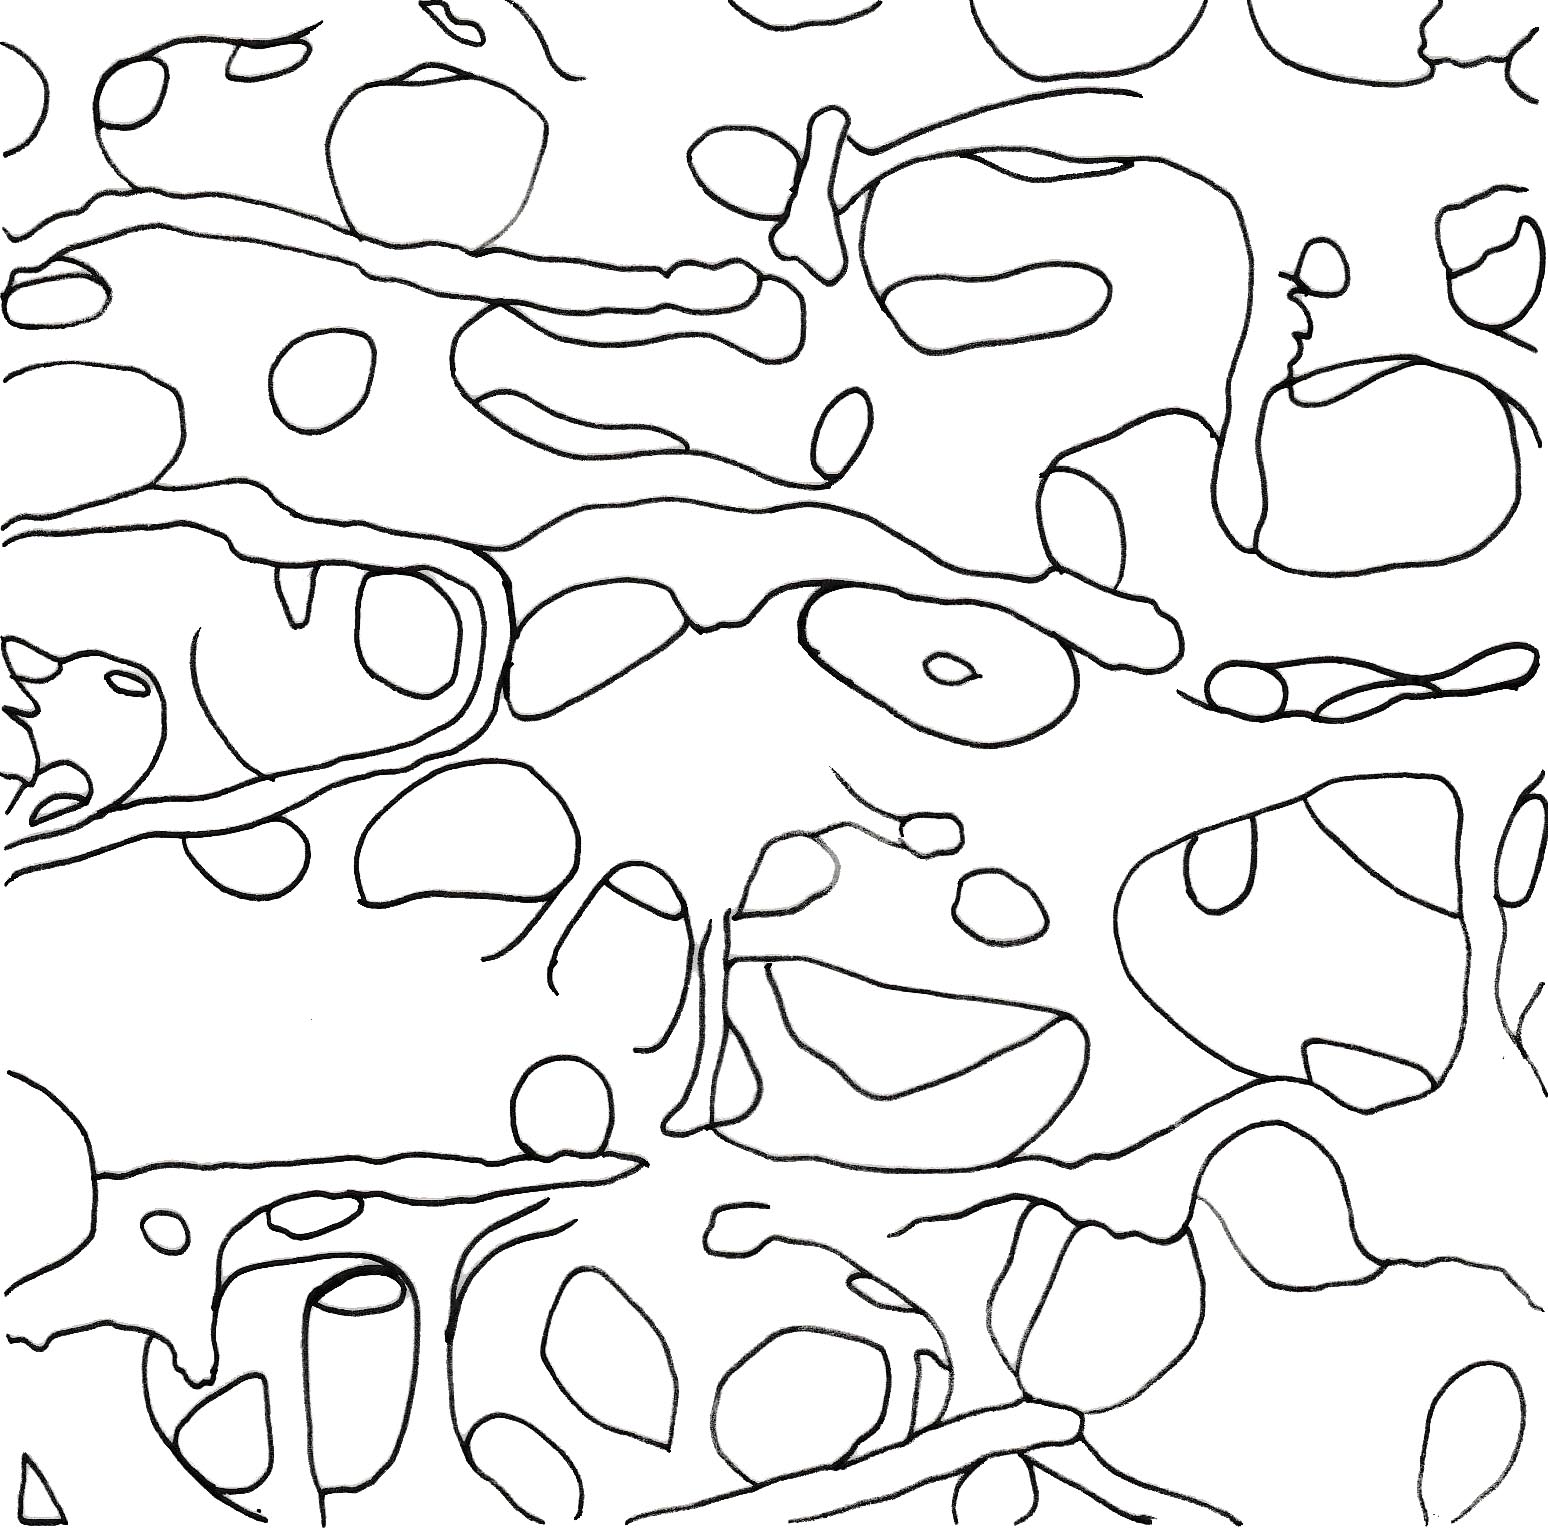
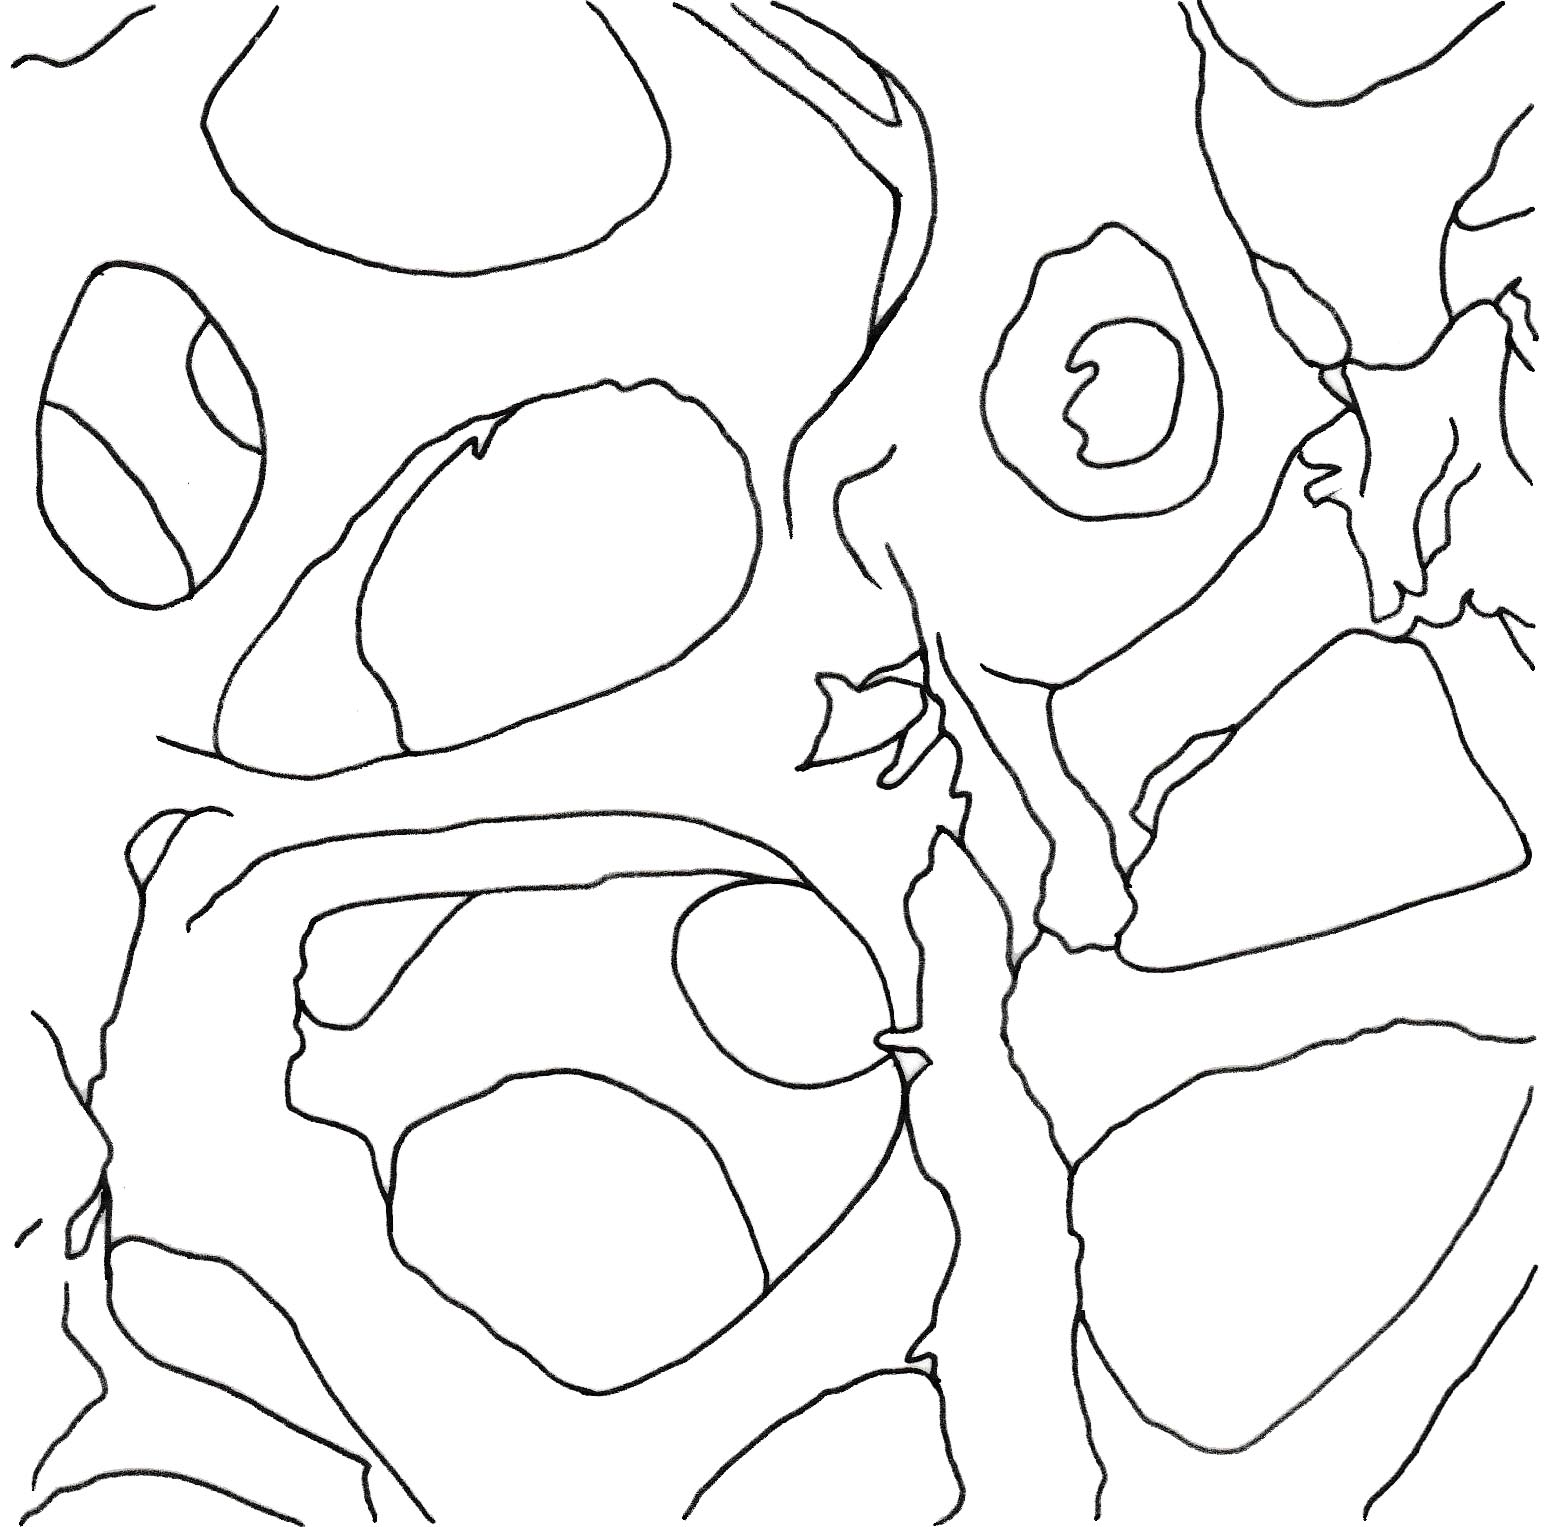
So from the previous post, I printed out selected images from a source that has data on human microscopic anatomy, traced those images, and lastly scanned them in. Not really at random, but I selected those images based on the type of patterns that I planned to incorporate into the entire motif — bones, cells, and connective and supportive tissues.
Softcopy
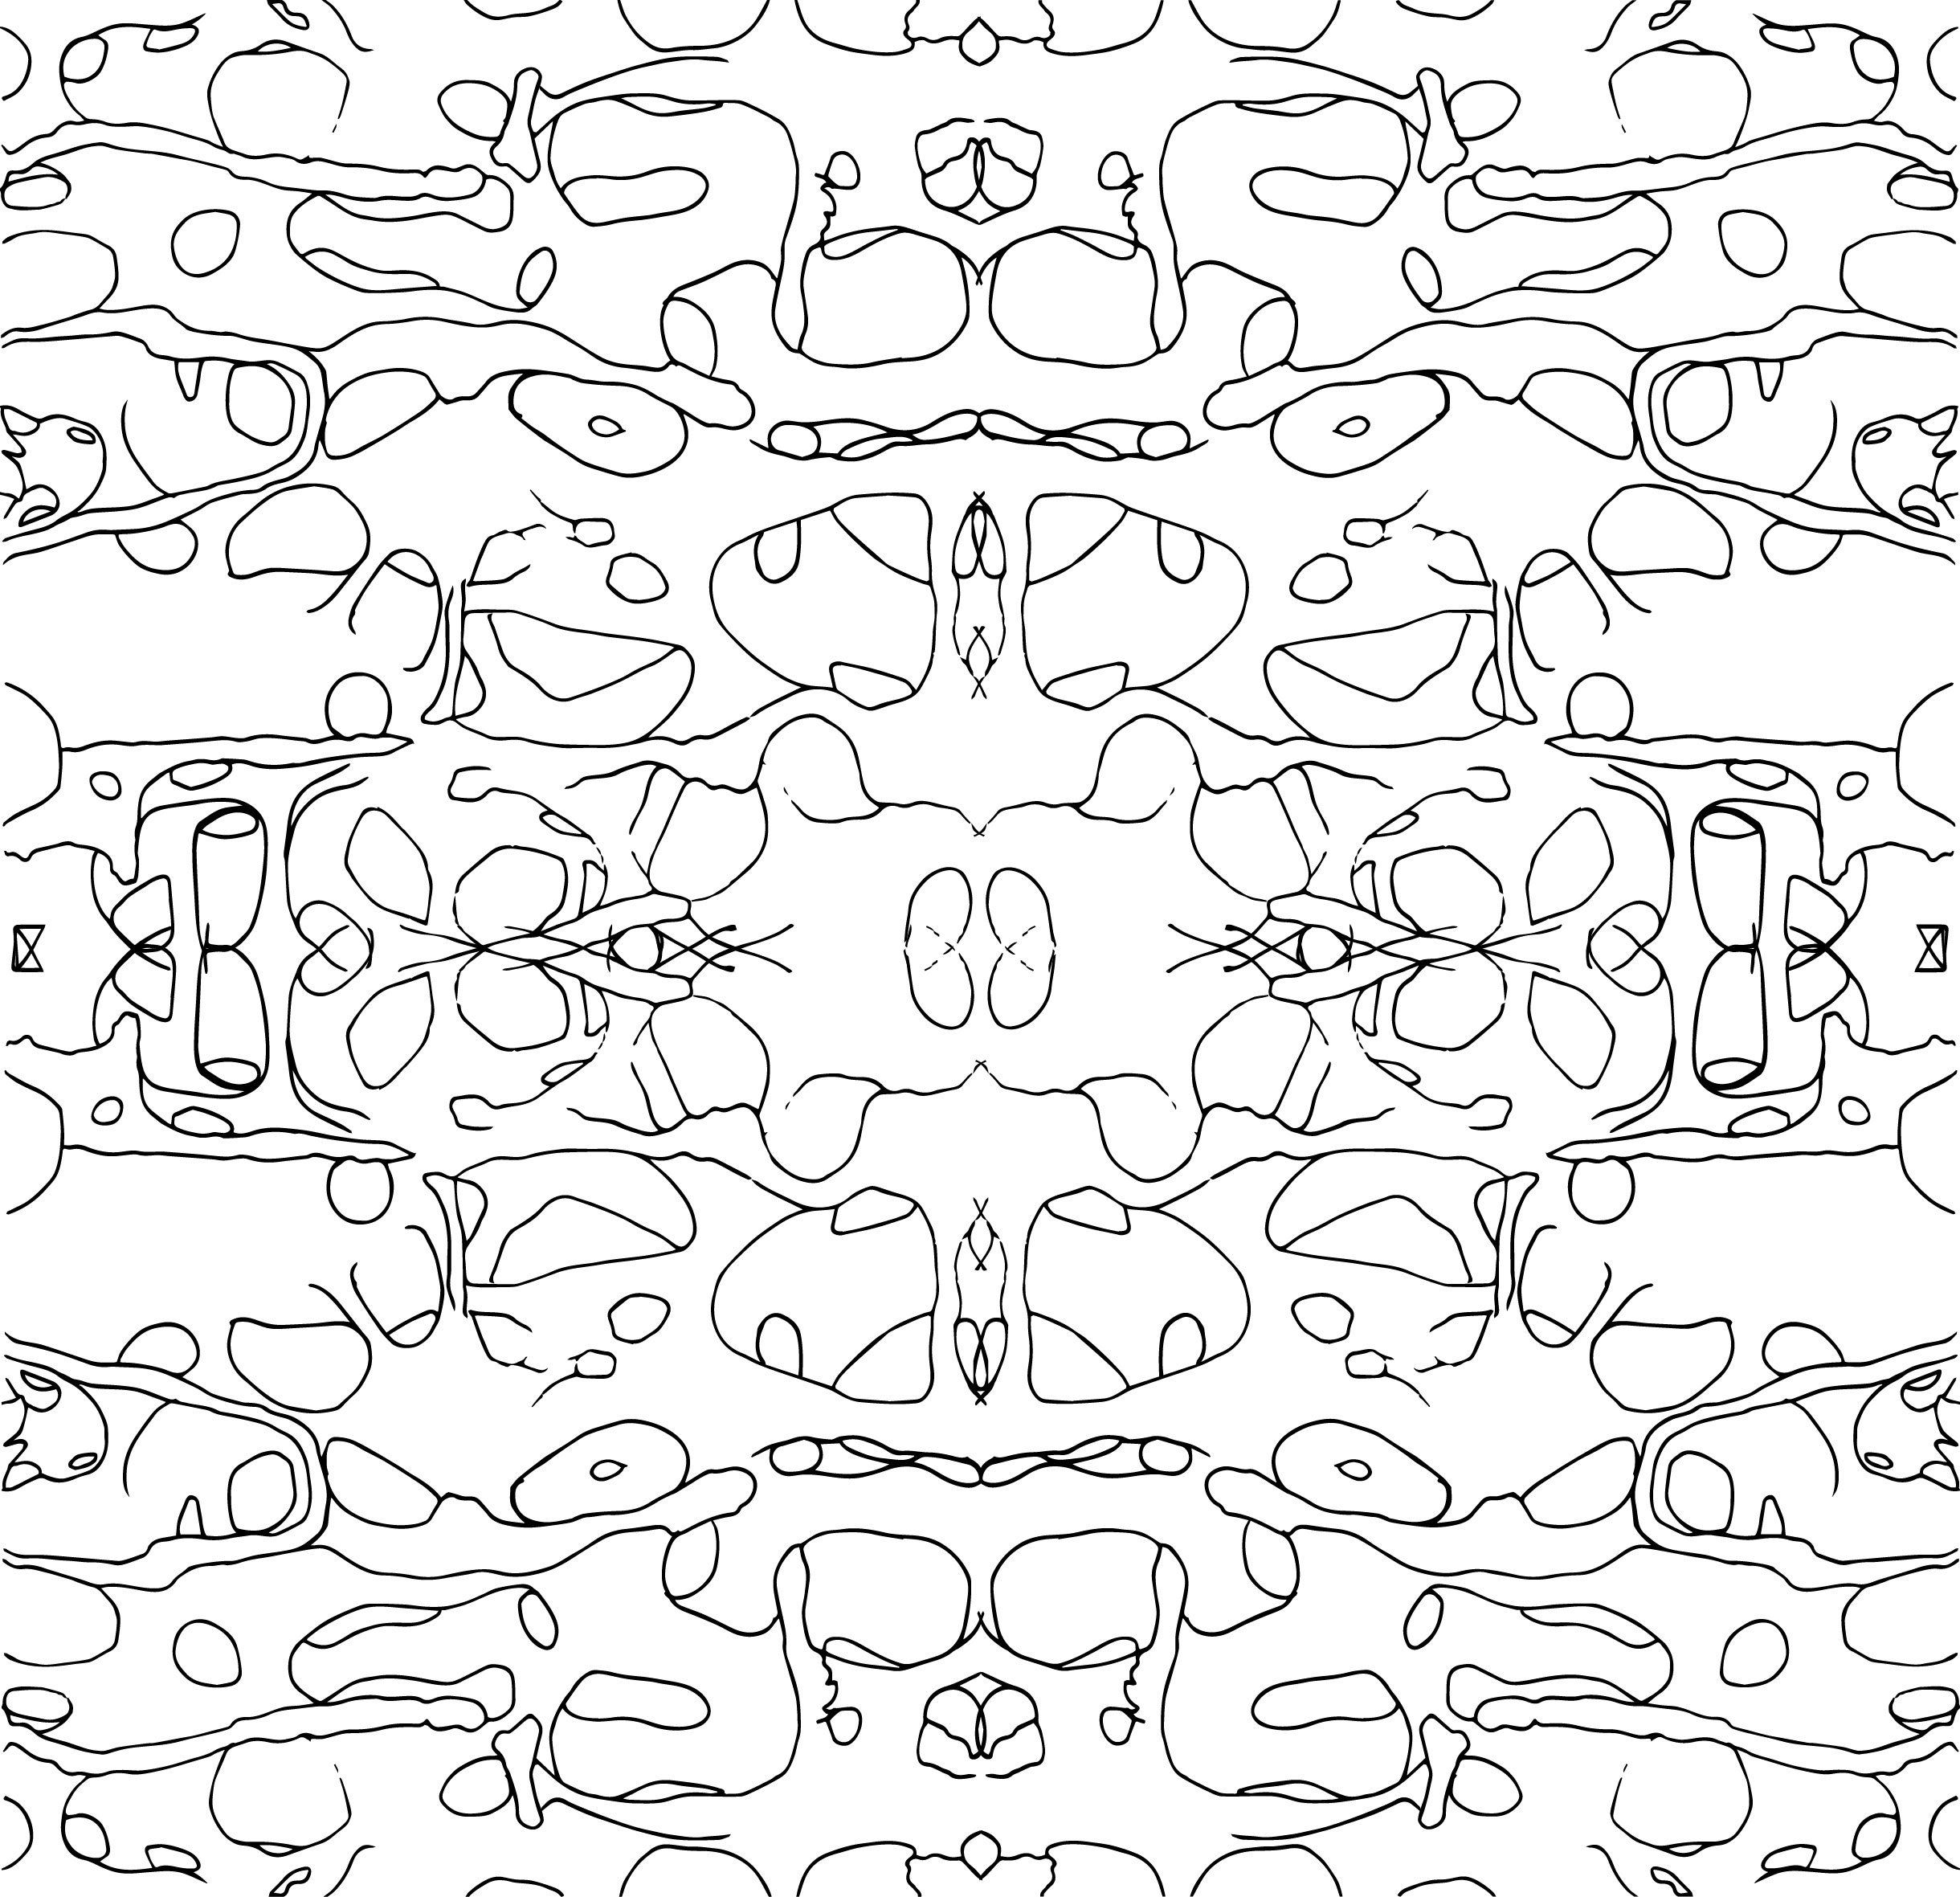
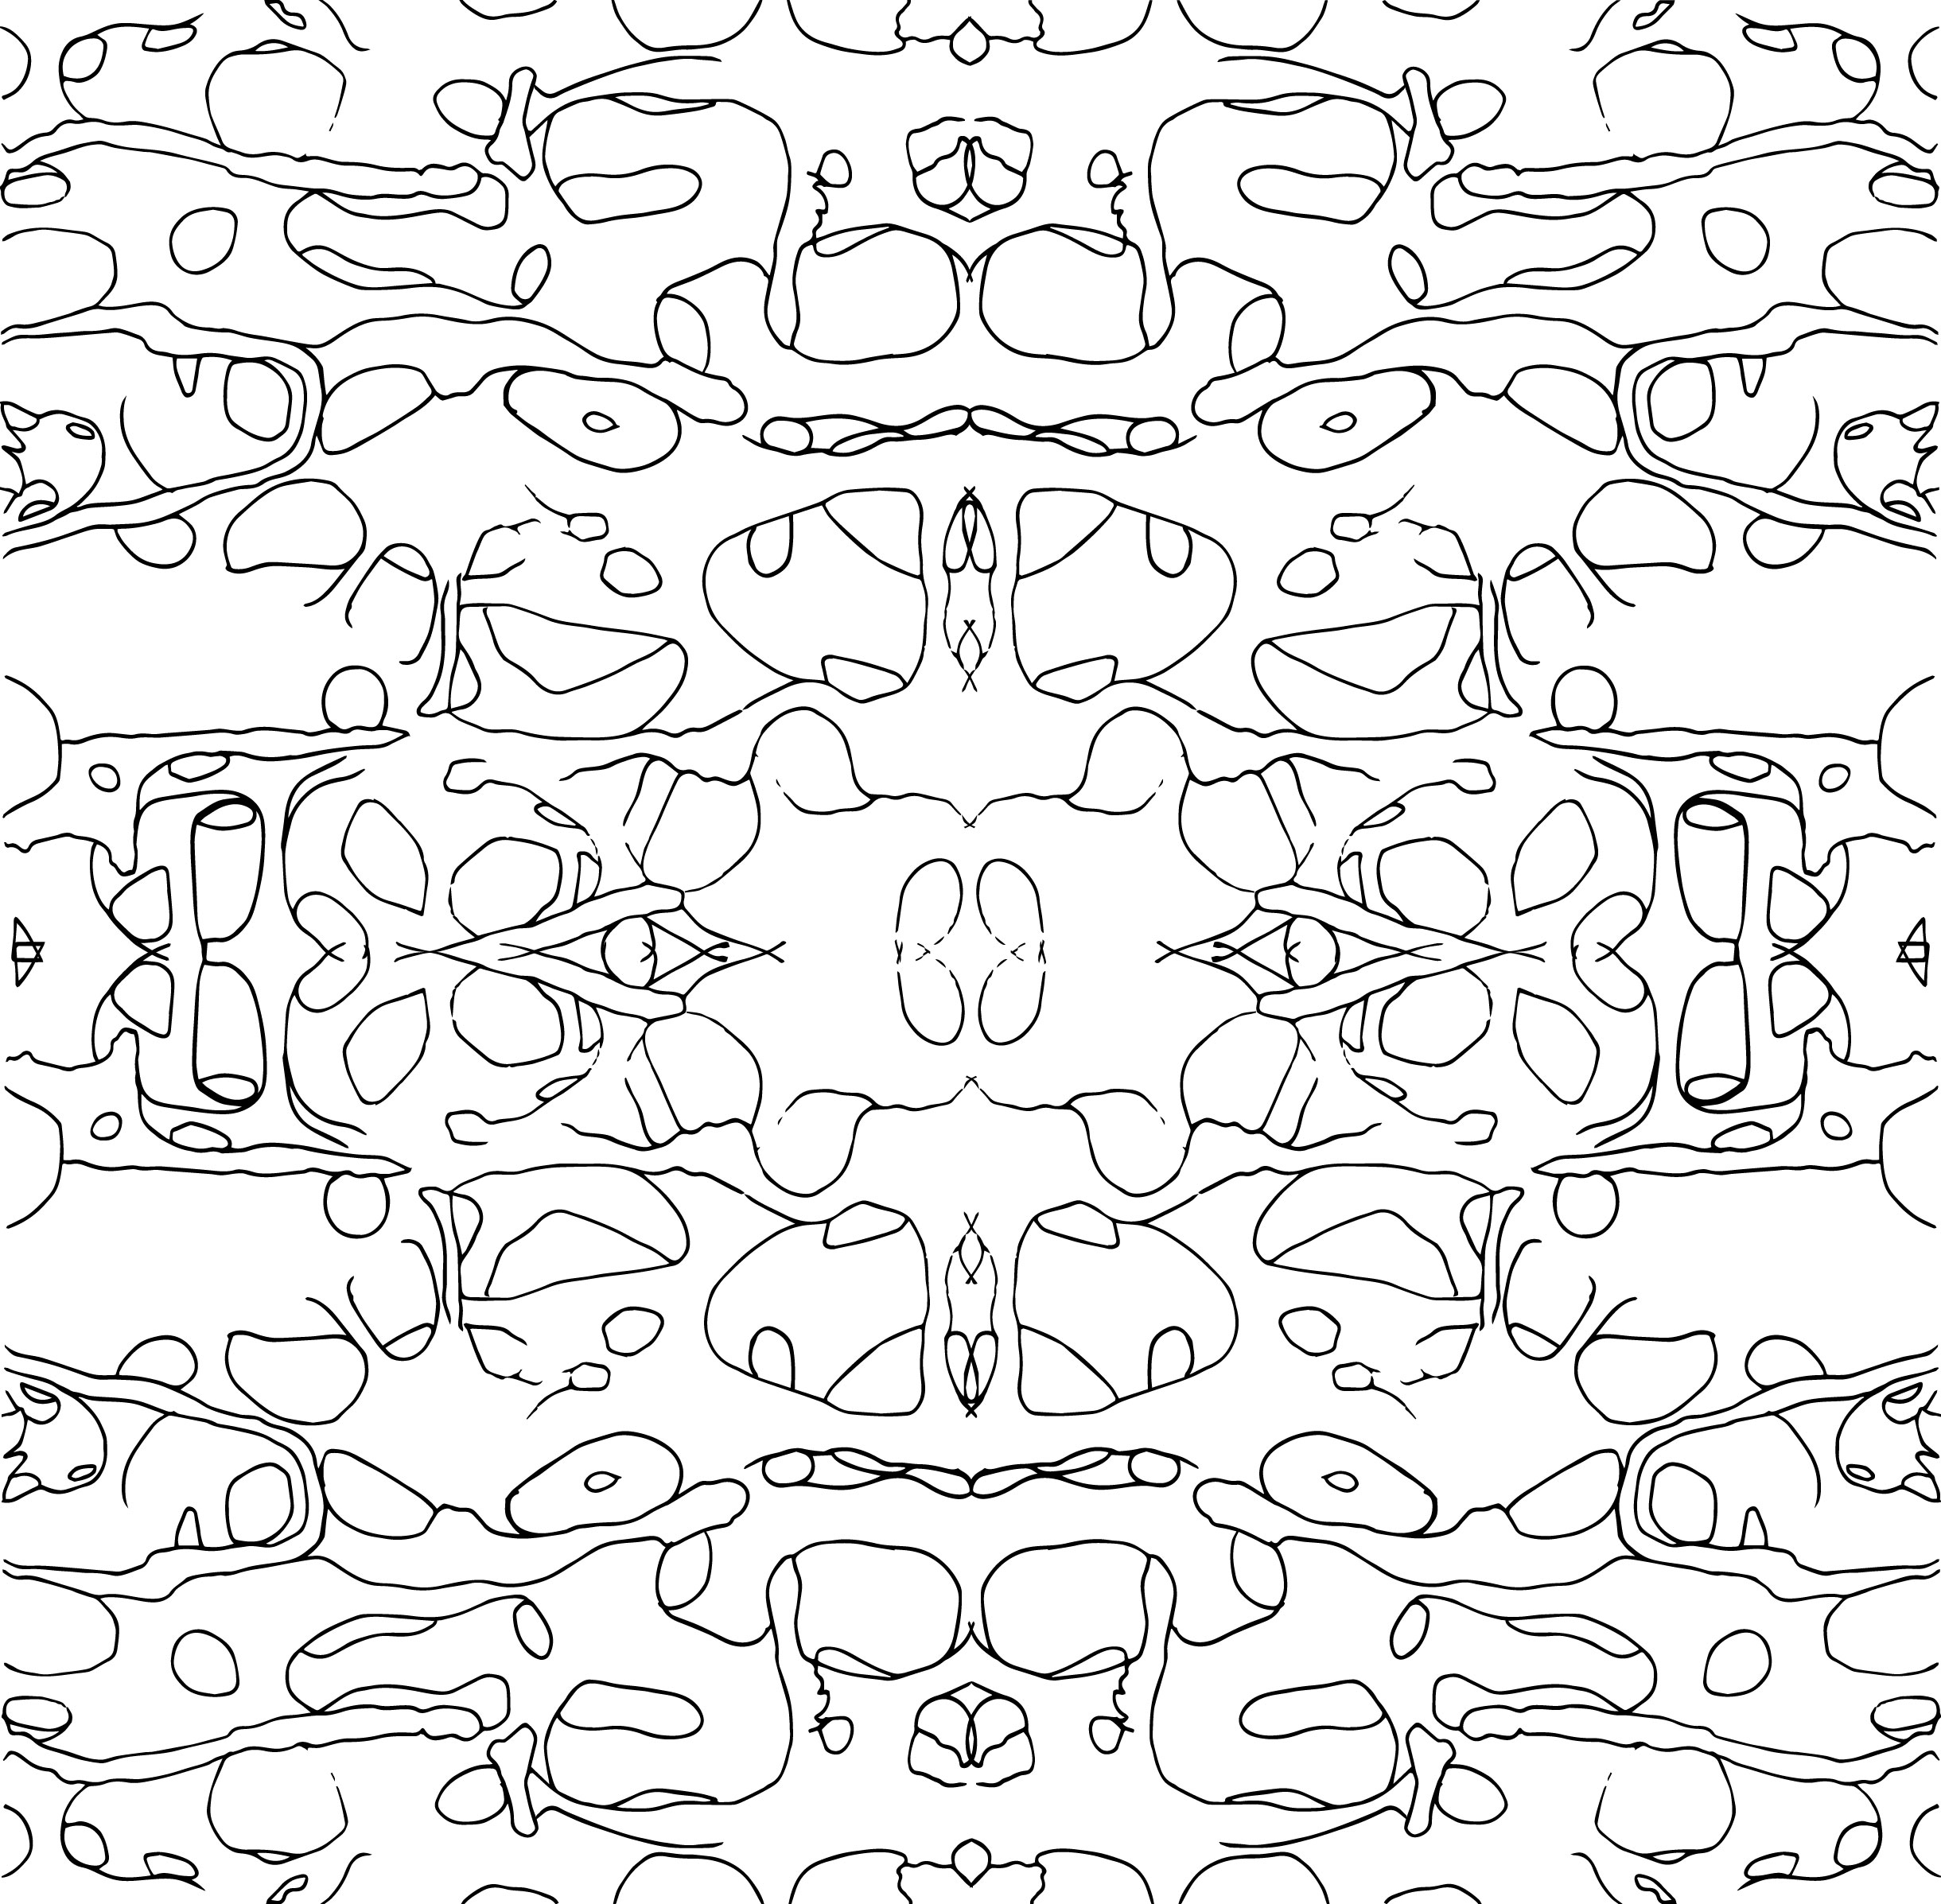
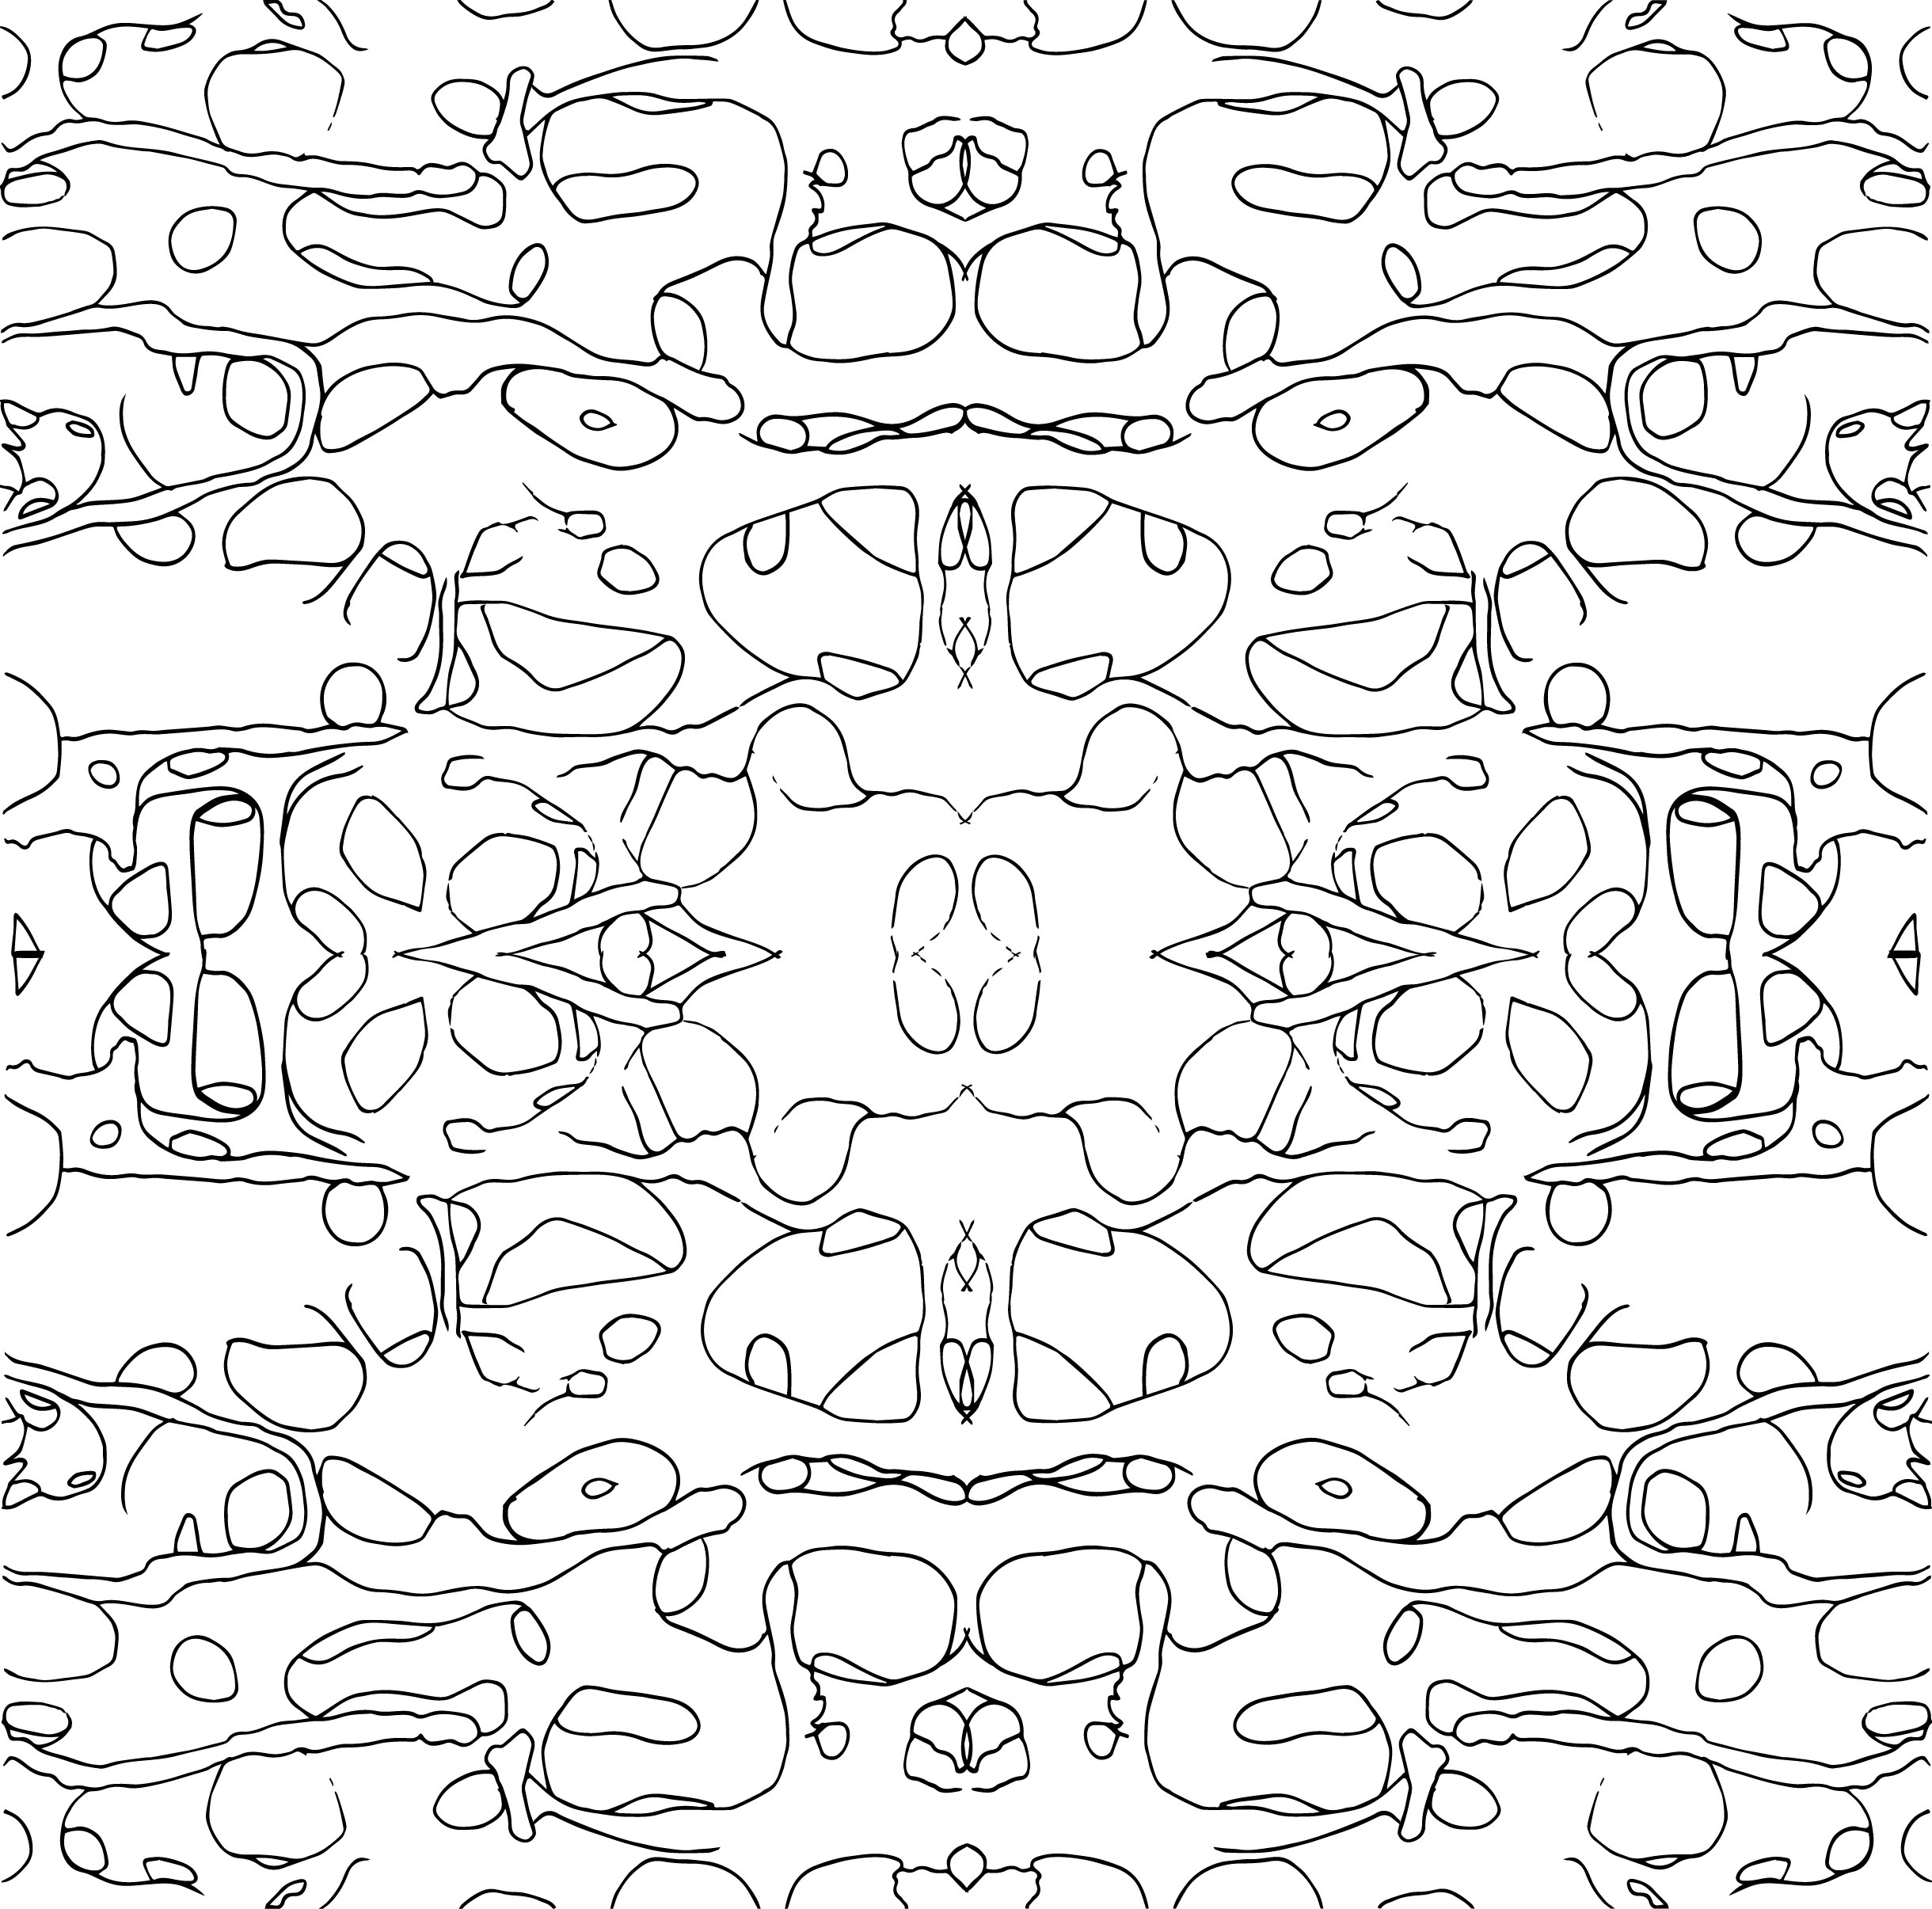
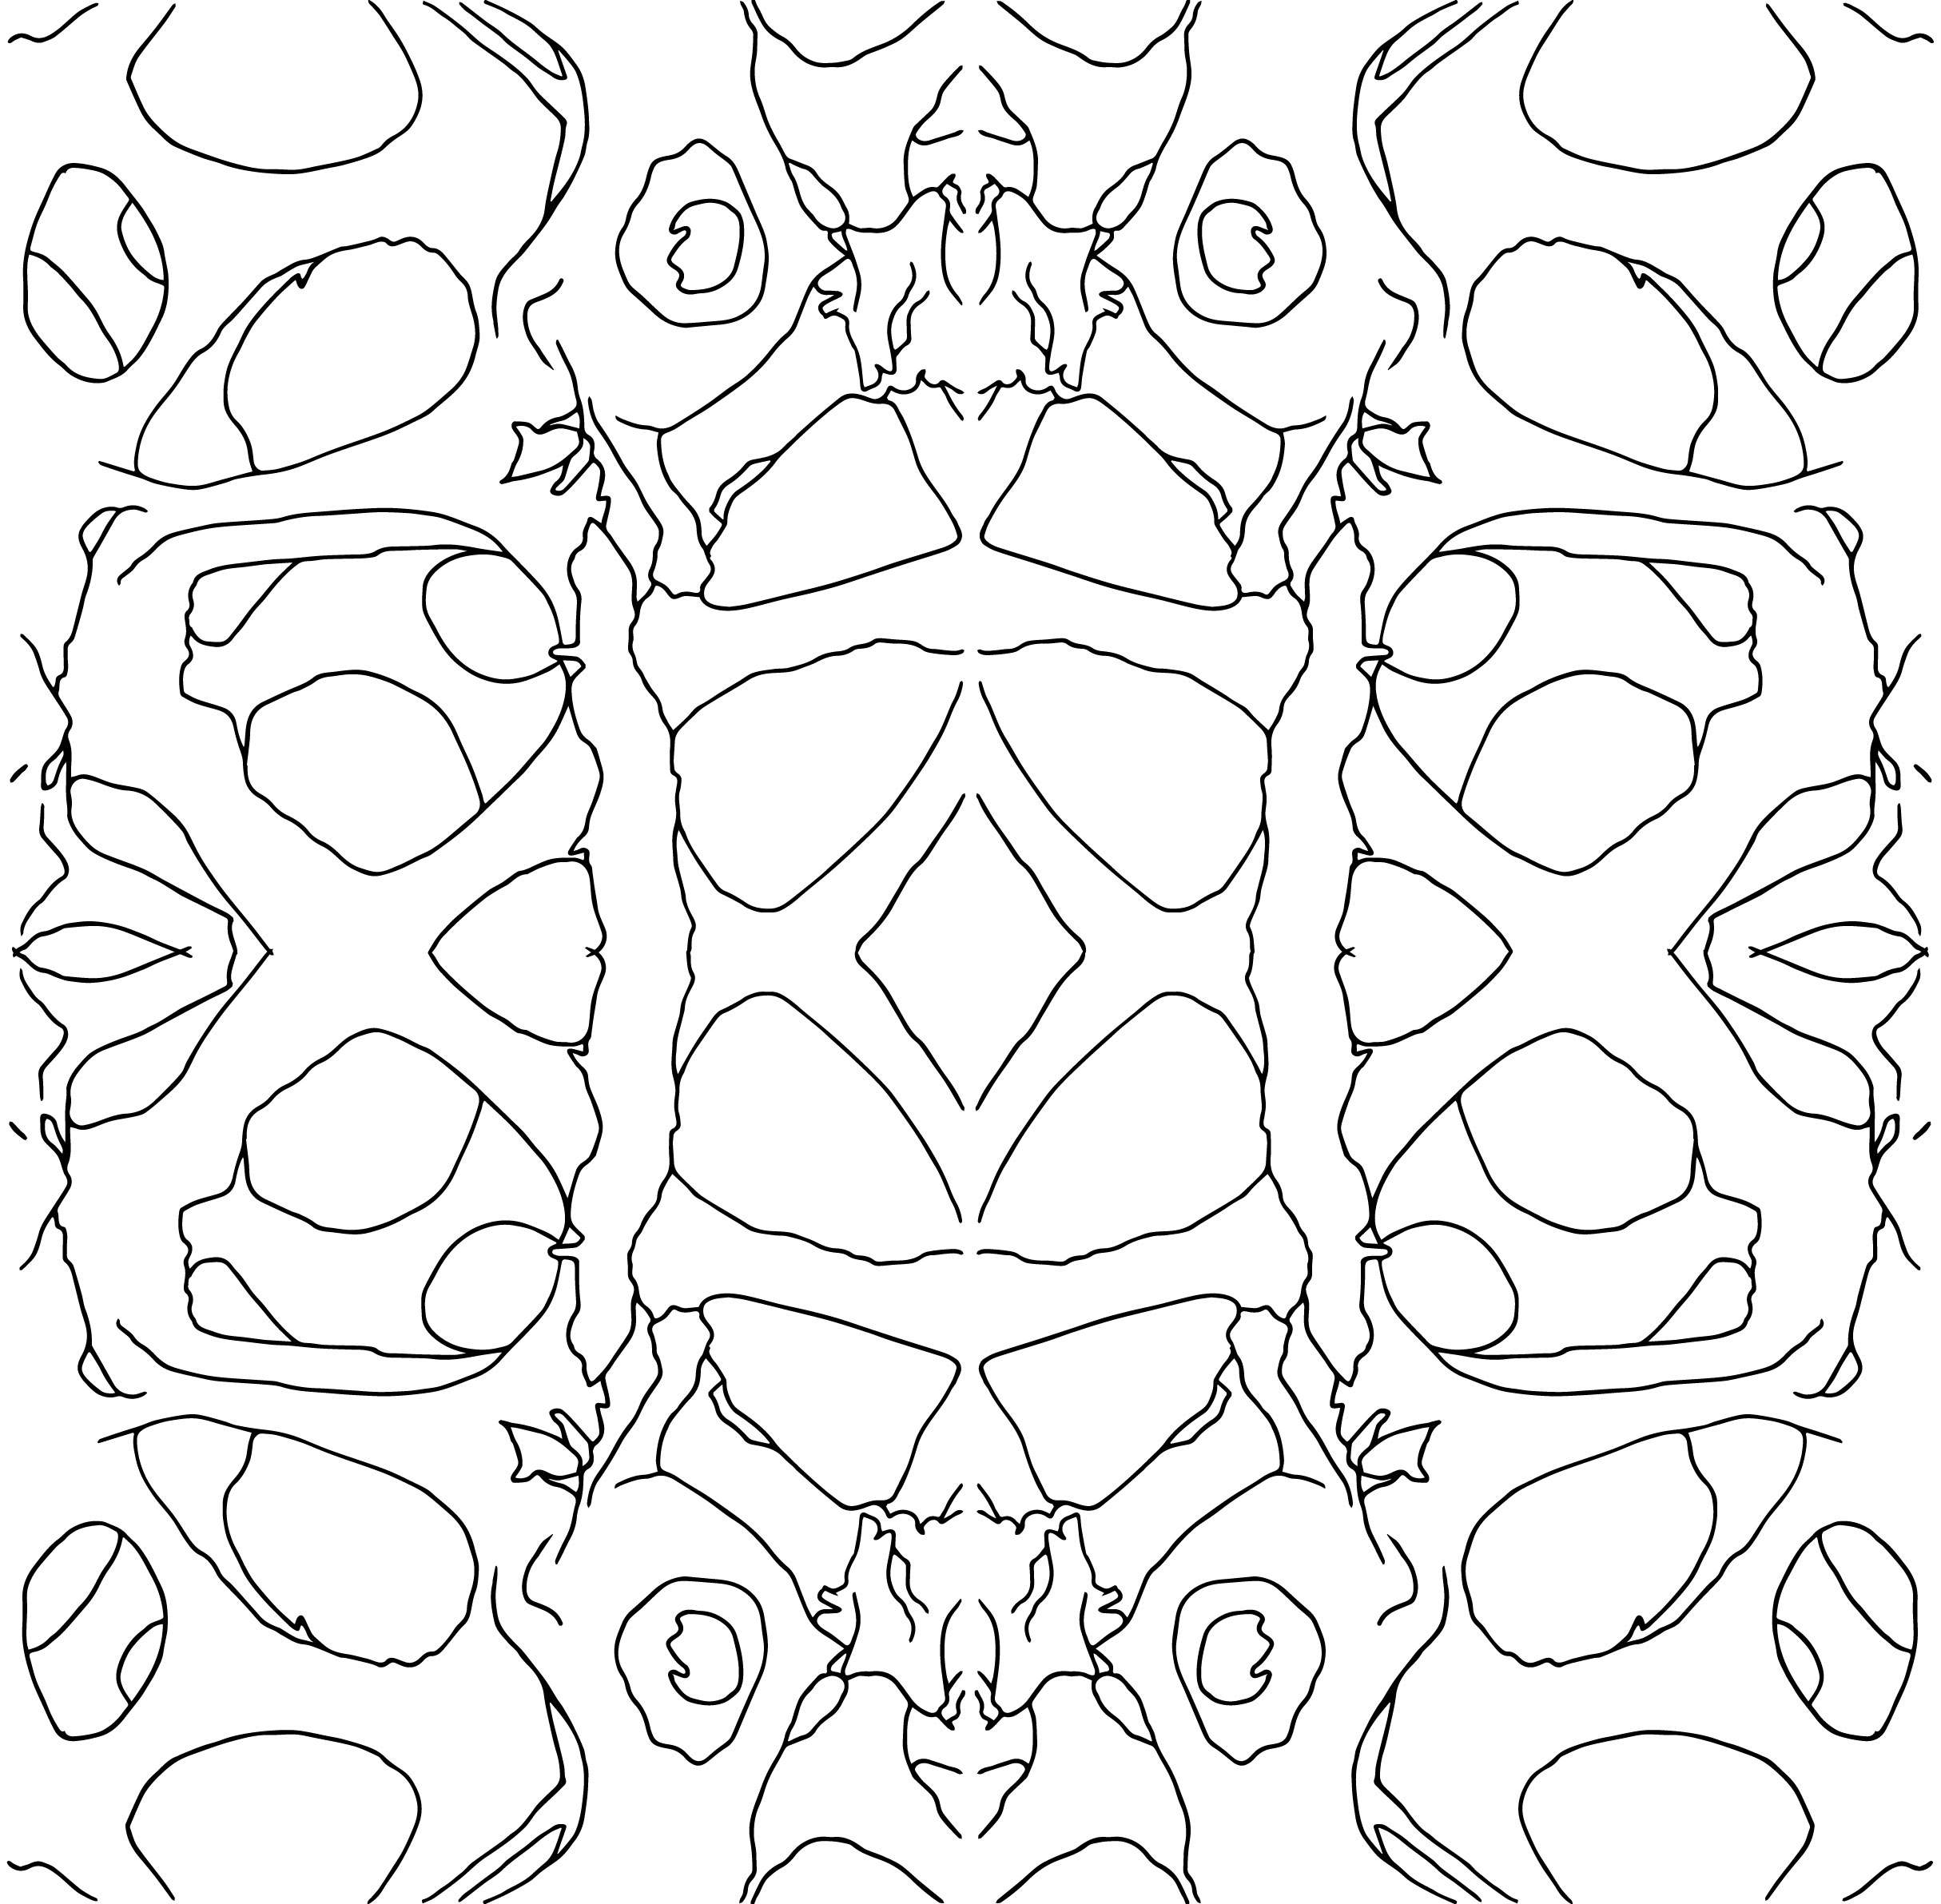
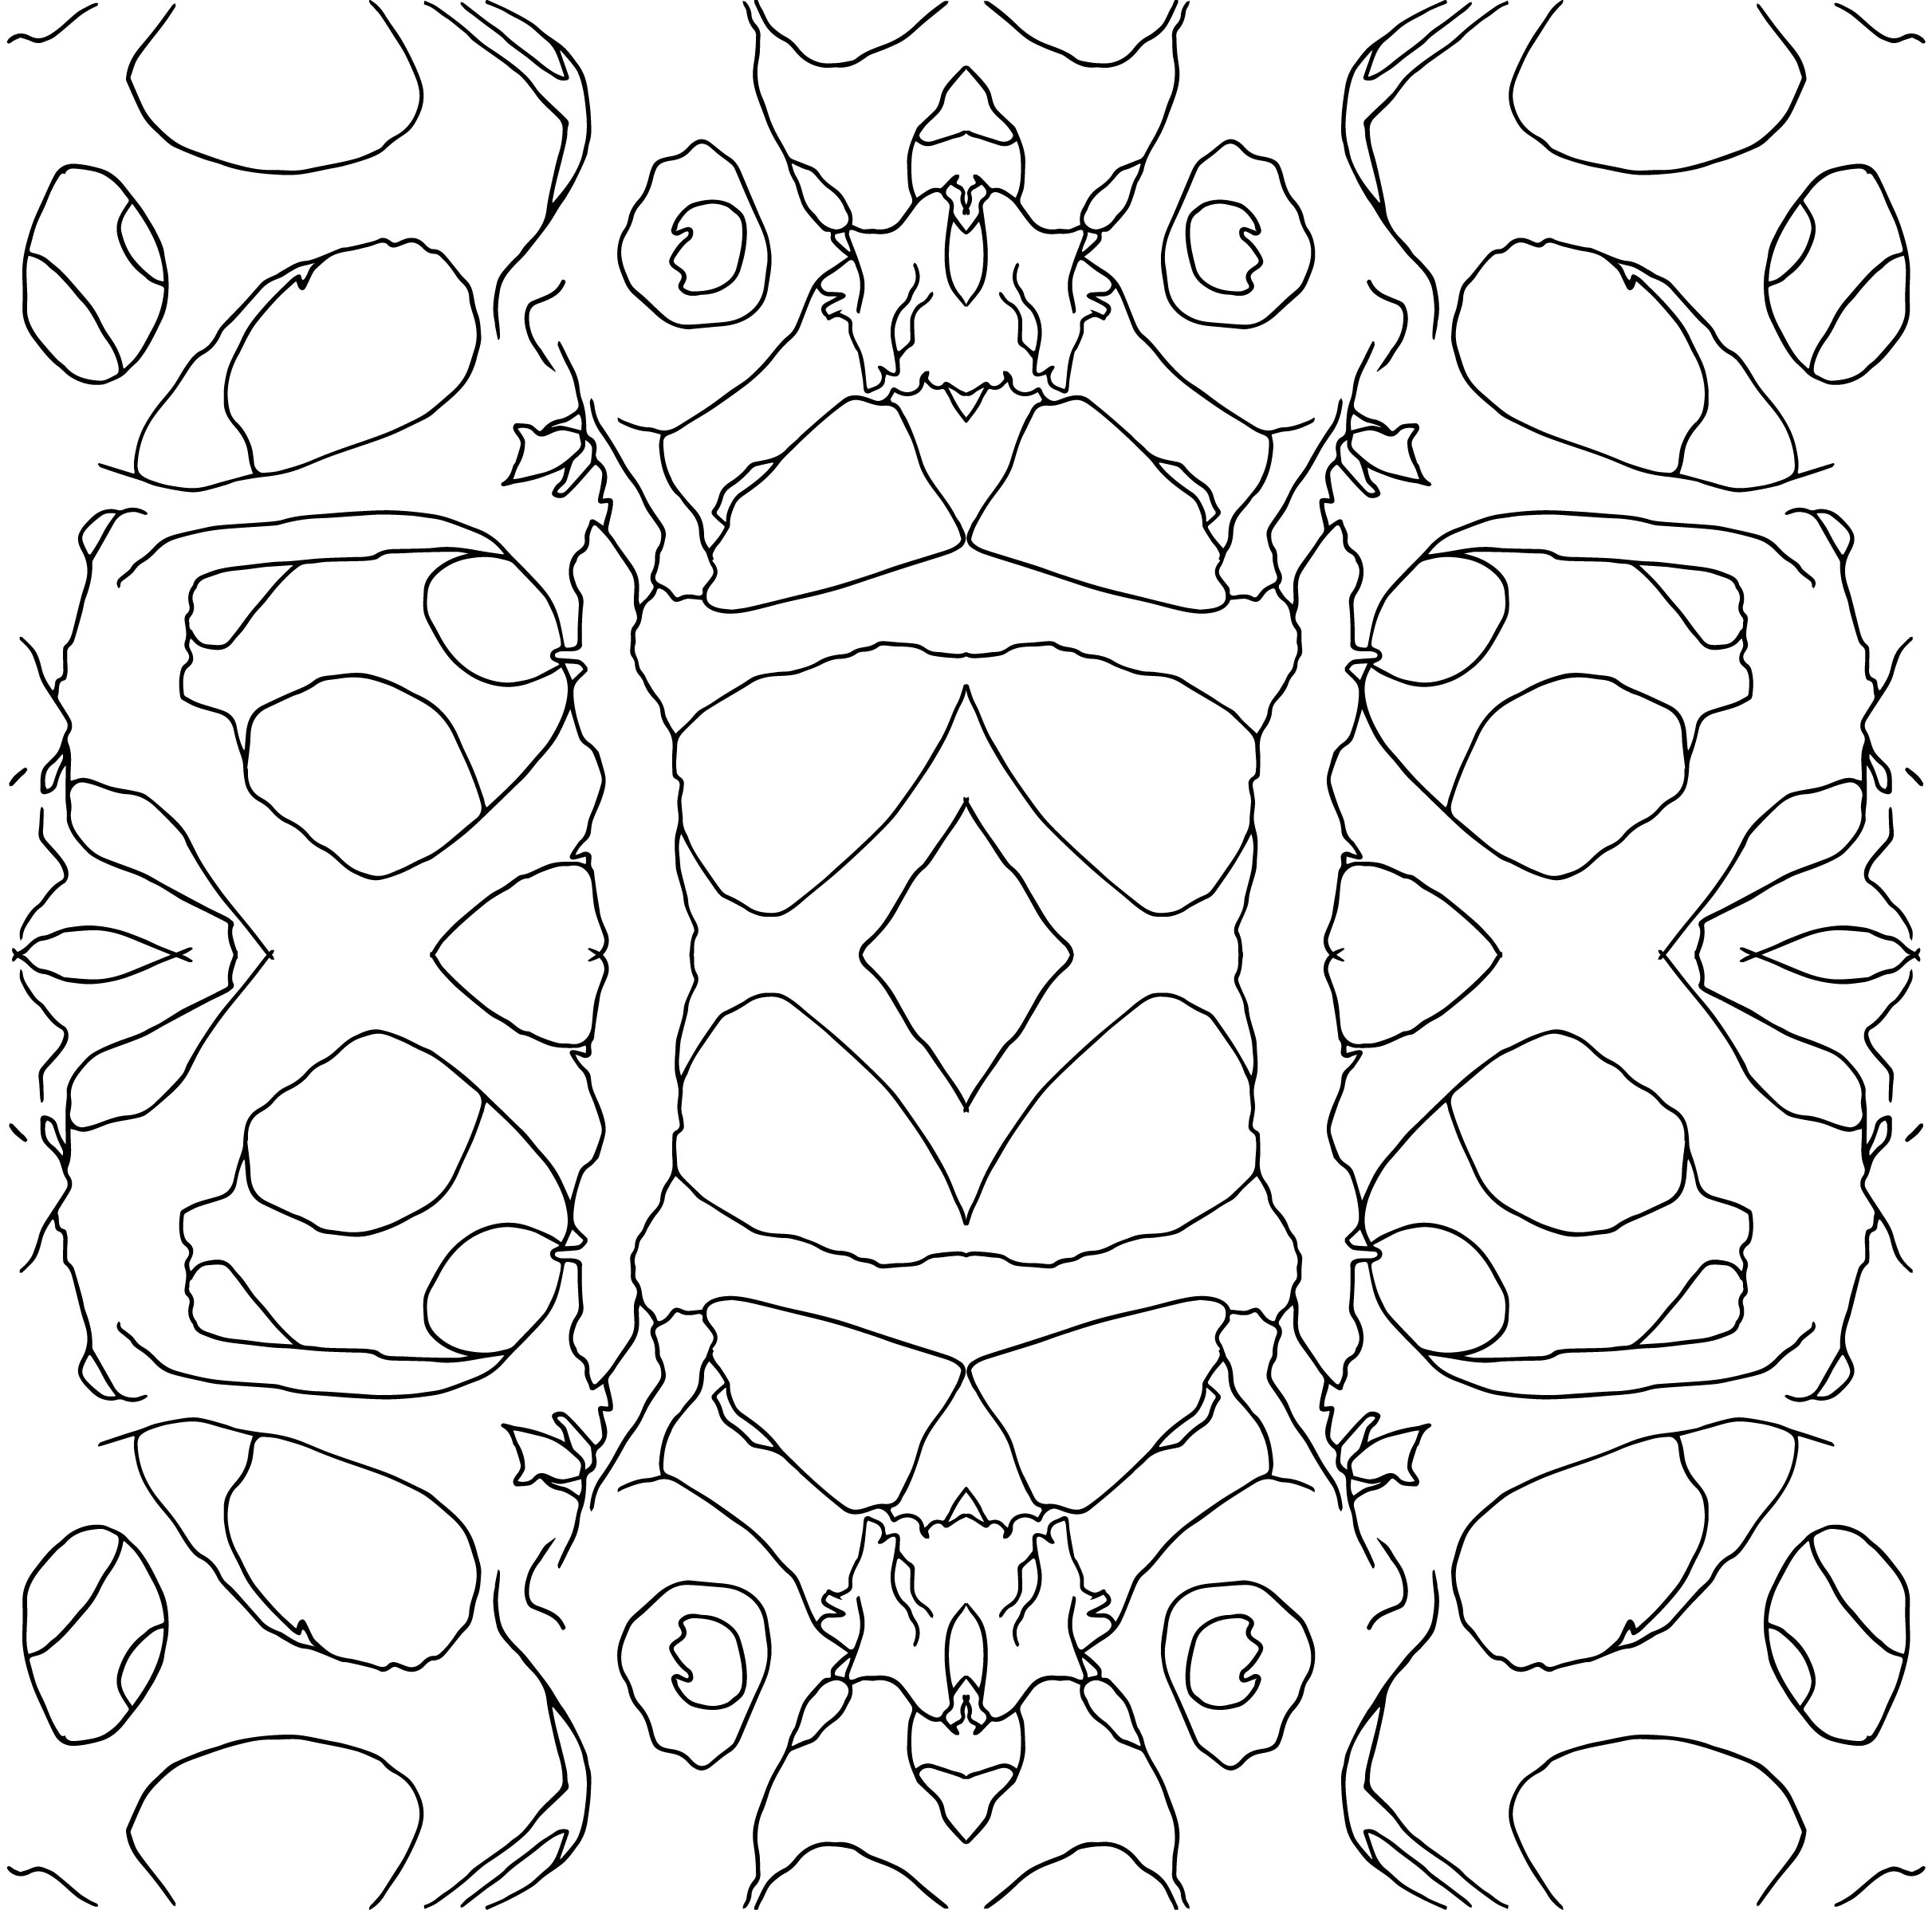
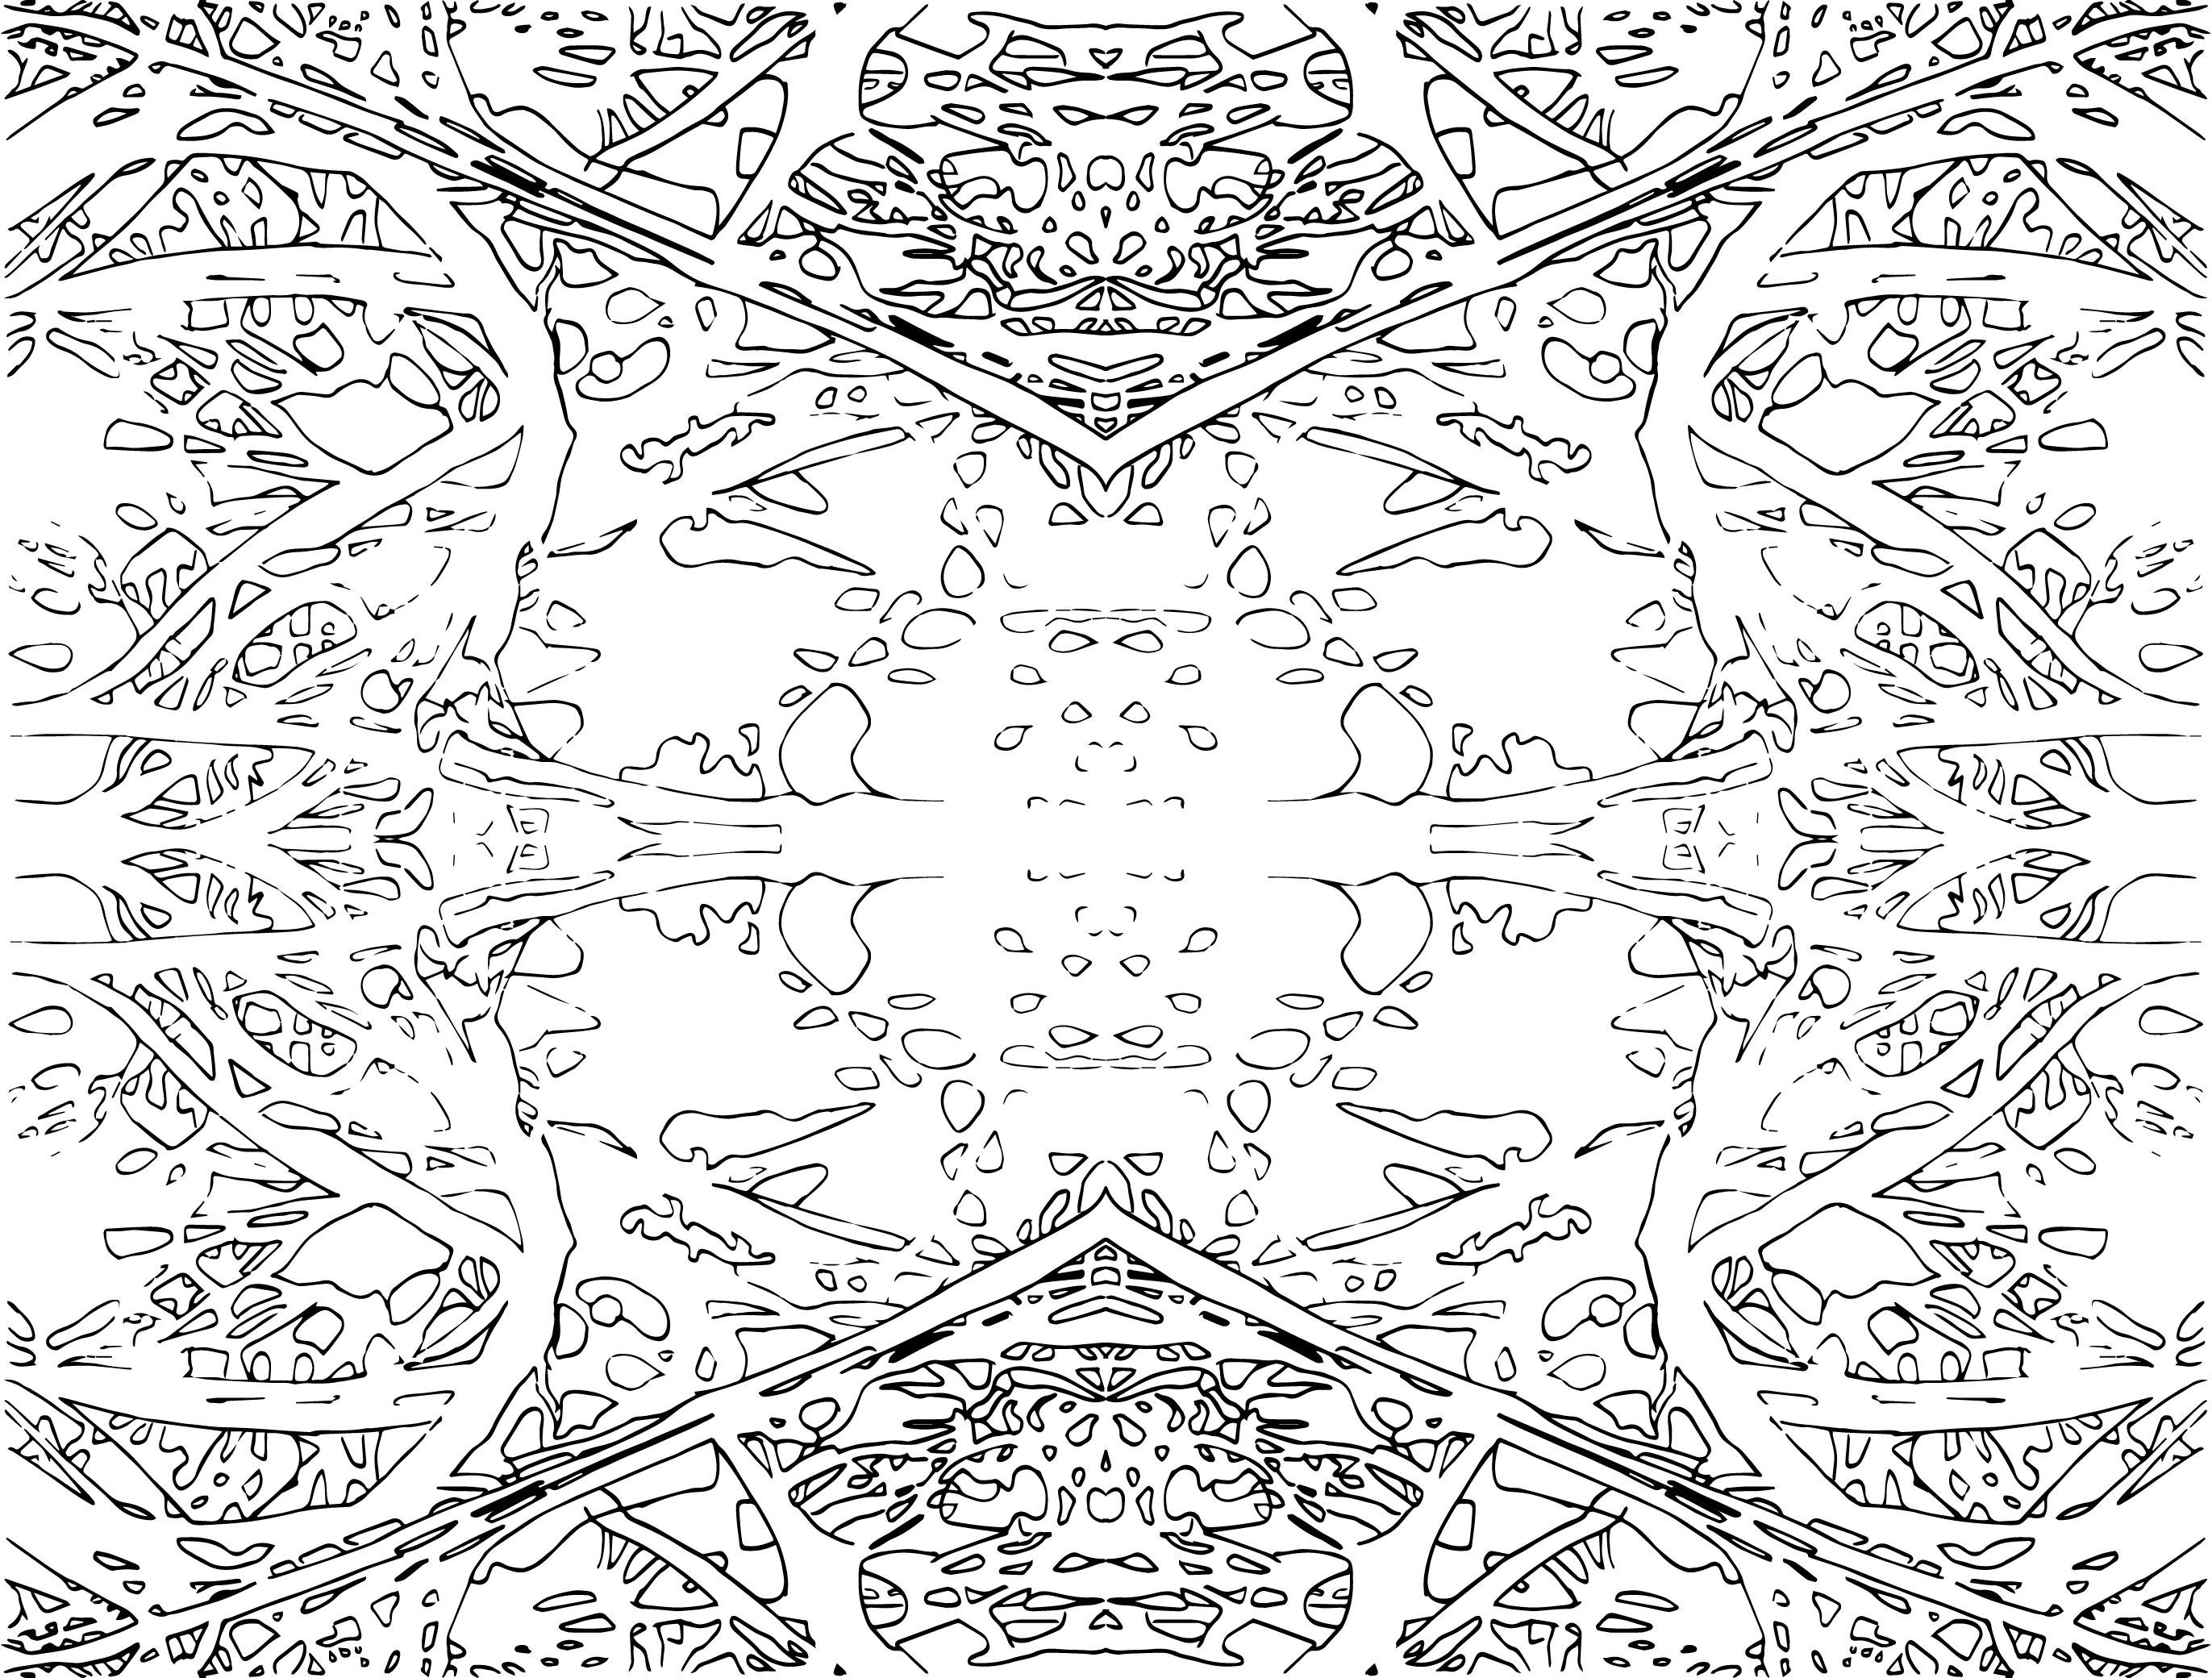
I did a few trial and error to vectorize the images that I scanned, and tried on getting a few motifs as a start. First thing first, I started by using each microscopic anatomy into its own motif by repetition within its own elements. I might say these trial motifs were headed towards the direction of symmetrical and geometrical patterns.
(Majority of the motifs are similar to the previous ones. Basically it shows the variations if I’d rather choose those motifs with intersecting lines in the middle or minimal intersection?)
Motif #1: the microscopic structure of our bone #1.
Source to be inserted ASAP
1.1
1.2
1.3
Motif #2: the microscopic structure of our bone #2.
2.1
2.2
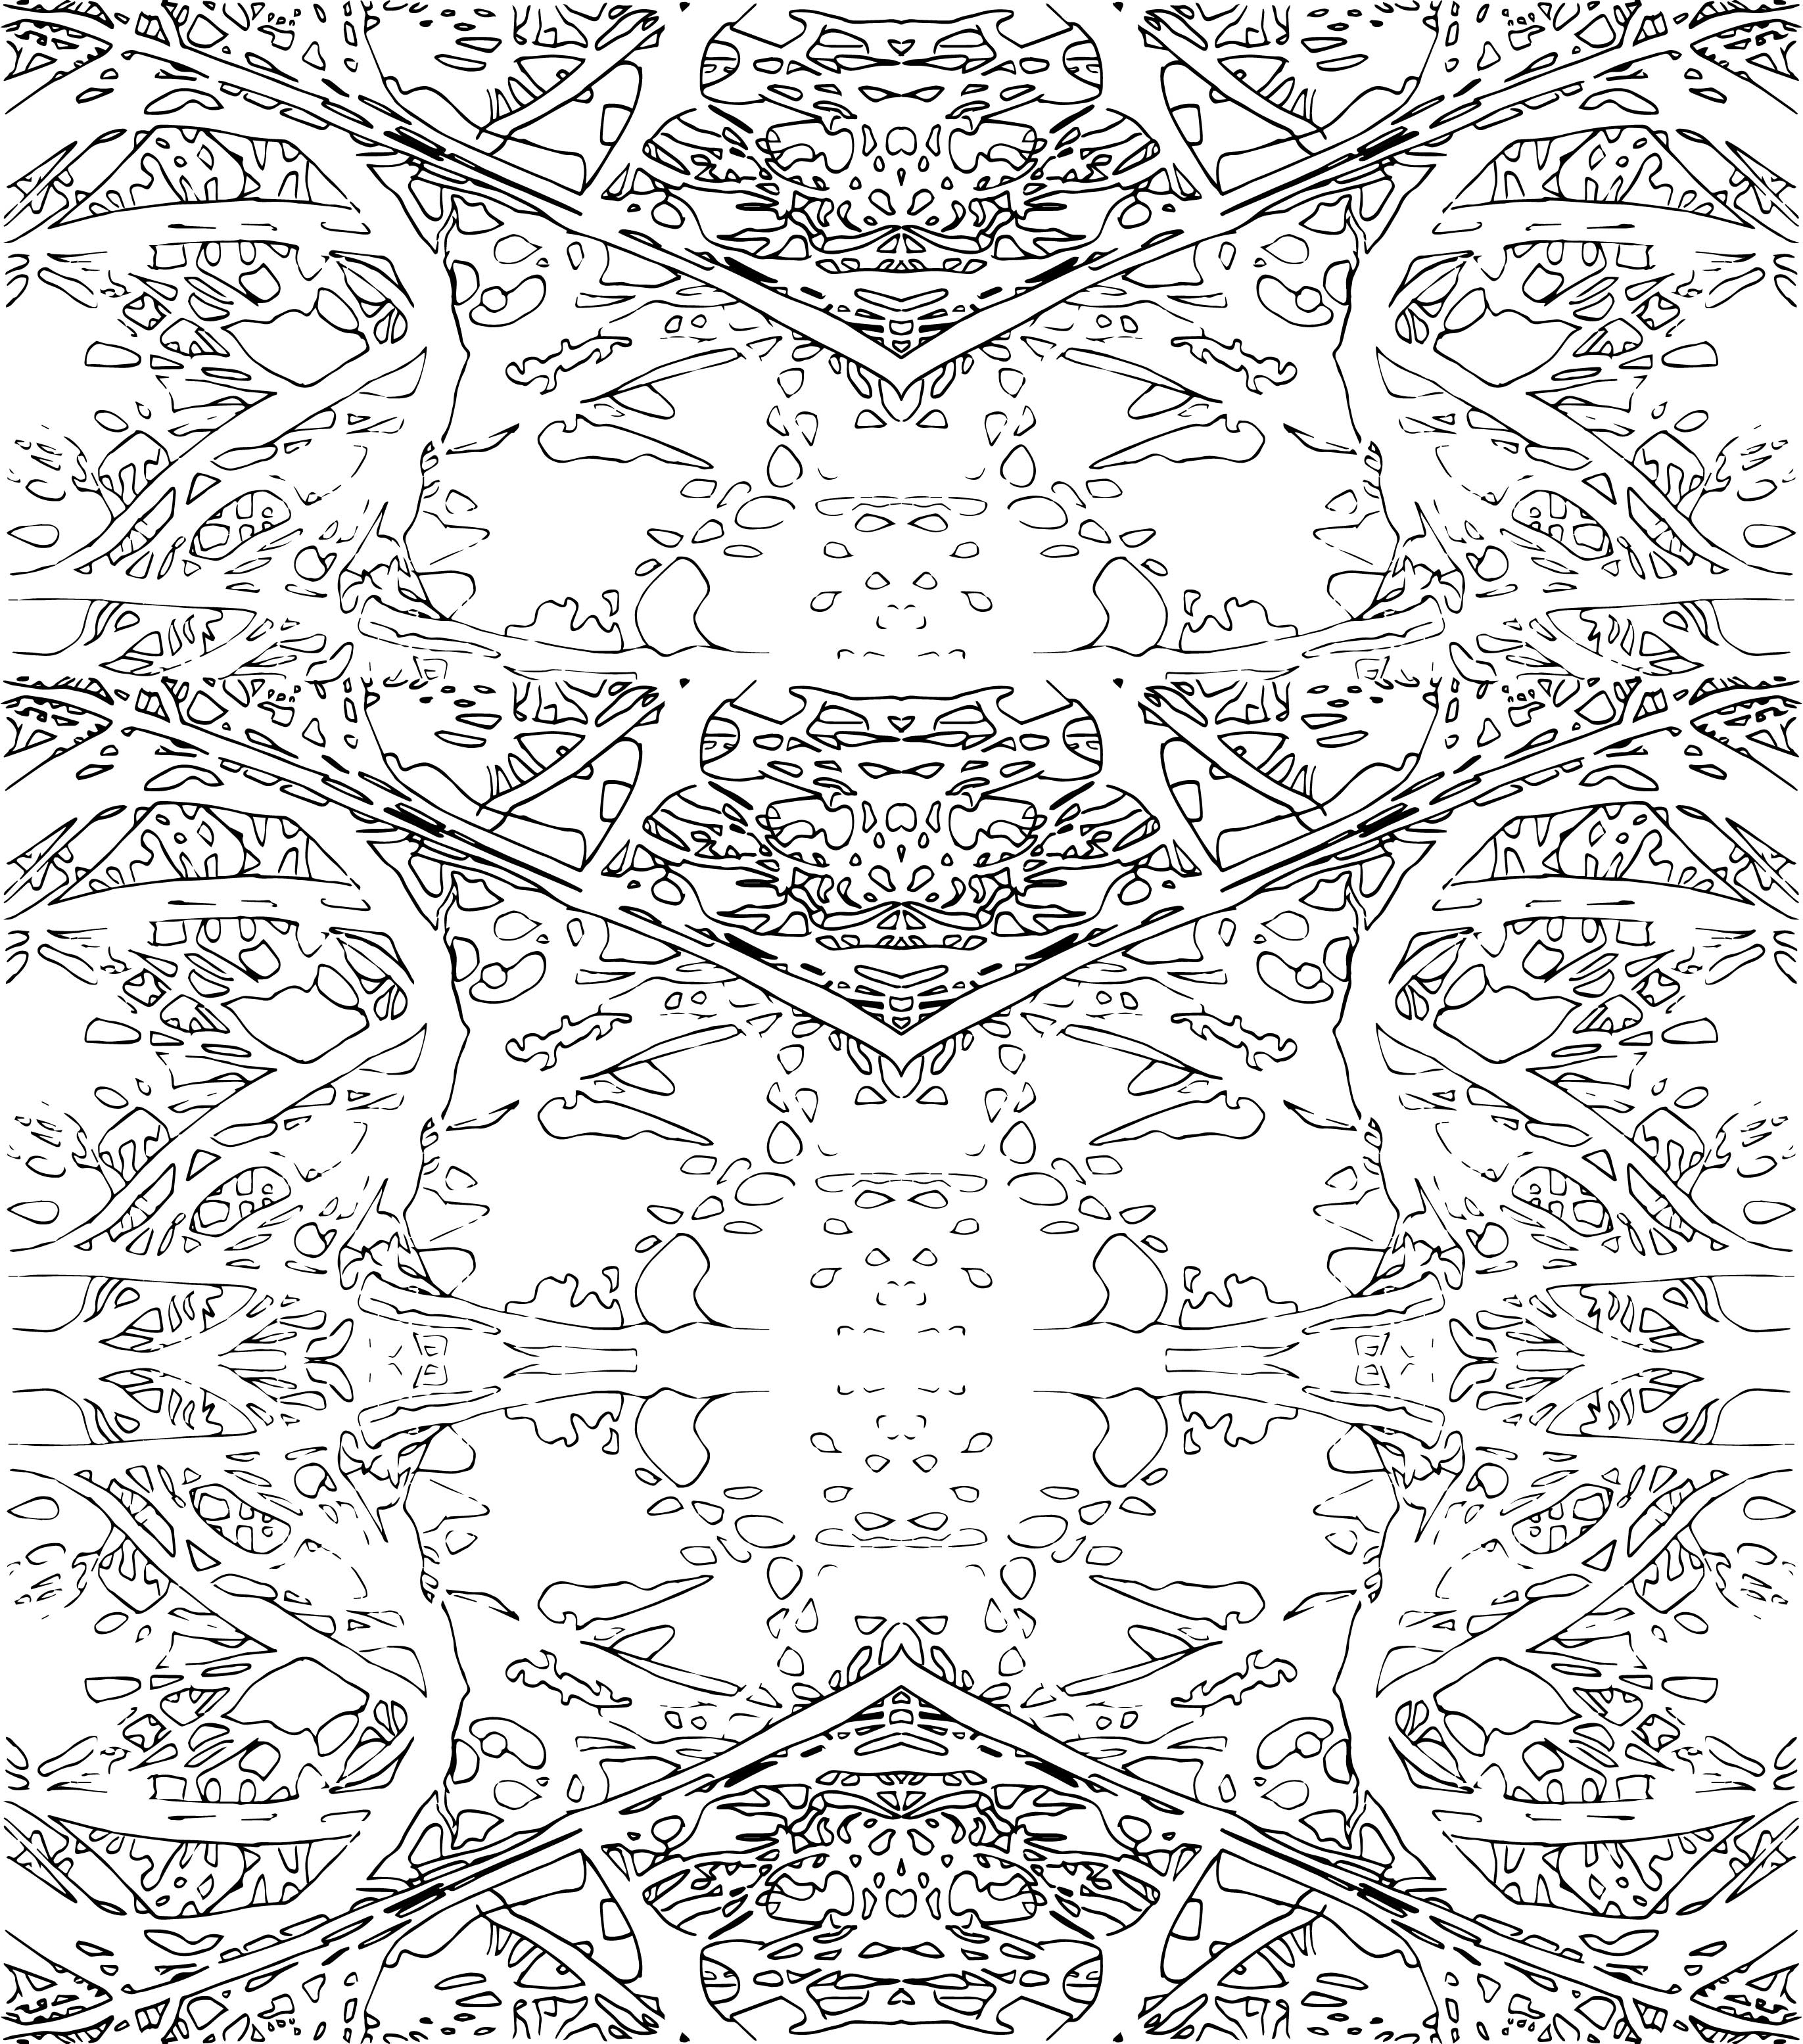
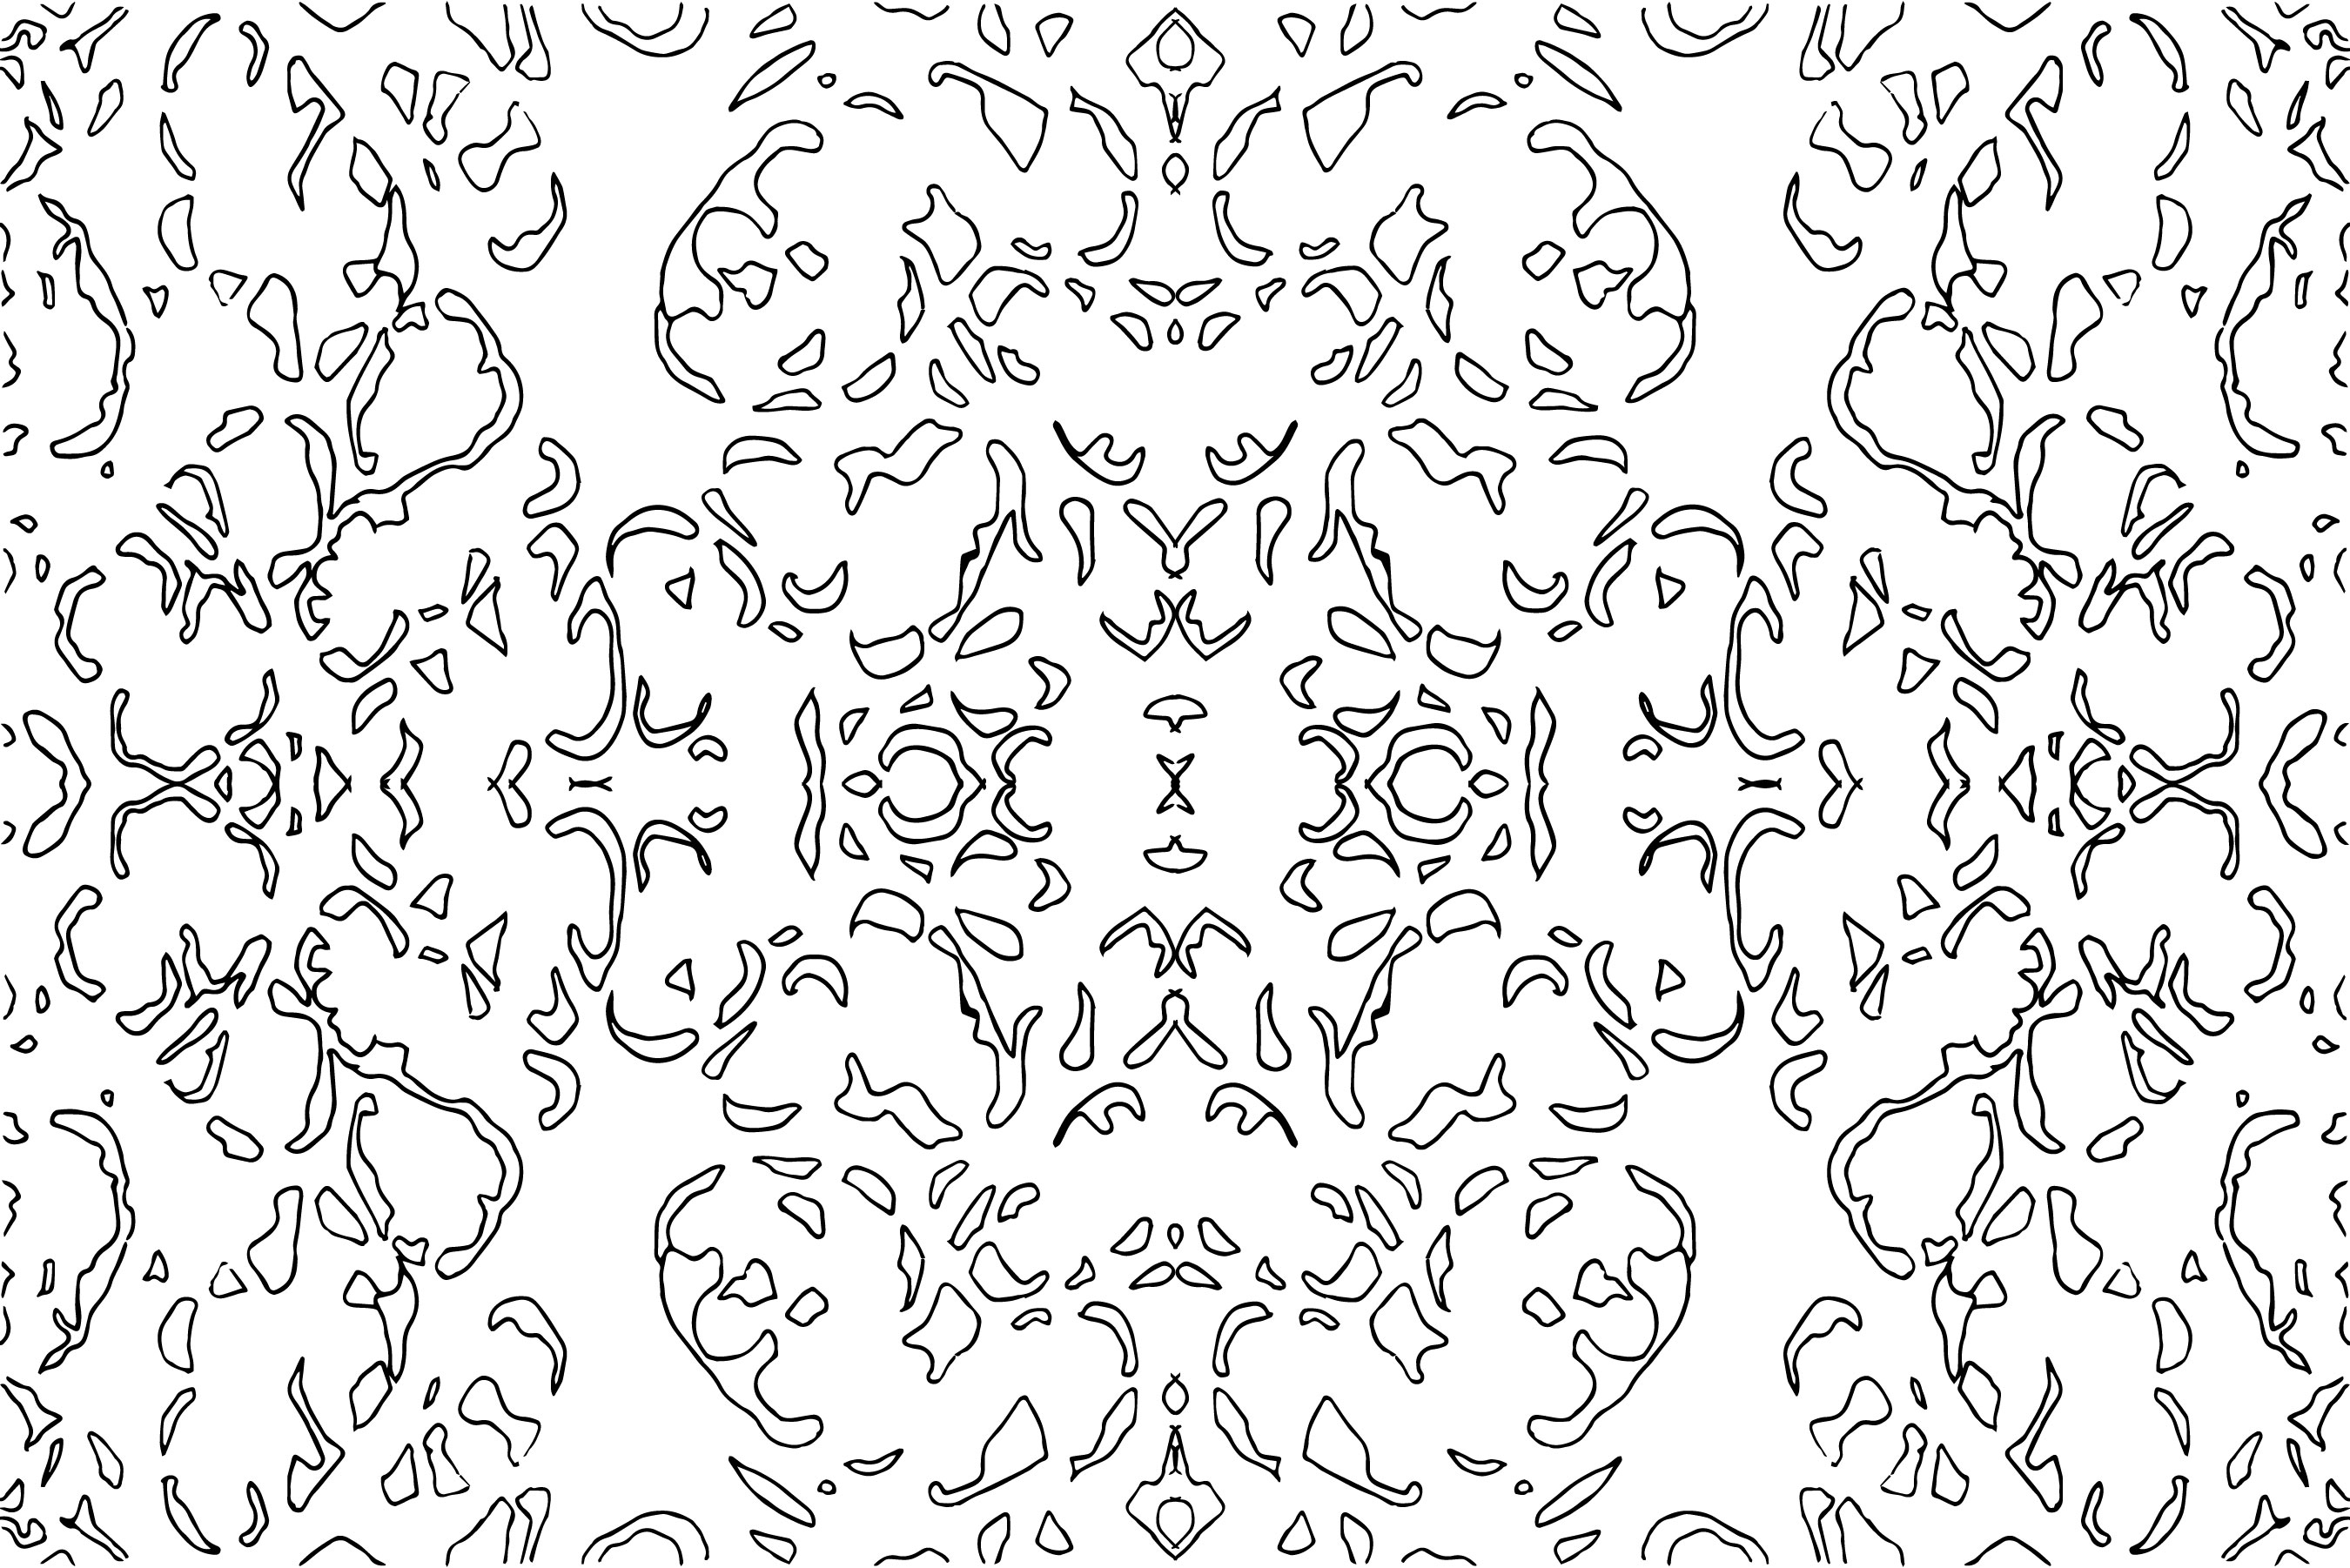
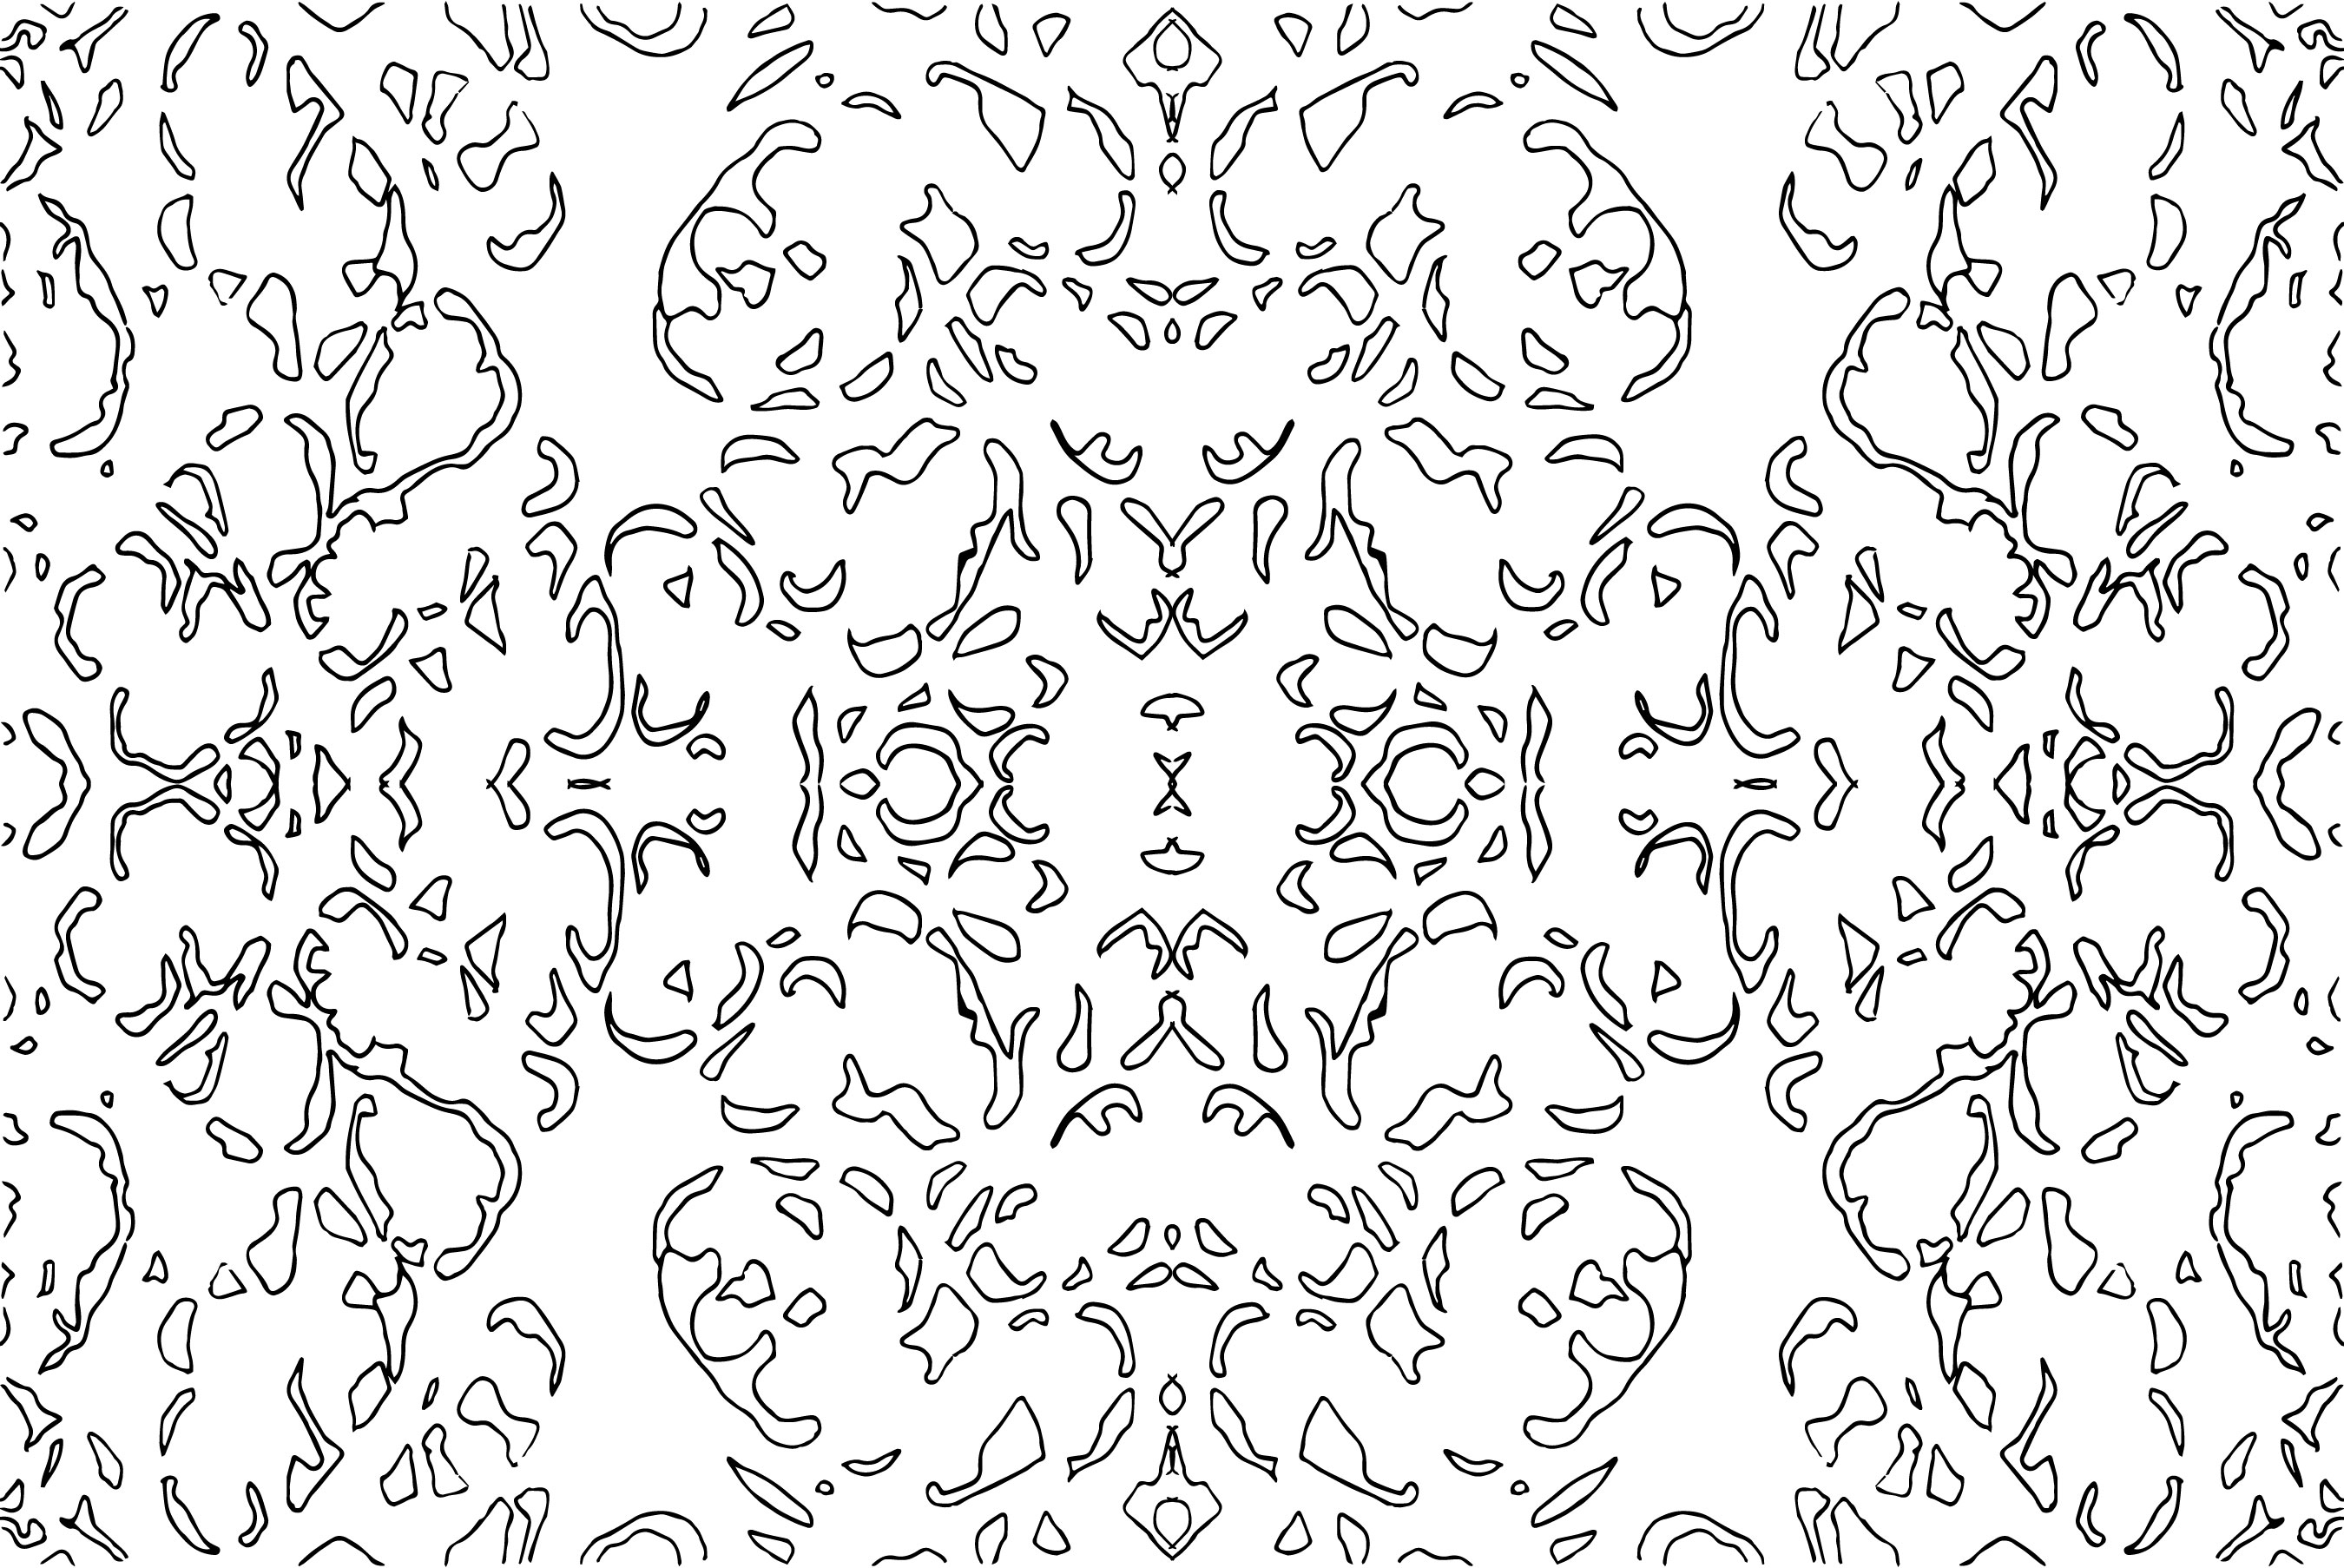
Motif #3: the microscopic structure of Connective and Supportive Tissue #1.
Kuehnel, Wolfgang. Color Atlas of Cytology, Histology, and Microscopic Anatomy. 4th ed. Germany: Thieme, 2003. PDF. Connective and Supportive Tissue, pg 119
1.1
1.2
1.3
Motif #4: the microscopic structure of Connective and Supportive Tissue #2.
Kuehnel, Wolfgang. Color Atlas of Cytology, Histology, and Microscopic Anatomy. 4th ed. Germany: Thieme, 2003. PDF. Connective and Supportive Tissue, pg 119
2.1
2.2
Motif #5: the microscopic structure of Connective and Supportive Tissue #3.
Kuehnel, Wolfgang. Color Atlas of Cytology, Histology, and Microscopic Anatomy. 4th ed. Germany: Thieme, 2003. PDF. Connective and Supportive Tissue, pg 117
3.1
3.2
Motif #6: the microscopic structure of cells
Kuehnel, Wolfgang. Color Atlas of Cytology, Histology, and Microscopic Anatomy. 4th ed. Germany: Thieme, 2003. PDF. Cells, pg 15
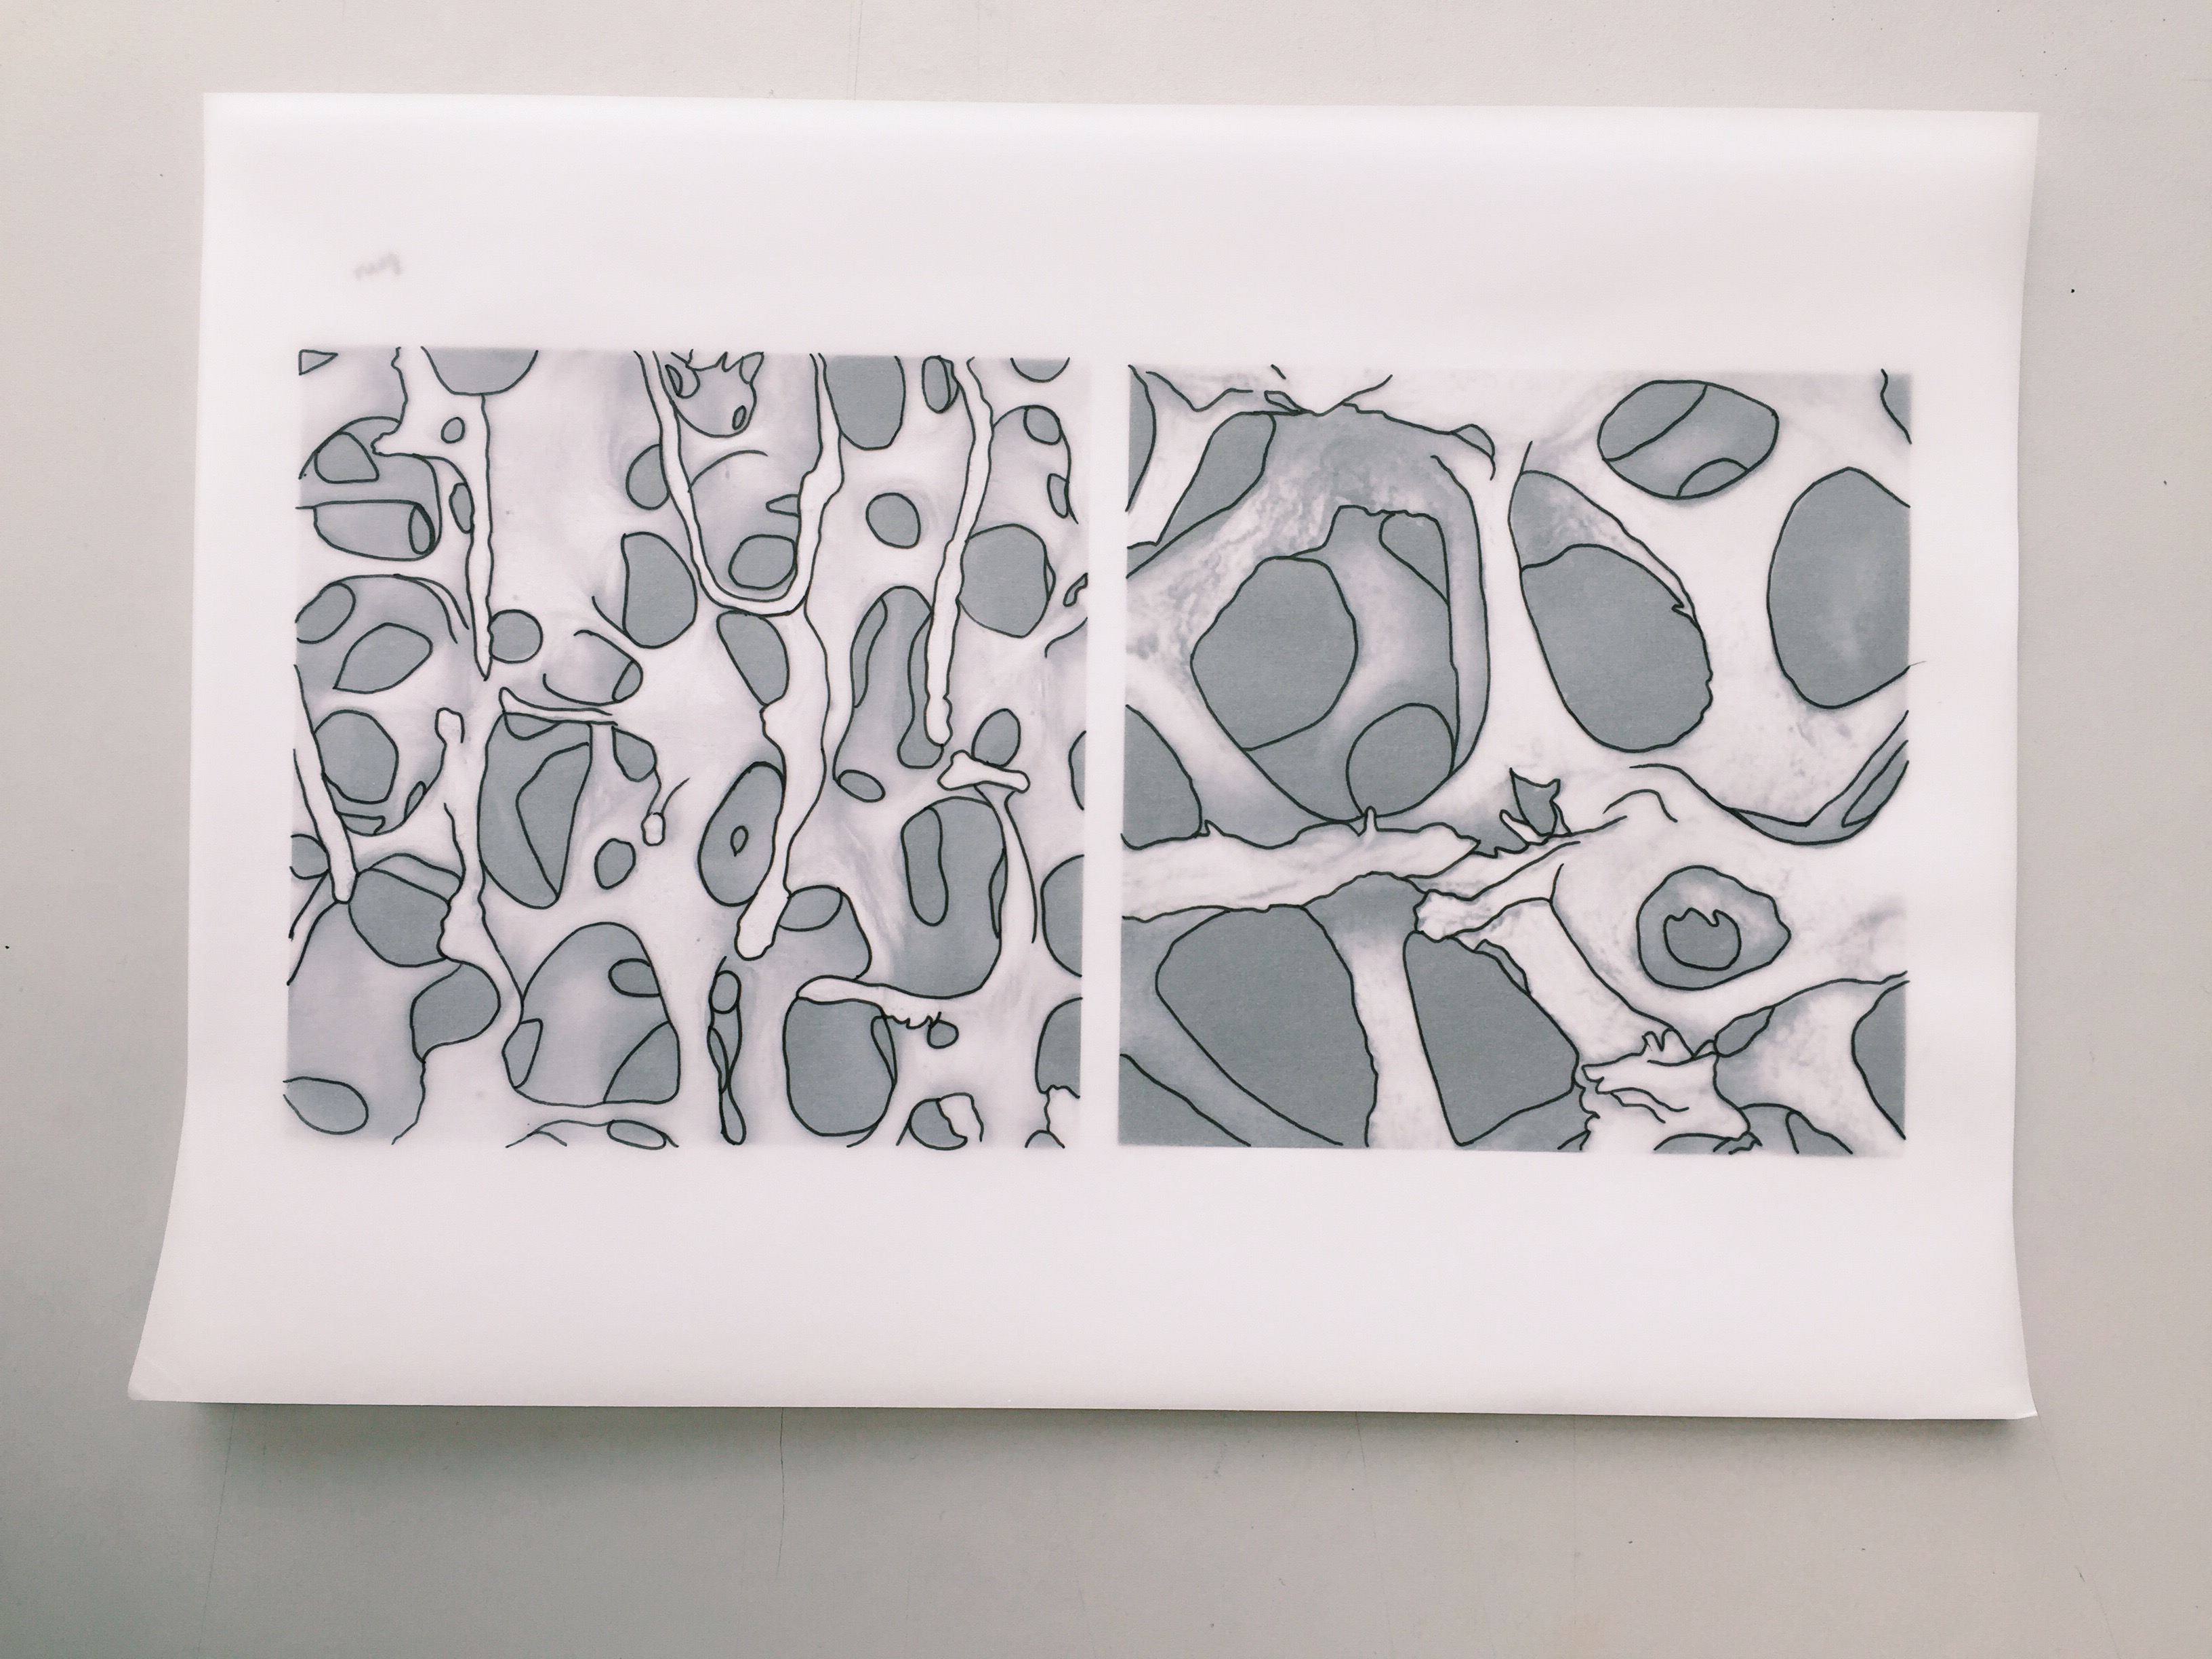
I planned to use the raw imagery of the human microscopic anatomy from the lab, but with tight schedules, I resorted to an alternative: using resources from books and online articles.
I was inspired from watching Bonnie Christine’s method of transferring hand-drawn sketches to digital. Therefore, I gave it a go to create my motifs.
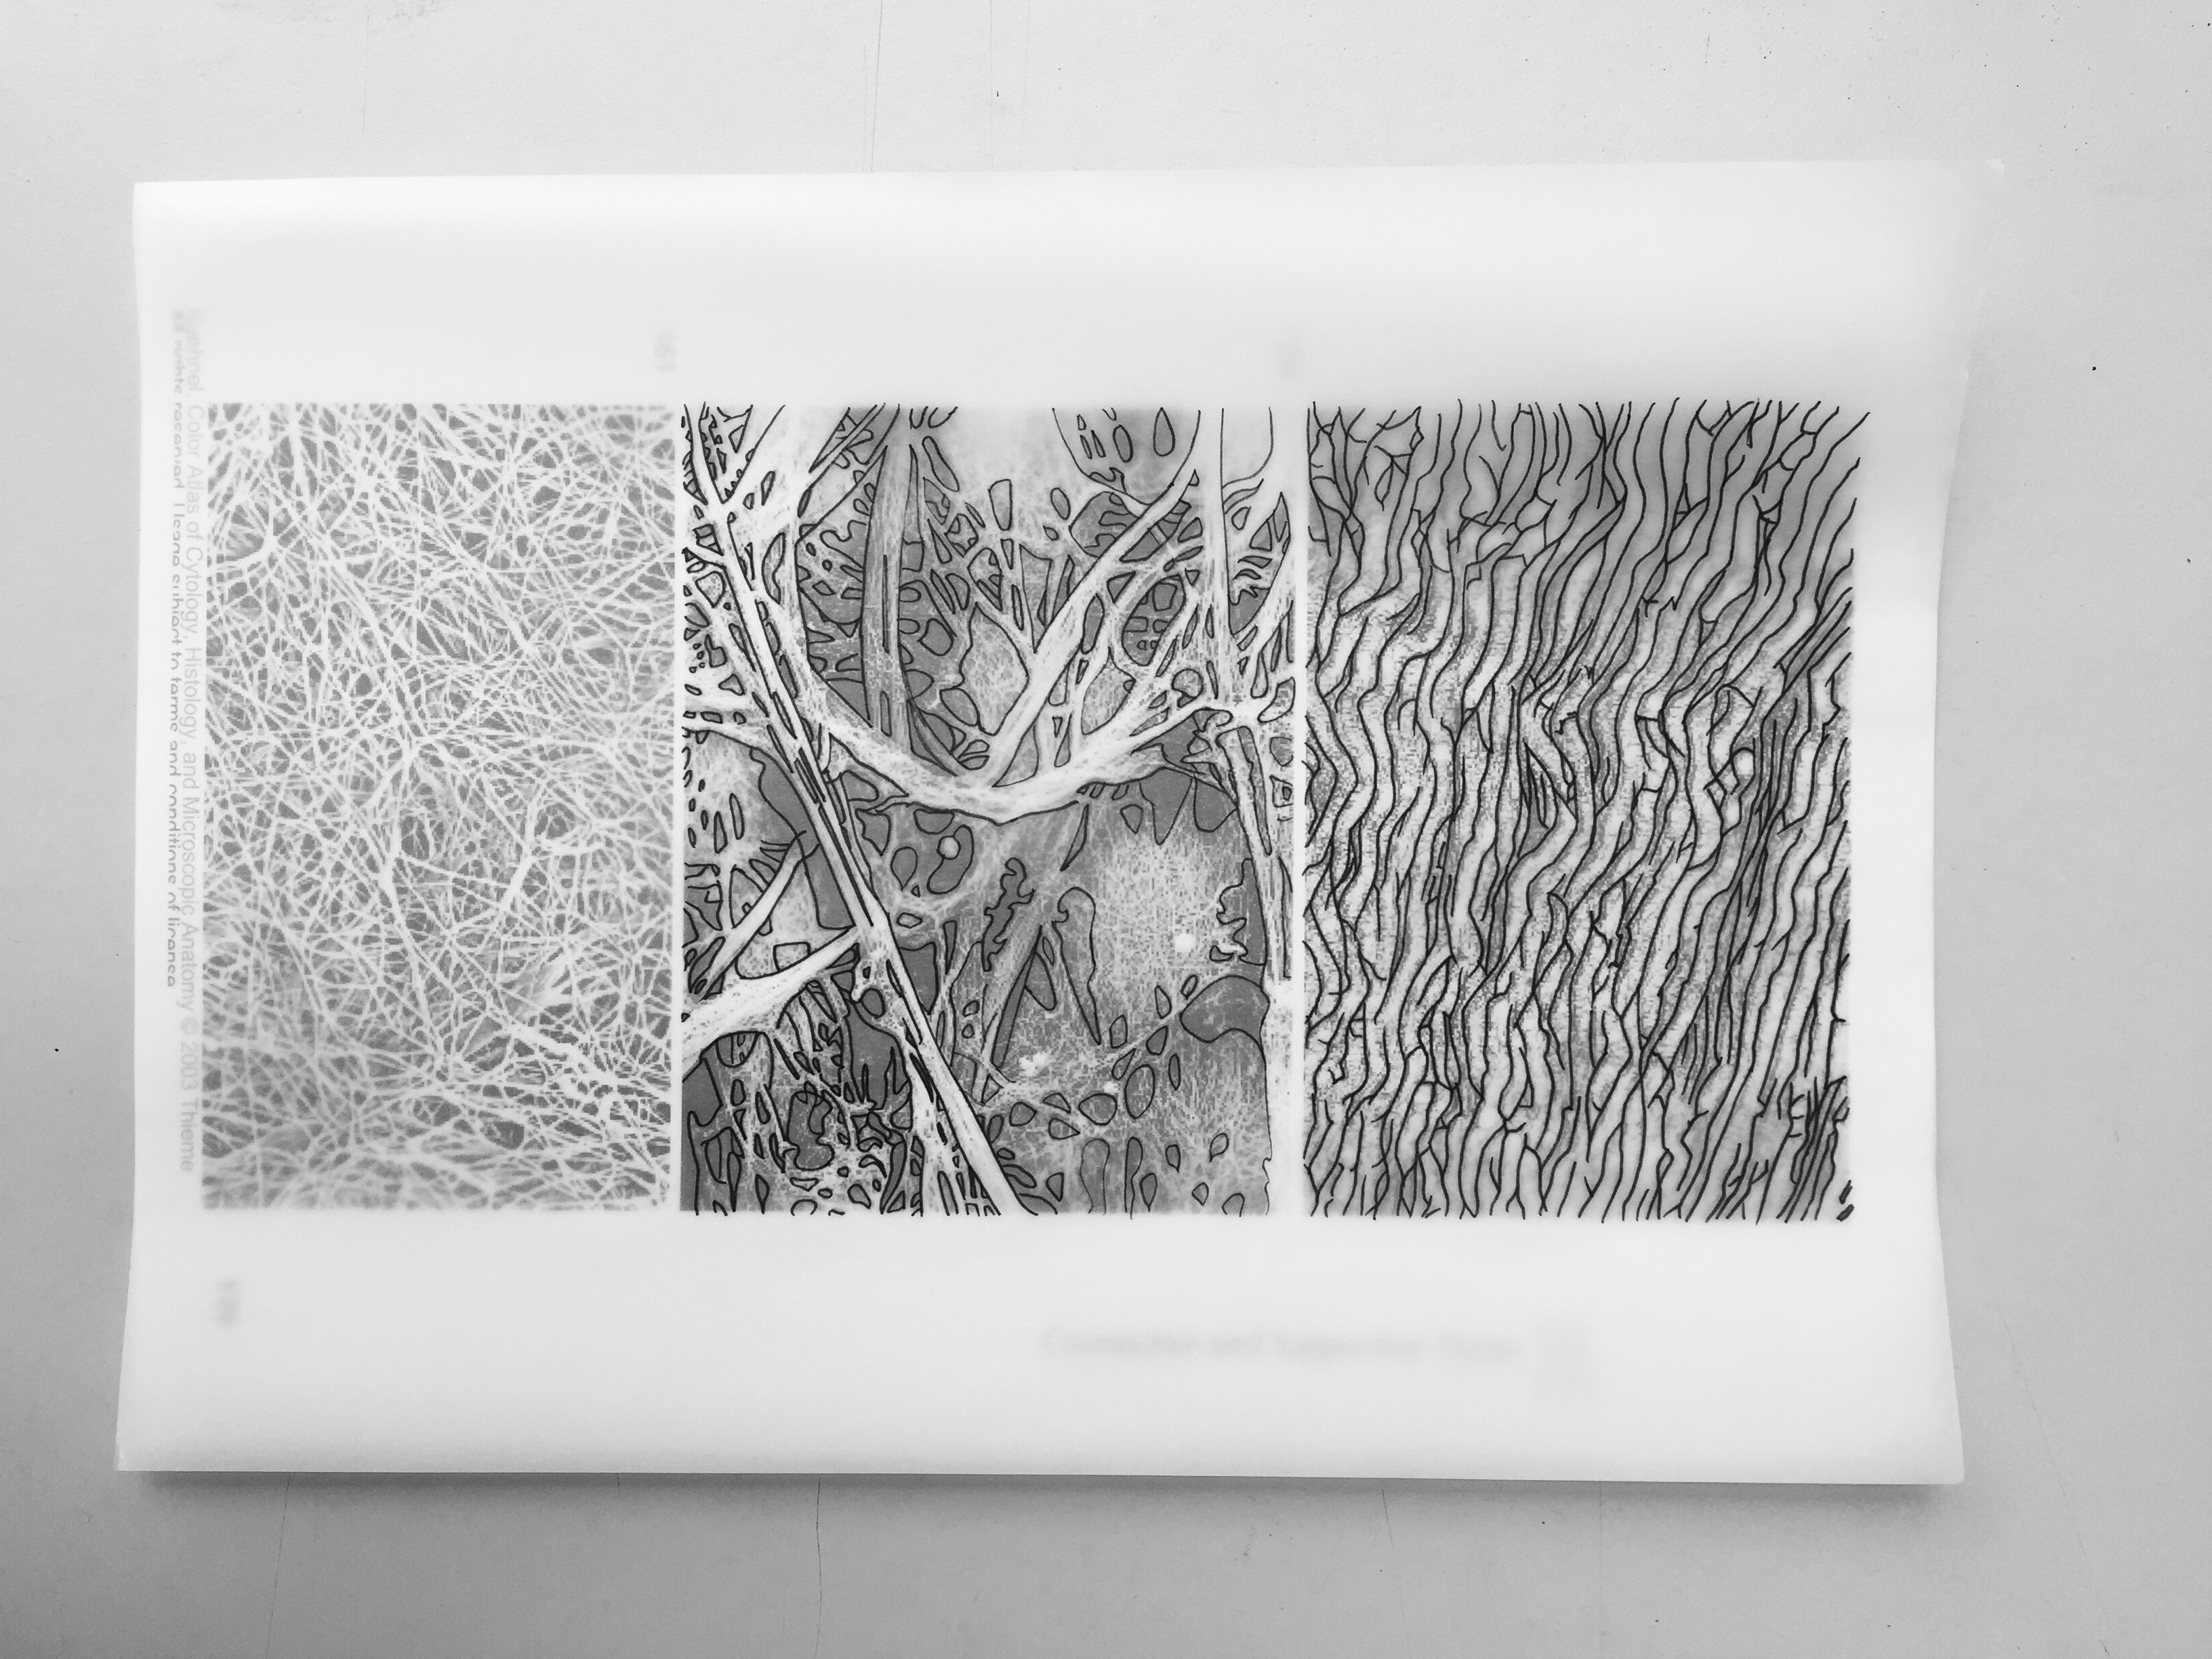
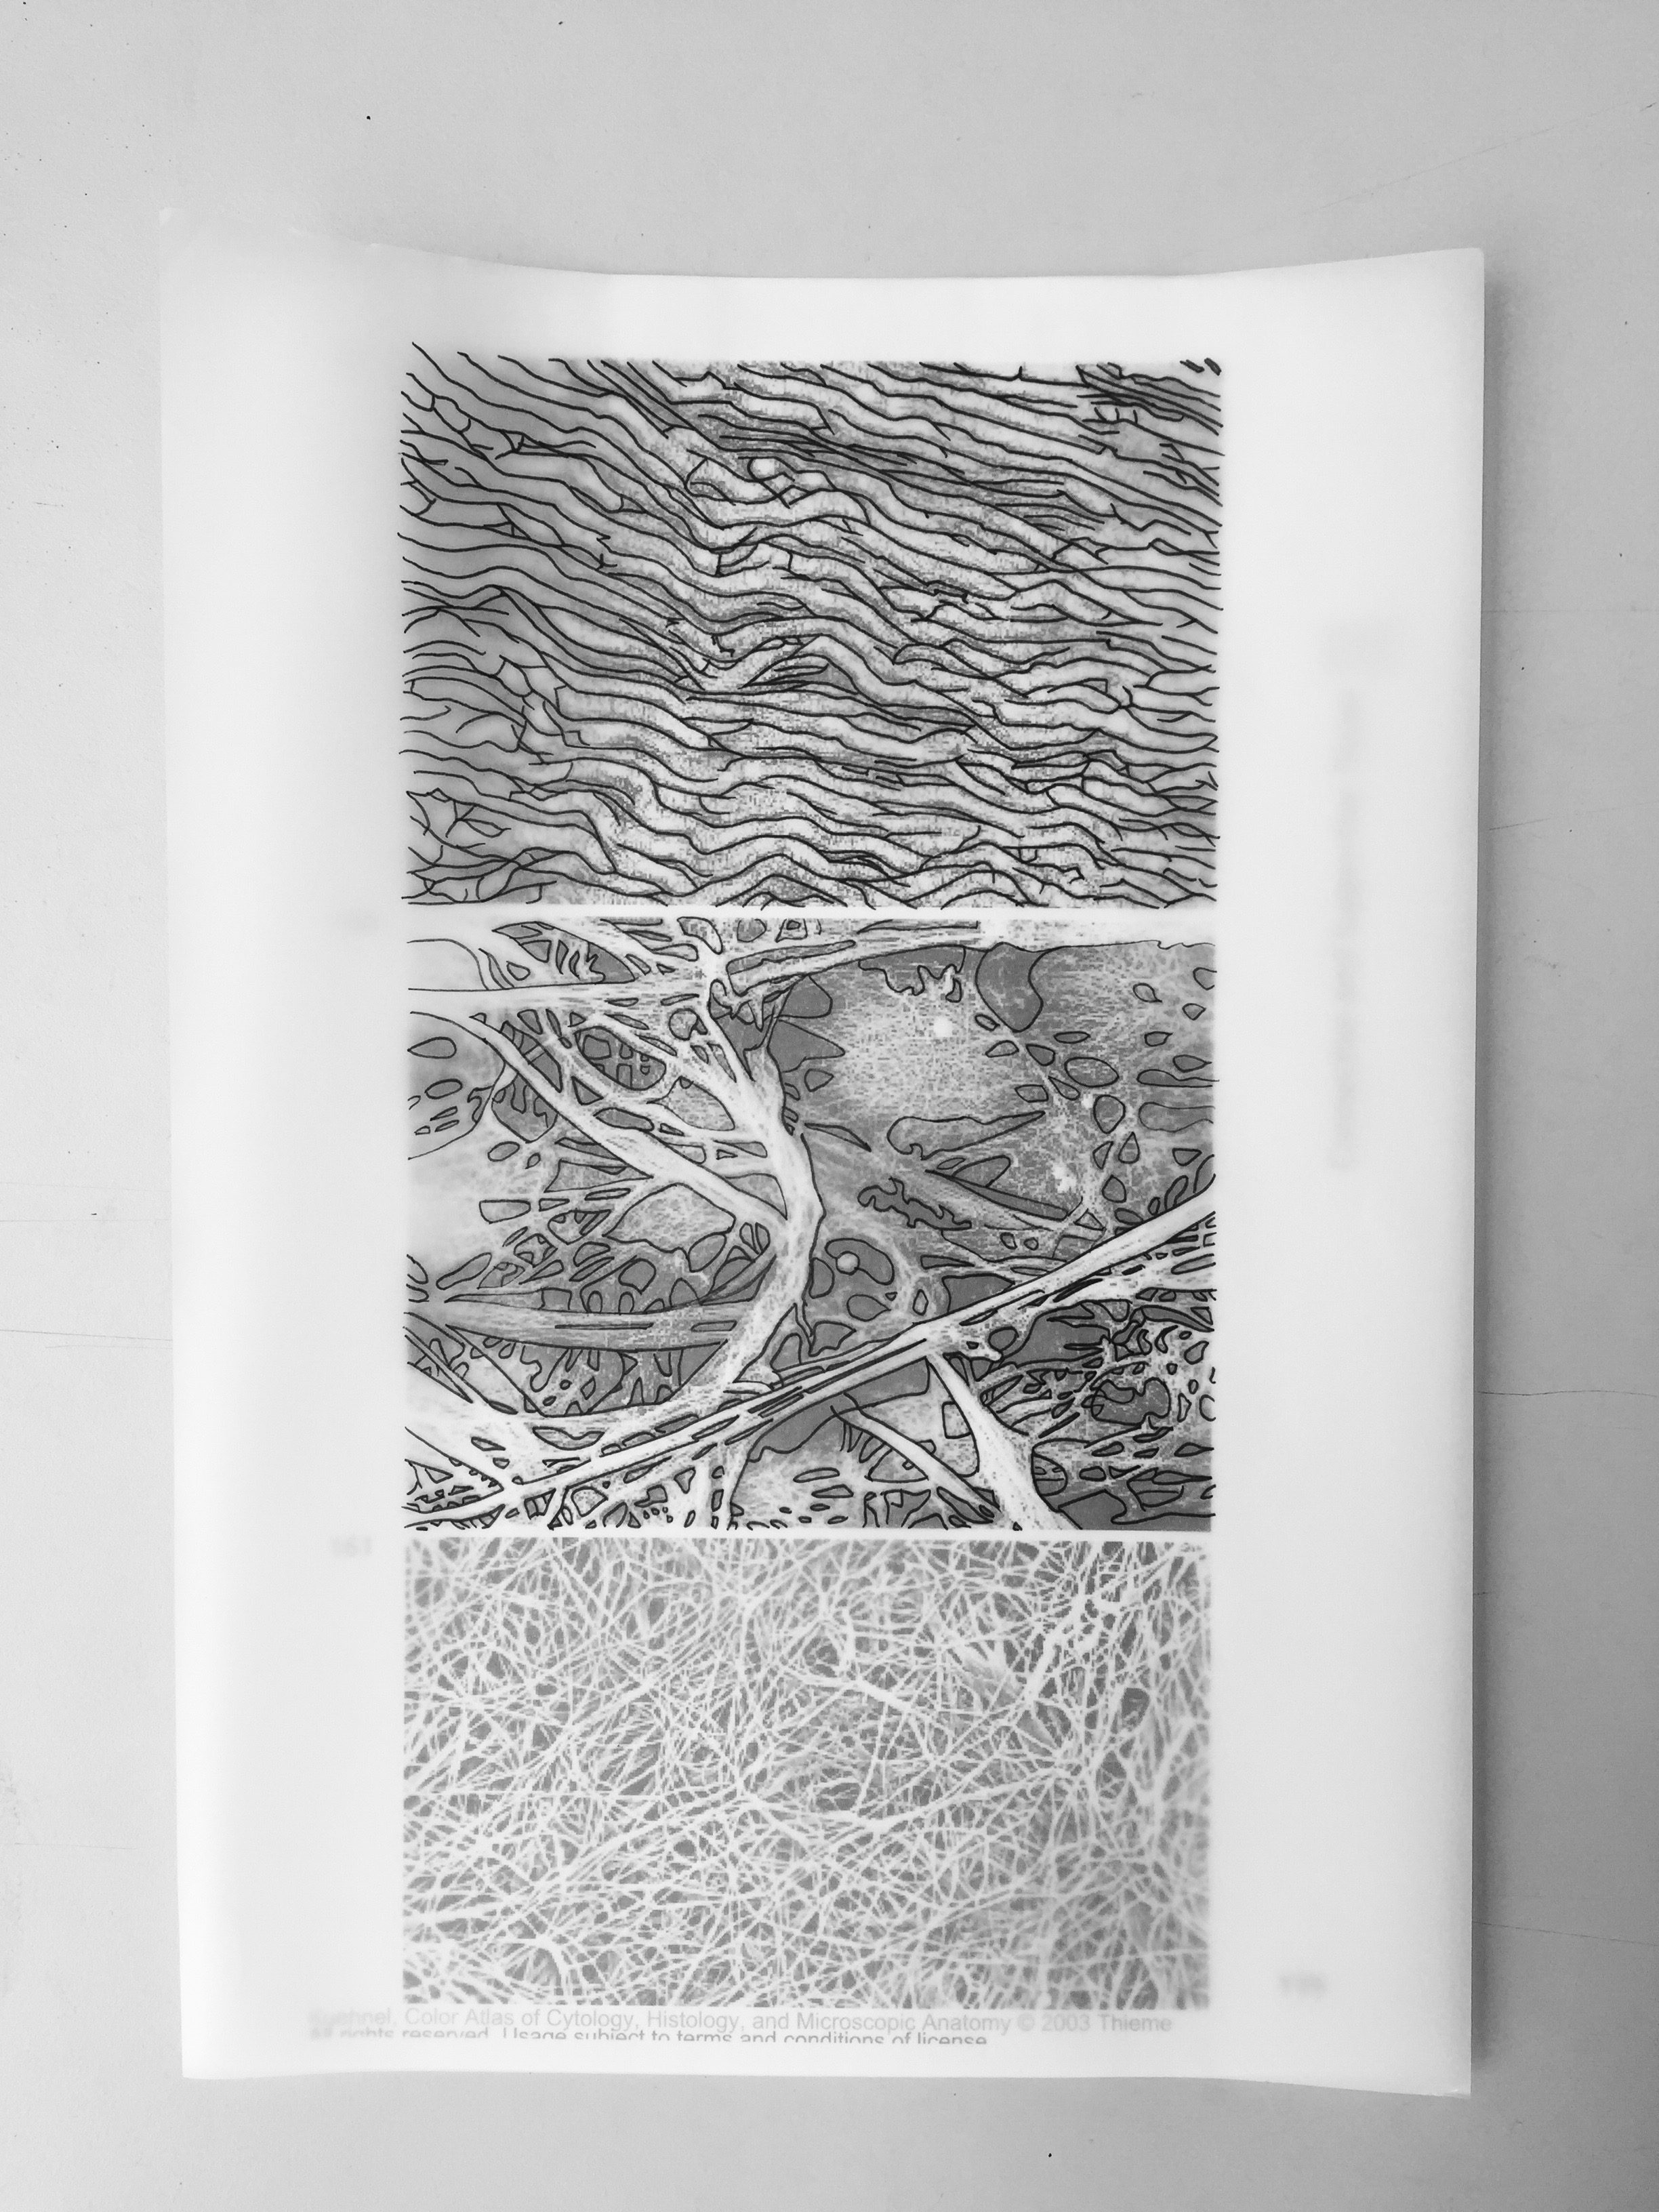
Firstly, I selected a few microscopic images (from the website, book, and article,), printed them out, traced them over and finally scanning them in to digitize them.
You can view the images below:
Human Cells
Kuehnel, Wolfgang. Color Atlas of Cytology, Histology, and Microscopic Anatomy. 4th ed. Germany: Thieme, 2003. PDF. Cells, pg 15
Connective and Supportive Tissue
Kuehnel, Wolfgang. Color Atlas of Cytology, Histology, and Microscopic Anatomy. 4th ed. Germany: Thieme, 2003. PDF. Connective and Supportive Tissue, pg 119#1#2Kuehnel, Wolfgang. Color Atlas of Cytology, Histology, and Microscopic Anatomy. 4th ed. Germany: Thieme, 2003. PDF. Connective and Supportive Tissue, pg 117#3
Bone
Source to be inserted ASAP#1#2
With these bunch of scanned images, I would compose them to form one motif.
(Still progressing…)
On a side note, I find the pattern designs done by William Morris, from the Arts and Crafts Movement, pretty interesting. Arts and crafts movement is well known for its decorative art. From William Morris’ art, I like how the artboard/canvas are all filled up with patterns leaving minimal negative space.
All along I’ve been planning the outlook of how I want my pattern to turn out, how it will look from afar vs when zoomed in. Thus, these gave me more depth to the idea of how I want my motifs will look like.
You can check out the link on my Pinterest: https://www.pinterest.com/youmikaltsum/inspiration-art-craft-movement/
So, it seems that I have decided for my theme to be Mutation as I was inspired by microscopic structures and bio-mimicry.
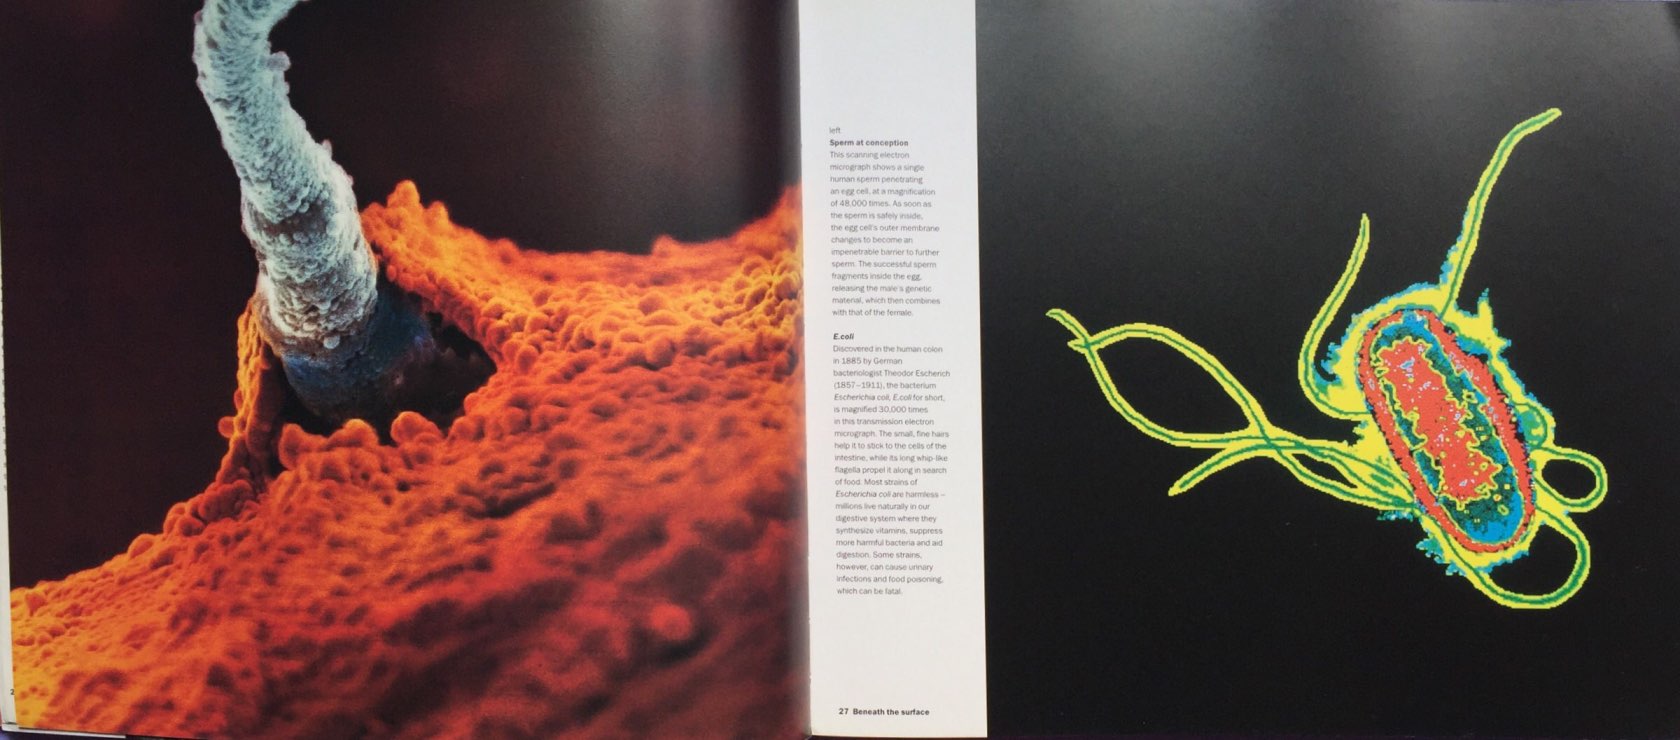
The theme “Mutation in the City” mainly focus on the health aspect in the city — how people are infected with virus or sickness like cancer etc. I had the inspiration from movies with zombies and I was curious of how the cells (virus + normal cell) in our body actually reacts with one another. Like, does it react vigorously like how metals in the first group in the Periodic Table reacts with water?
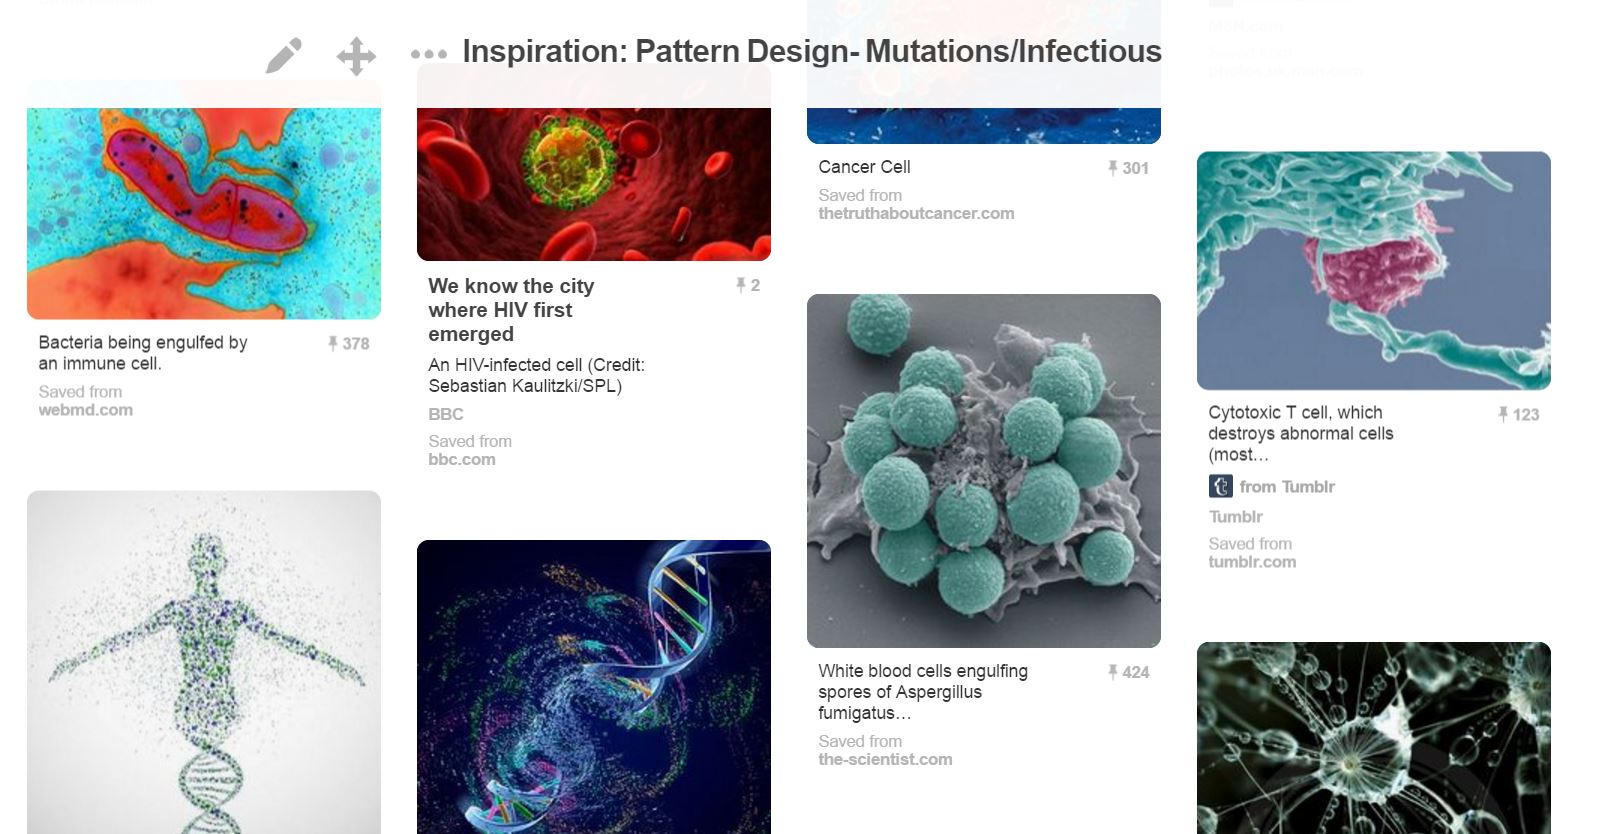
Research on Mutation (Link:https://www.pinterest.com/youmikaltsum/inspiration-pattern-design-mutationsinfectious/)
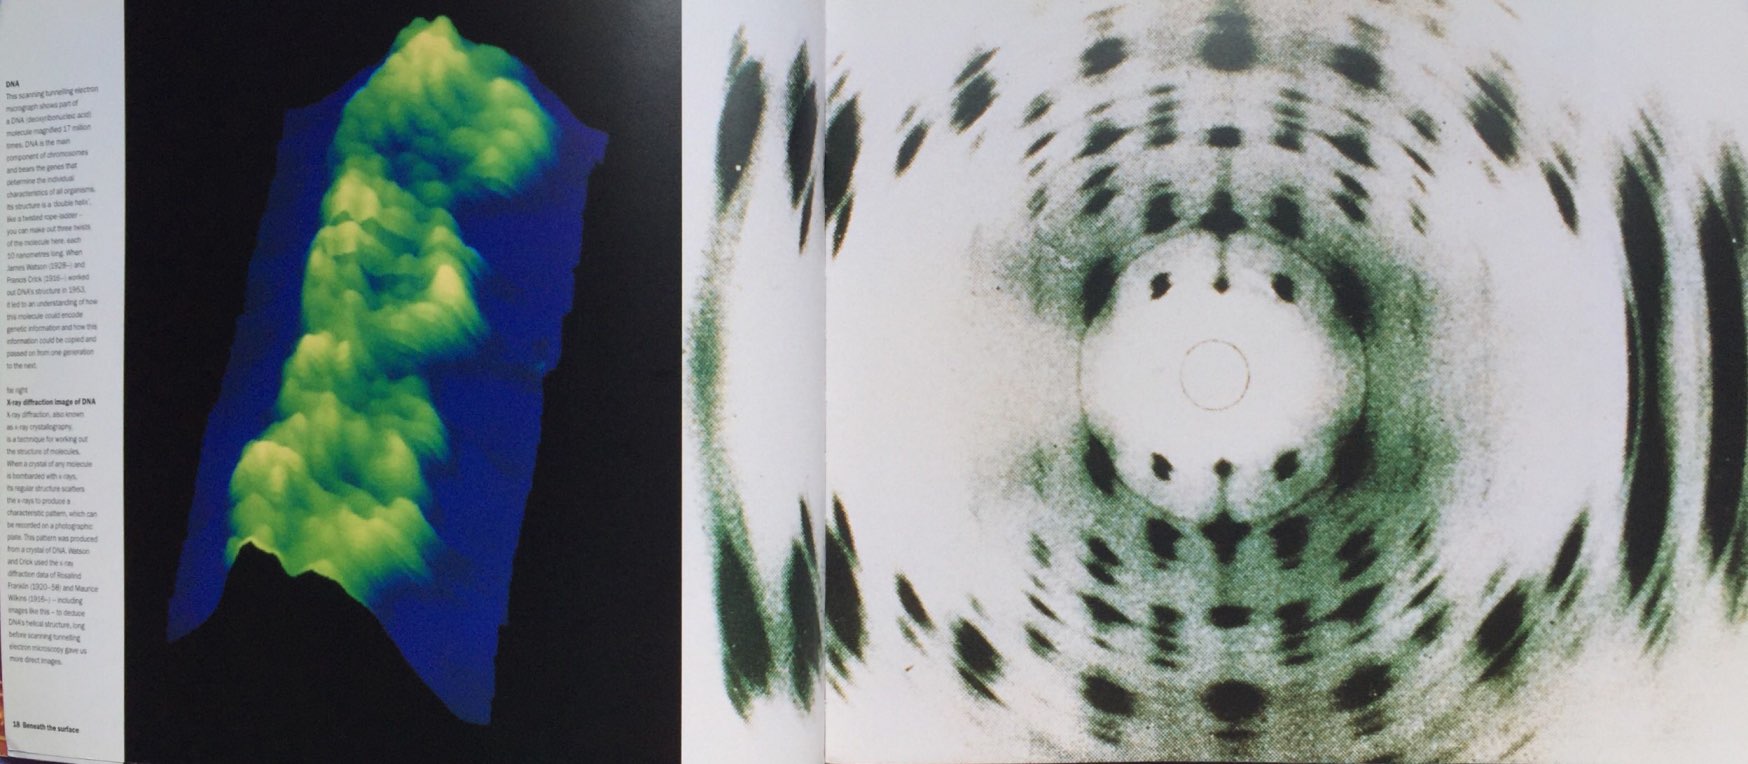
With the example above, I want to look for interaction between the cells thus it led me to decide on how my pattern design will be formed — collage images of the microscopic structure into 1 big pattern, use variation of colours to show the interaction between the cells, and most probably using the shape of DNA figure.